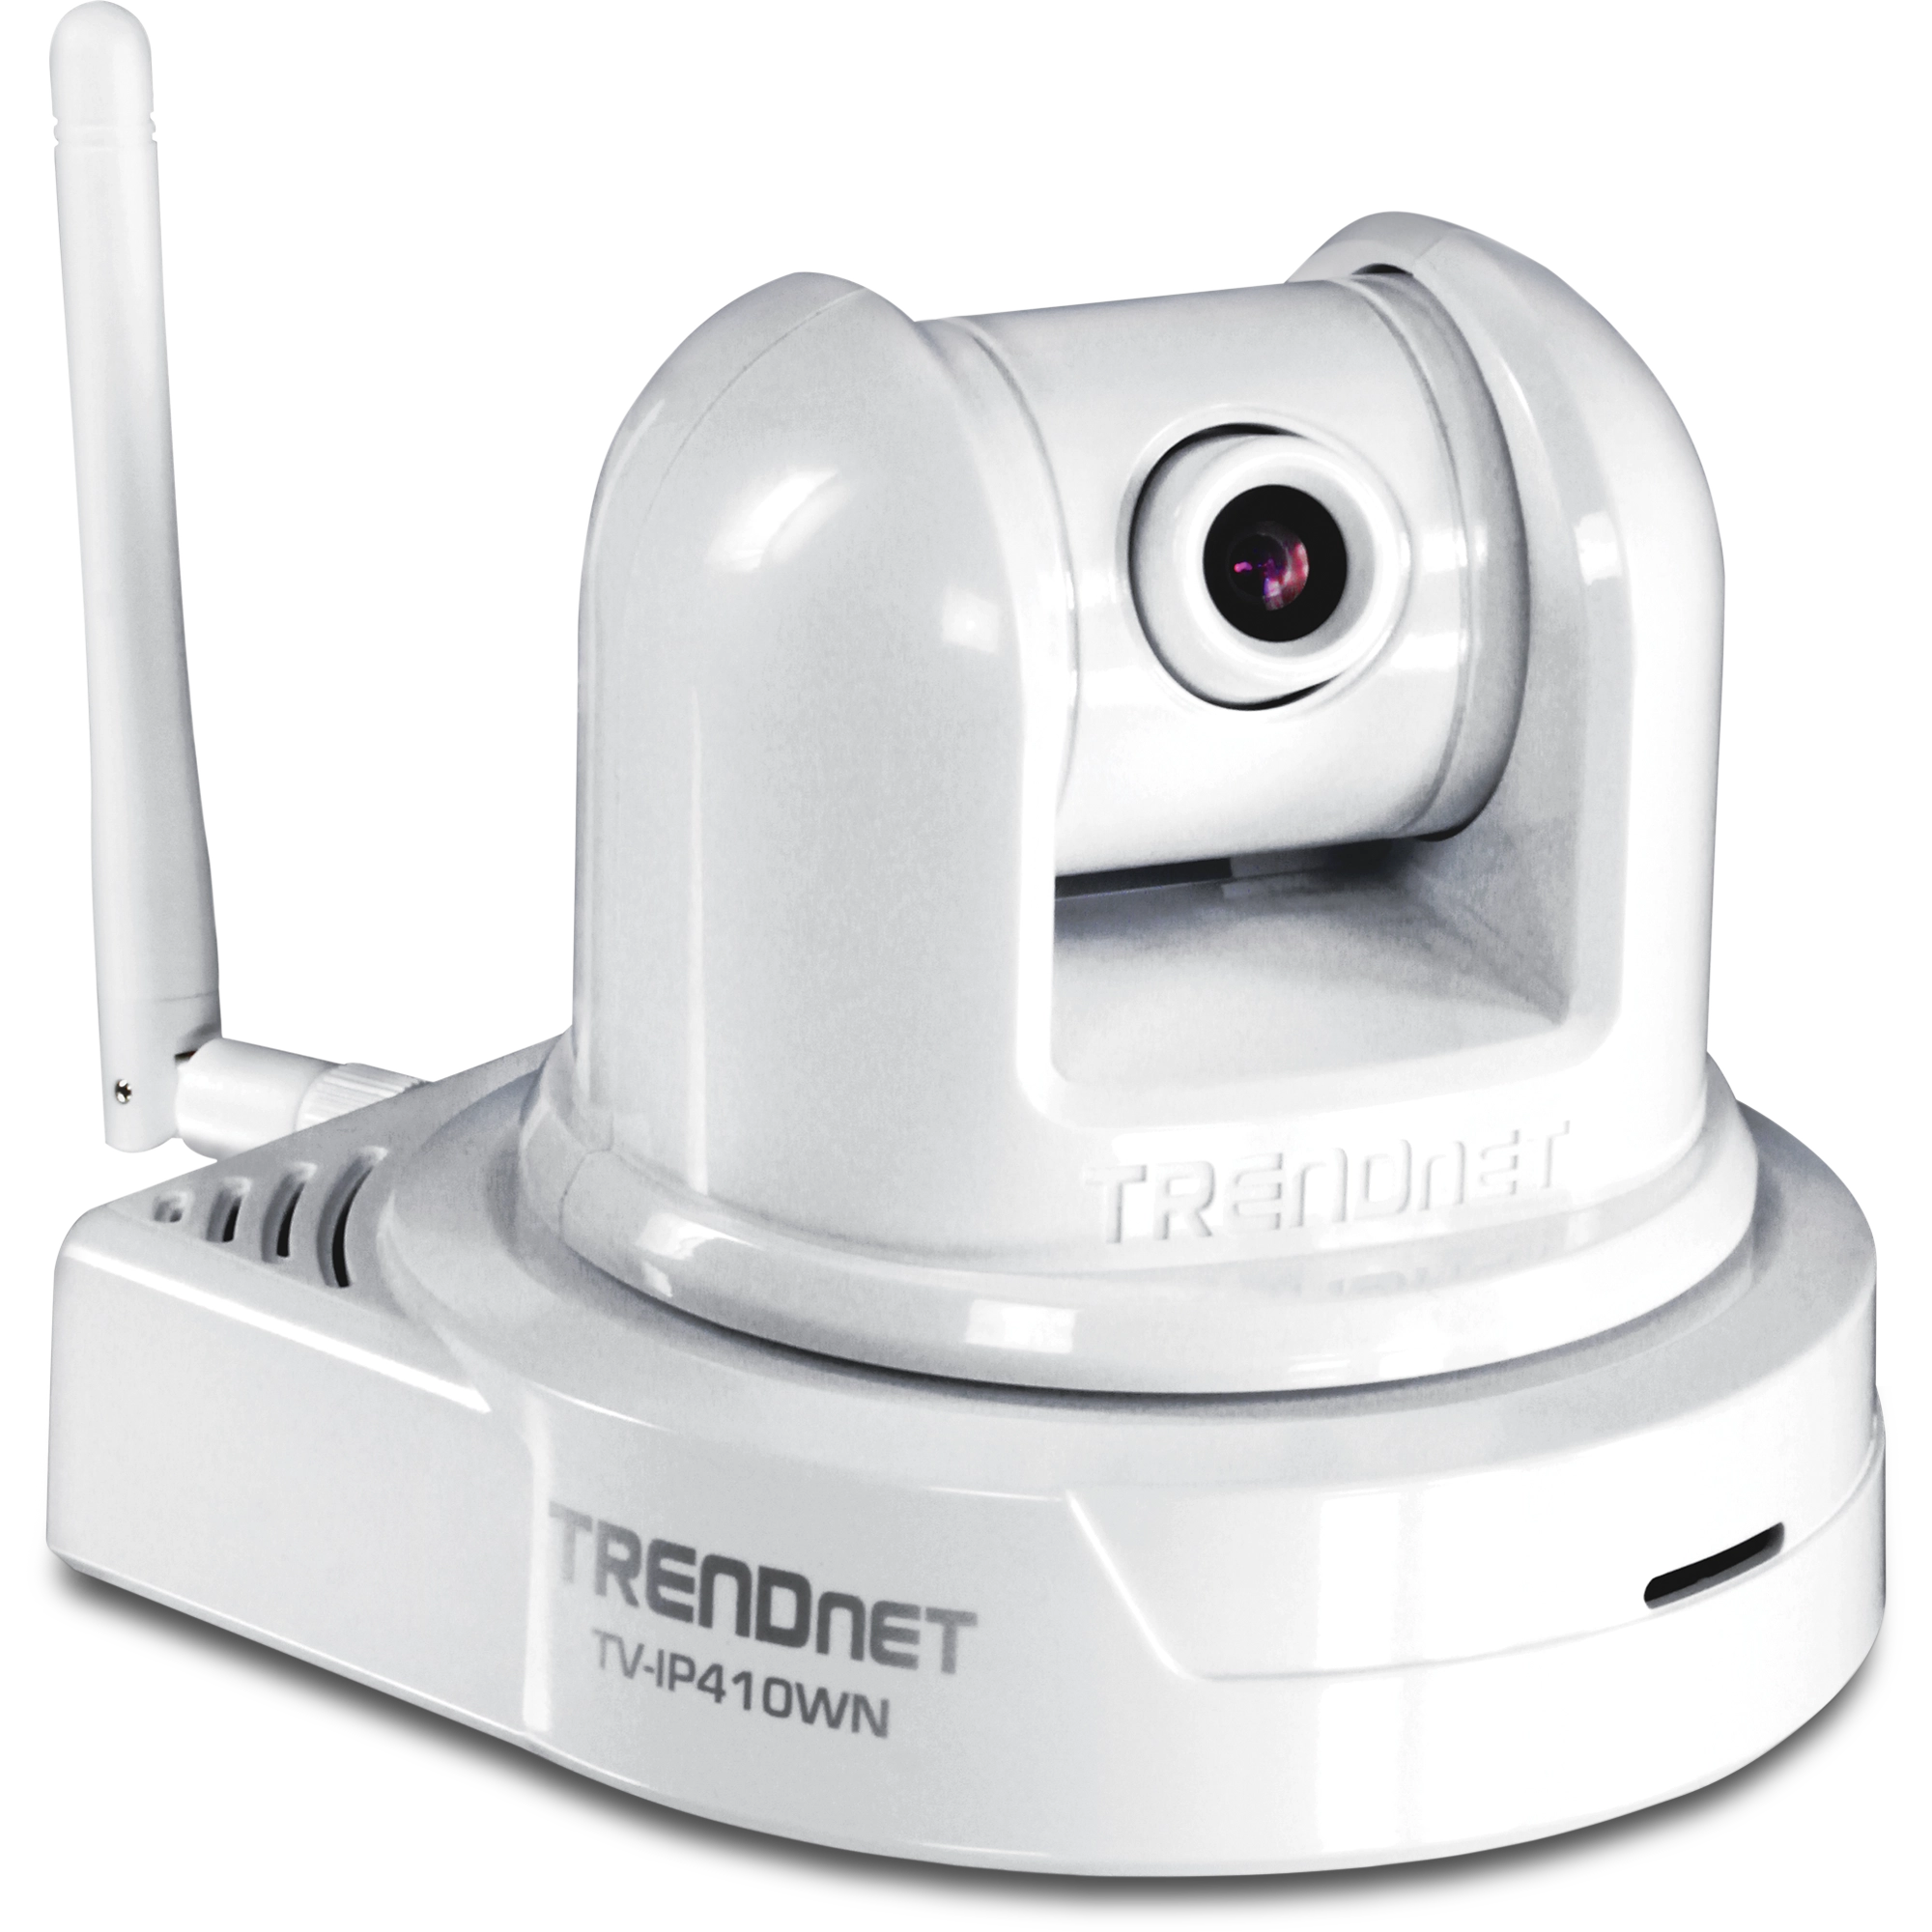
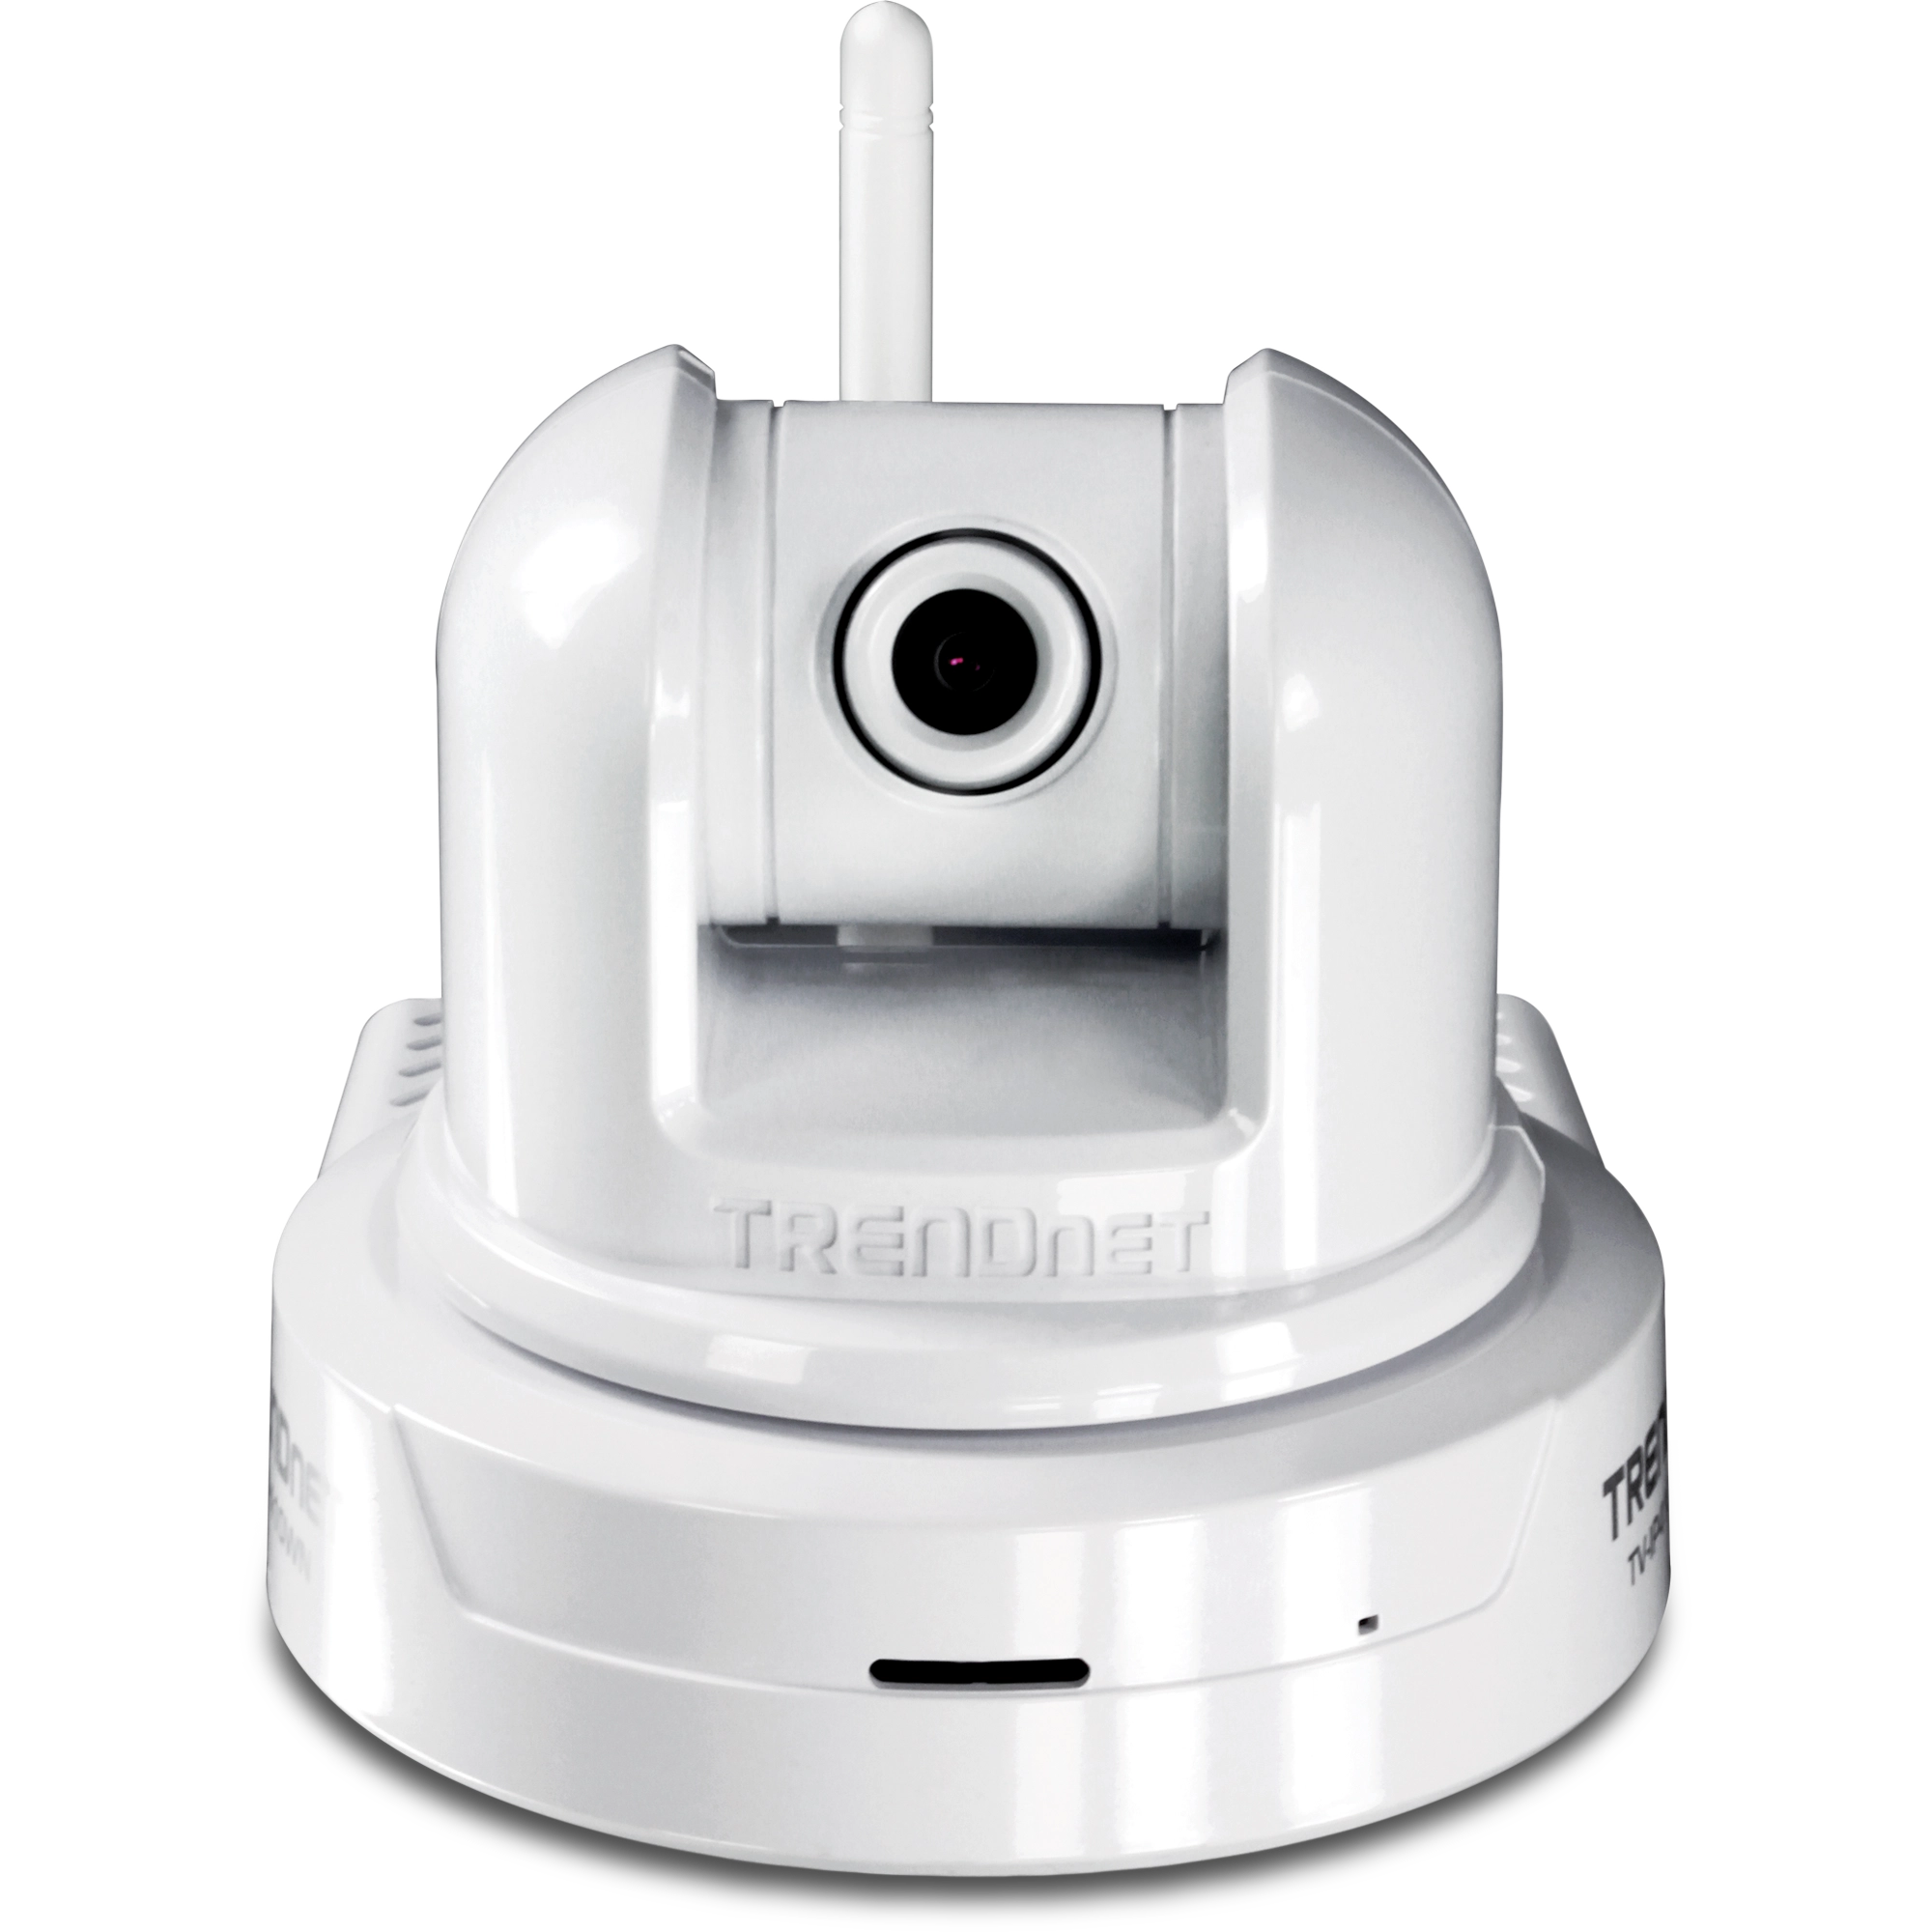
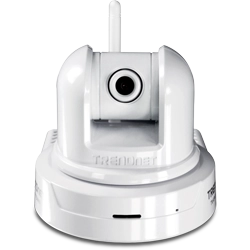
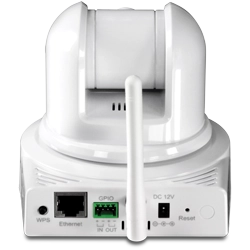
SecurView Wireless N Pan/Tilt/Zoom Network Camera
TV-IP410WN (Version v1.0R)
- High speed wireless n connection
- Pan 330° side-to-side and tilt 105° up-and-down from any Internet connection
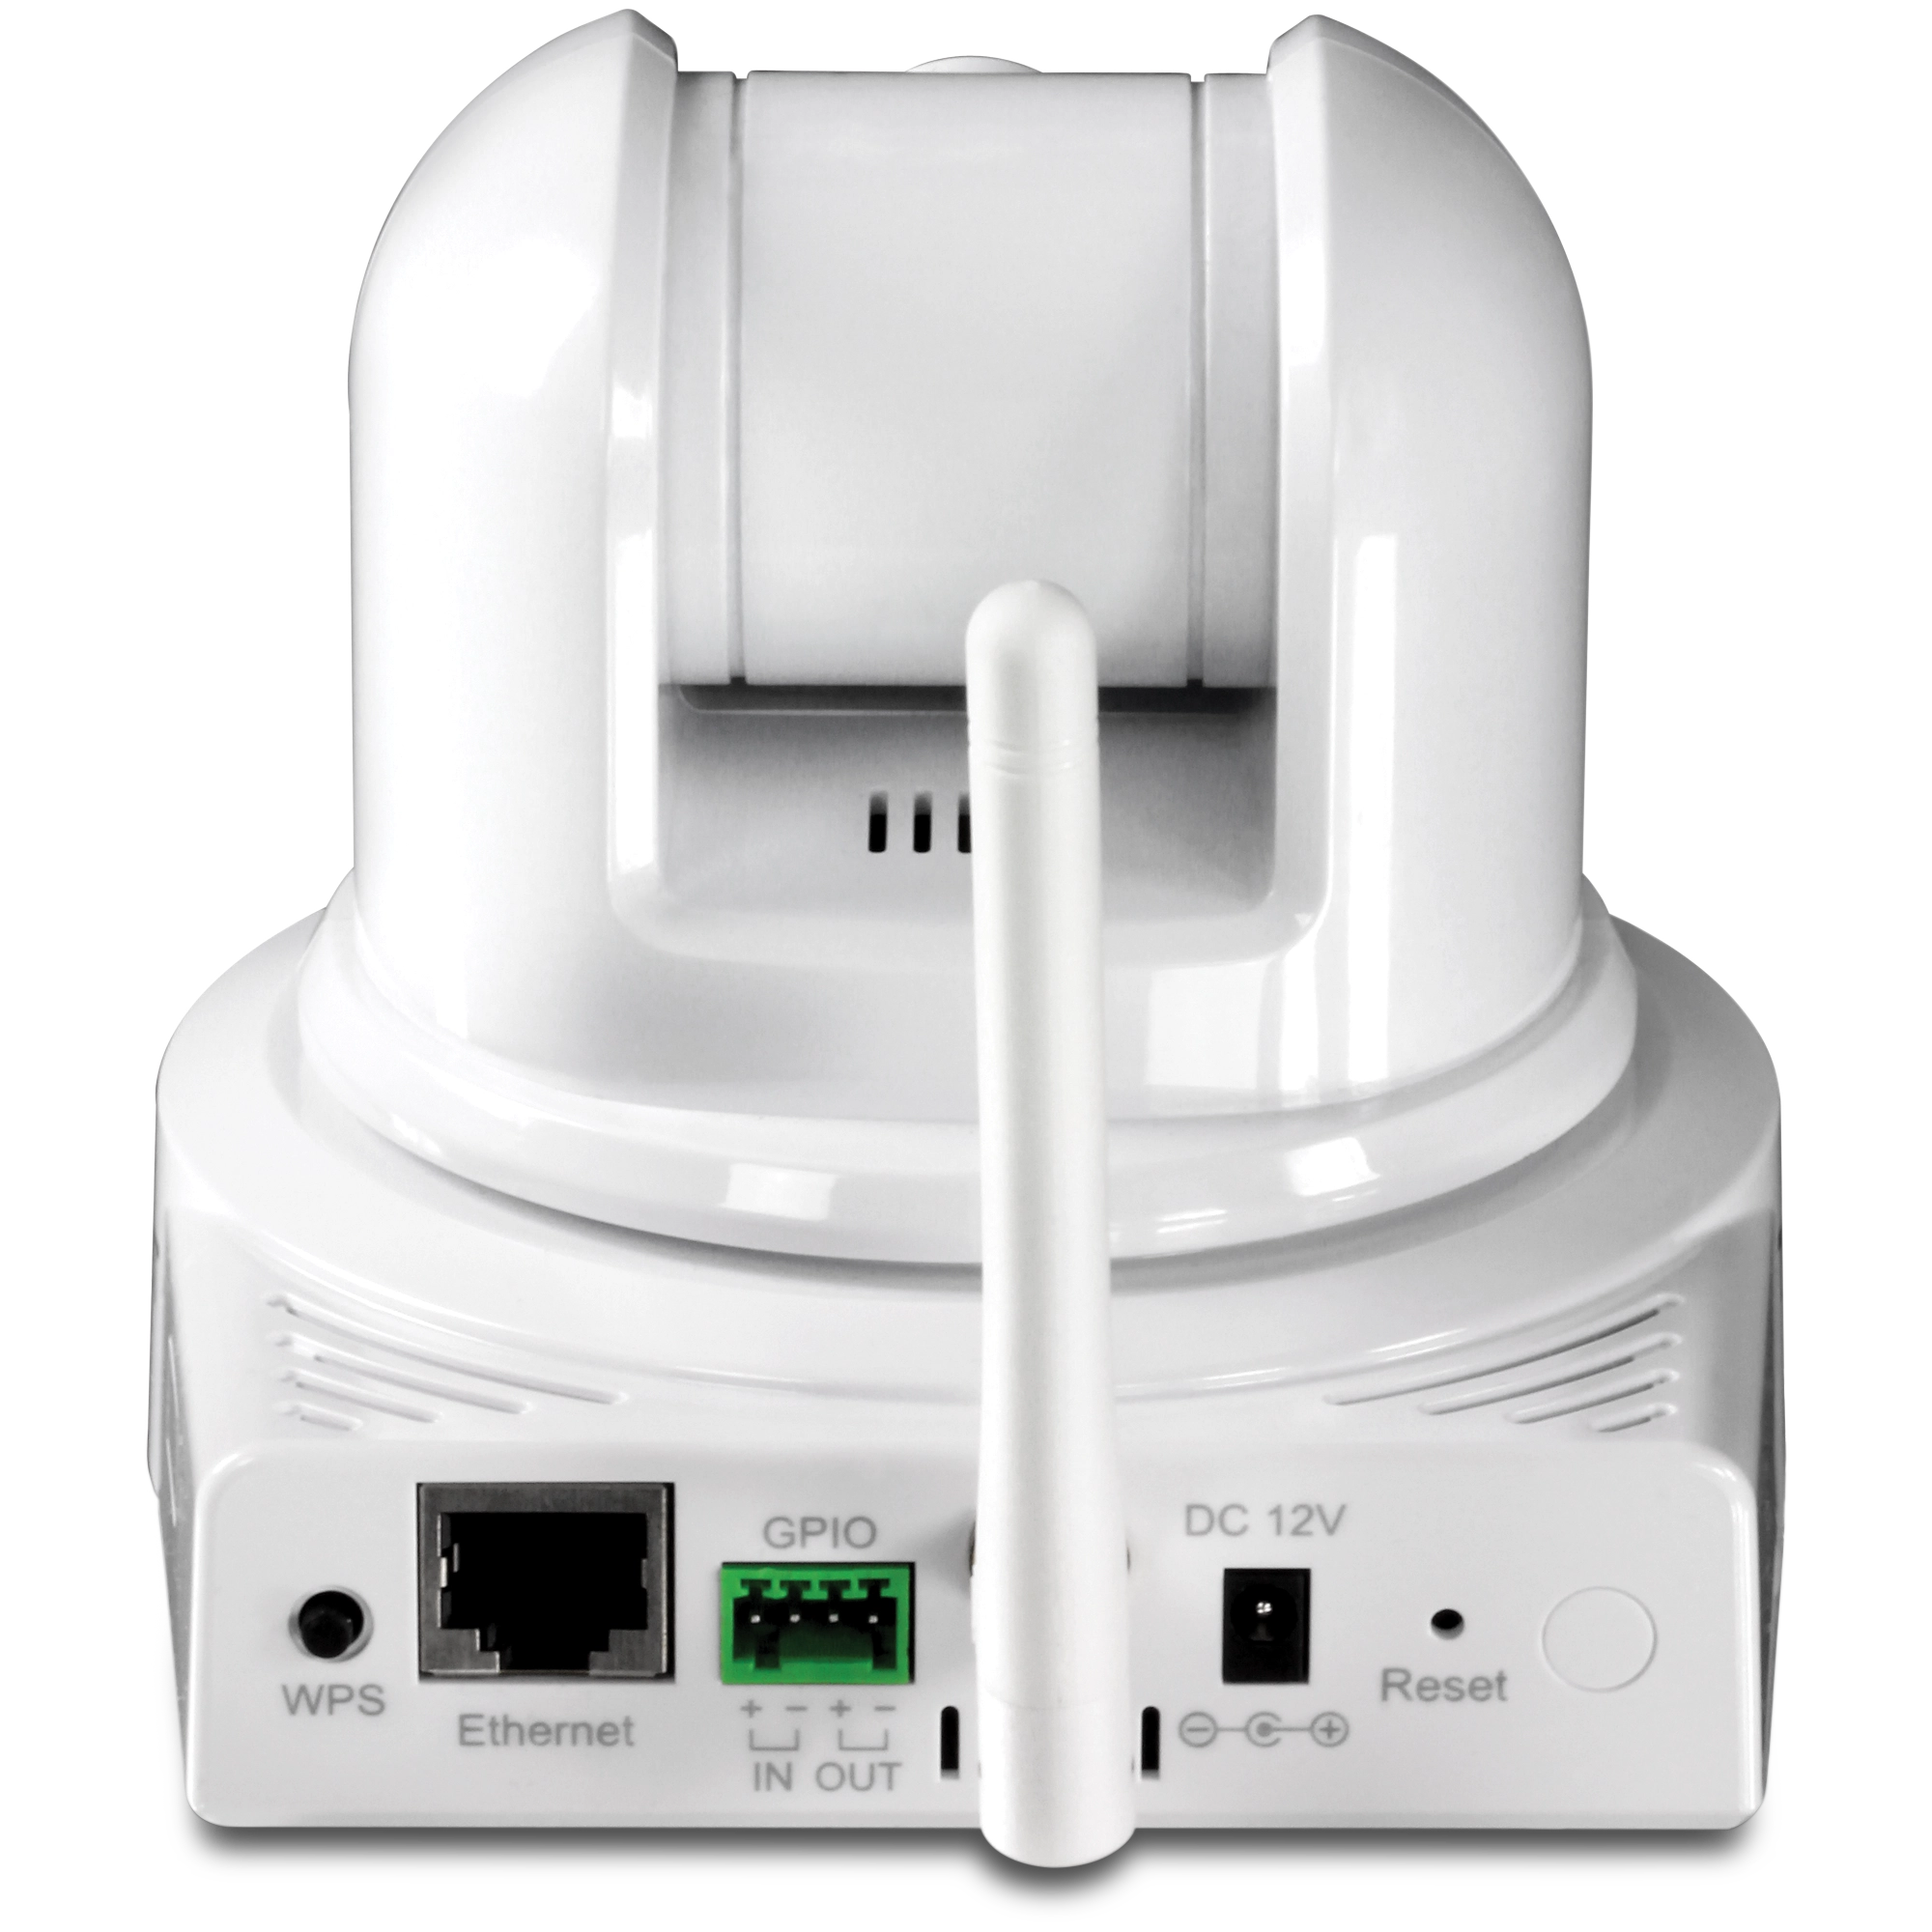
- One touch Wi-Fi Protected Setup (WPS) connection
- Program motion detection recording and email alerts with complimentary software
DISCONTINUED PRODUCT
The TV-IP410WN (Version v1.0R) has been discontinued. It has been replaced by the TV-IP420P (Version v1.0R). For a list of discontinued products, click here.Utility
Filename: Camera_Utility.zip
SHA-1 Checksum: 679B96BB0EF1F0763DC23D01D670C8FC4E943004
Date: 10/27/2017
File Size: 20.98 MB
Filename: Utility_IPSetup(v1.0.0.9).zip
SHA-1 Checksum: DF2576962235590F425CAB35246A68886DD0C6C9
Date: 7/26/2017
File Size: 700.14 KB
Filename: SecurViewPro(v2.0.0.0)_08292011.zip
SHA-1 Checksum: 73065E14971D00A27ACF41BFA88C643EA081CFBE
Date: 7/26/2017
File Size: 76.79 MB
Firmware
DO NOT upgrade firmware on any TRENDnet product using wireless connection. Firmware upgrade over wireless connection may damage the product. Please perform firmware upgrade with "wired" network connection only |
Firmware Version: V1.1.2
Release Date: 10/2013
Note:
- Fixed security vulnerabilities
Notes:
Filename: FW_TV-410WN(1.1.2).zip
SHA-1 Checksum: 5C4453BD99124AE10E6603C4C9D26683BBA51F9B
Date: 7/26/2017
File Size: 3.48 MB
Software
Software Version: 2.5.9
Release Date: 4/2017
Notes:
- Fixed TV-IP420P P/T issue
Filename: TRENDnetViewPro(2.5.9).zip
SHA-1 Checksum: 7CD1D9AE621816395E9FE9644B651F3696388215
Date: 7/26/2017
File Size: 41.15 MB
Datasheet
Filename: EN_spec_TV_IP410WN(v1.0R).pdf
Date: 2/17/2015
File Size: 540.08 KB
Filename: FR_spec_TV_IP410WN(v1.0R).pdf
Date: 2/17/2015
File Size: 592.14 KB
Filename: GE_spec_TV_IP410WN(v1.0R).pdf
Date: 2/17/2015
File Size: 576.56 KB
Filename: SP_spec_TV_IP410WN(v1.0R).pdf
Date: 2/17/2015
File Size: 588.68 KB
Filename: RU_spec_TV_IP410WN(v1.0R).pdf
Date: 2/17/2015
File Size: 558.28 KB
Filename: IT_spec_TV_IP410WN(v1.0R).pdf
Date: 2/17/2015
File Size: 590.21 KB
Quick Installation Guide
Filename: EN_Web_TV-IP410WN(1.01).pdf
Date: 3/30/2011
File Size: 2.45 MB
Filename: FR_Web_TV-IP410WN(1.01).pdf
Date: 3/30/2011
File Size: 2.51 MB
Filename: GE_Web_TV-IP410WN(1.01).pdf
Date: 3/30/2011
File Size: 1.89 MB
Filename: PO_Web_TV-IP410WN(1.01).pdf
Date: 3/30/2011
File Size: 1.84 MB
Filename: SP_Web_TV-IP410WN(1.01).pdf
Date: 3/30/2011
File Size: 1.88 MB
Filename: RU_Web_TV-IP410WN(1.01).pdf
Date: 3/30/2011
File Size: 2.87 MB
Filename: EST_Web_TV-IP410WN(1.01).pdf
Date: 3/30/2011
File Size: 1.61 MB
User's Guide
Filename: UG_SecurViewPro.pdf
Date: 6/5/2012
File Size: 4.66 MB
Product Images
OverviewPlease ensure you have followed the quick installation guide and have the camera setup and accessible on your home/office network. The following instructions are going to outline how to make a SecurView camera accessible over the Internet. We will start by assigning a unique static IP addres...
The camera must be configured properly to have Internet access. This includes making sure you have entered a valid default gateway address for the camera and valid DNS server entries to ensure it can resolve names.
Unfortunately the camera does not support SSL. If the email provider requires ...
Unfortunately the cameras from different families do not share a common, free, application and cannot be used together. SecurView cameras will not function in IPView Pro and vice versa....
By default the camera uses TCP port 80. Forward this port in your router or firewall to the camera.
Unfortunately SecurView is not compatible with Macintosh operating systems.
The camera can be configured from a Macintosh through its web-based configuration page. The camera's web configuration page can be reached by entering its IP address into a web browser. For example, if the IP address is 192.168.10.30 you would access it by opening your web browser and entering htt...
The camera's web configuration page can be reached by entering its IP address into a web browser. For example, if the IP address is 192.168.10.30 you would access it by opening Internet Explorer and entering https://192.168.10.30 into the address line....
The camera by default is configured to receive an IP address via DHCP. If it is unable to receive an IP address via DHCP it will default to 192.168.10.30. You can use the IP Setup Utility to find and change the IP address of the camera as well. Click Start and go to All Programs under TRENDnet to fi...
Log in to the camera and click on Setup. Click on Motion Detect on the left hand side. On this page you can setup two motion detection windows. Under "Window" you can select either 1 or 2. Place a check in "Enable" to turn on motion detection. You can adjust the threshold for each window individuall...
Warning:
Firmware upgrade failure may permanently damage the unit and cause it to malfunction. Do not interrupt the firmware upgrade process by disconnecting it from the network or unplugging its power from the power outlet once the firmware upgrade process has begun. Never perform a firmware upgr...
Log in to the camera and click on Setup then click on Event Server>Email on the left hand side. Enter your email server and user information here.
After applying the email server information click on Event Config on the left hand side. You have three options, Motion Detection, Scheduled uplo...
Log in to the camera and click on Setup then click on Event Server>FTP on the left hand side. Enter your FTP server information here.
After applying the FTP server information click on Event Config on the left hand side. You have three options, Motion Detection, Scheduled uploading and GPIO ...
After you have the camera configured on your network start SecurView. Click on the "Settings" button then click on the "Add Camera" button. It will search your network for any supported cameras and display a list of them. Highlight the camera you want to view in SecurView then click "Add Camera".
...
The supported browsers are Internet Explorer 6.0 or above.
Windows 7 (32/64-bit), Vista (32/64-bit), XP (32/64-bit)
Press and hold in the reset button on the back of the camera for approximately 10 seconds while the power is on to restore the factory default settings. ...
The top LED is a power light. It should be a steady orange light when power is applied to the camera. The bottom LED is a link light. It should be green and blinking when sending and receiving data. ...
Log in to the camera by entering the camera's IP address into your browser. The default IP address is https://192.168.10.30. The default username and password are both "admin".
After you have logged into the camera do the following.
-Click Setup
-Click Basic>User
You can define t...
Log in to the camera by entering the camera's IP address into your browser. The default IP address is https://192.168.10.30. The default username and password are both "admin".
After you have logged into the camera do the following.
-Click Setup.
-Click Network>Wireless.
-Clic...
Yes, the camera does support DDNS (Dynamic DNS). Dynamic DNS services will allow you to maintain a single hostname for the camera, even if your ISP changes your WAN IP address. The camera will update the DDNS record to reflect the new IP address. This ensures that each time you go to the hostname yo...
You will need to forward the port that the camera is using in the router to the camera. By default this is TCP port 80. From a remote location you would enter in the public or WAN IP address of your router into your browser or add it to SecurView using the public IP address.
Refer to your router'...
| Camera | |
| General | Sensor: 1/4" color CMOS sensor Resolution: 640 x 480 pixels Board lens Focal length: 4.0 mm Aperture (F/No): F1.8 Minimum illumination: 0.5 Lux Diagonal viewing angle: 64 degree |
| Pan & Tilt |
|
| Image & Video |
|
| Hardware | |
| Network | IEEE 802.3u 10/100Mbps Fast Ethernet, Auto-MDIX |
| LED | Power, Link |
| Reset Button | Restore to factory default |
| WPS Button | Push button for Wi-Fi Protected Setup |
| Power Consumption | 9 Watts max. |
| Power | 12V DC, 1.5 A external power adapter (3.5 mm plug) |
| Dimension | 115 x 110 x 105 mm (4.53 x 4.33 x 4.13 in) |
| Weight | 340 g (12 oz.) |
| Temperature |
|
| Humidity | Max. 90% (non-condensing) |
| Certifications | CE, FCC |
| Requirement | |
| Management Interface | Internet Explorer 6.0 or above |
| To Run SecurView Pro | Windows 7 (32/64 bit), Vista (32/64 bit), XP (32/64 bit) |
| SecurView Pro | Channel: supports up to 32 cameras Record/Playback/Motion Detection |
| Network Protocols | TCP/IP, UDP, ICMP, DHCP, NTP, DNS, DDNS, SMTP, FTP, PPPoE, UPnP |
| Wireless | |
| Standard | Based on IEEE 802.11n technology IEEE 802.11g/b compliant |
| Frequency | 2.4 ~ 2.4835GHz |
| Antenna | 1 x 2dBi dipole antenna (Reverse-SMA connector) |
| Data Rate (auto fallback) |
|
| Security | 64/128-bit WEP, WPA/WPA2-PSK |
| Output Power |
|
| Receiving Sensitivity |
|
| Channel | 1~11 (FCC), 1~13 (ETSI) |
| Management | |
| Remote | Remote management supported |
| Backup / Restore | Save/retrieve configuration files |
| Settings | |
| Recording | Recording type: continuous, schedule, or motion detection with software |
| Port Settings | HTTP port: 80 (default) |
| Digital Zoom | 3x |
| Dynamic DNS | Yes |
| Time | Synchronize with NTP server or set time/date manually |
| SMTP | SMTP mail supported up to 2 accounts with software |
| System Log | 100 items (max.) |
PACKAGE CONTENTS |
|
All references to speed are for comparison purposes only. Product specifications, size, and shape are subject to change without notice, and actual product appearance may differ from that depicted herein.


