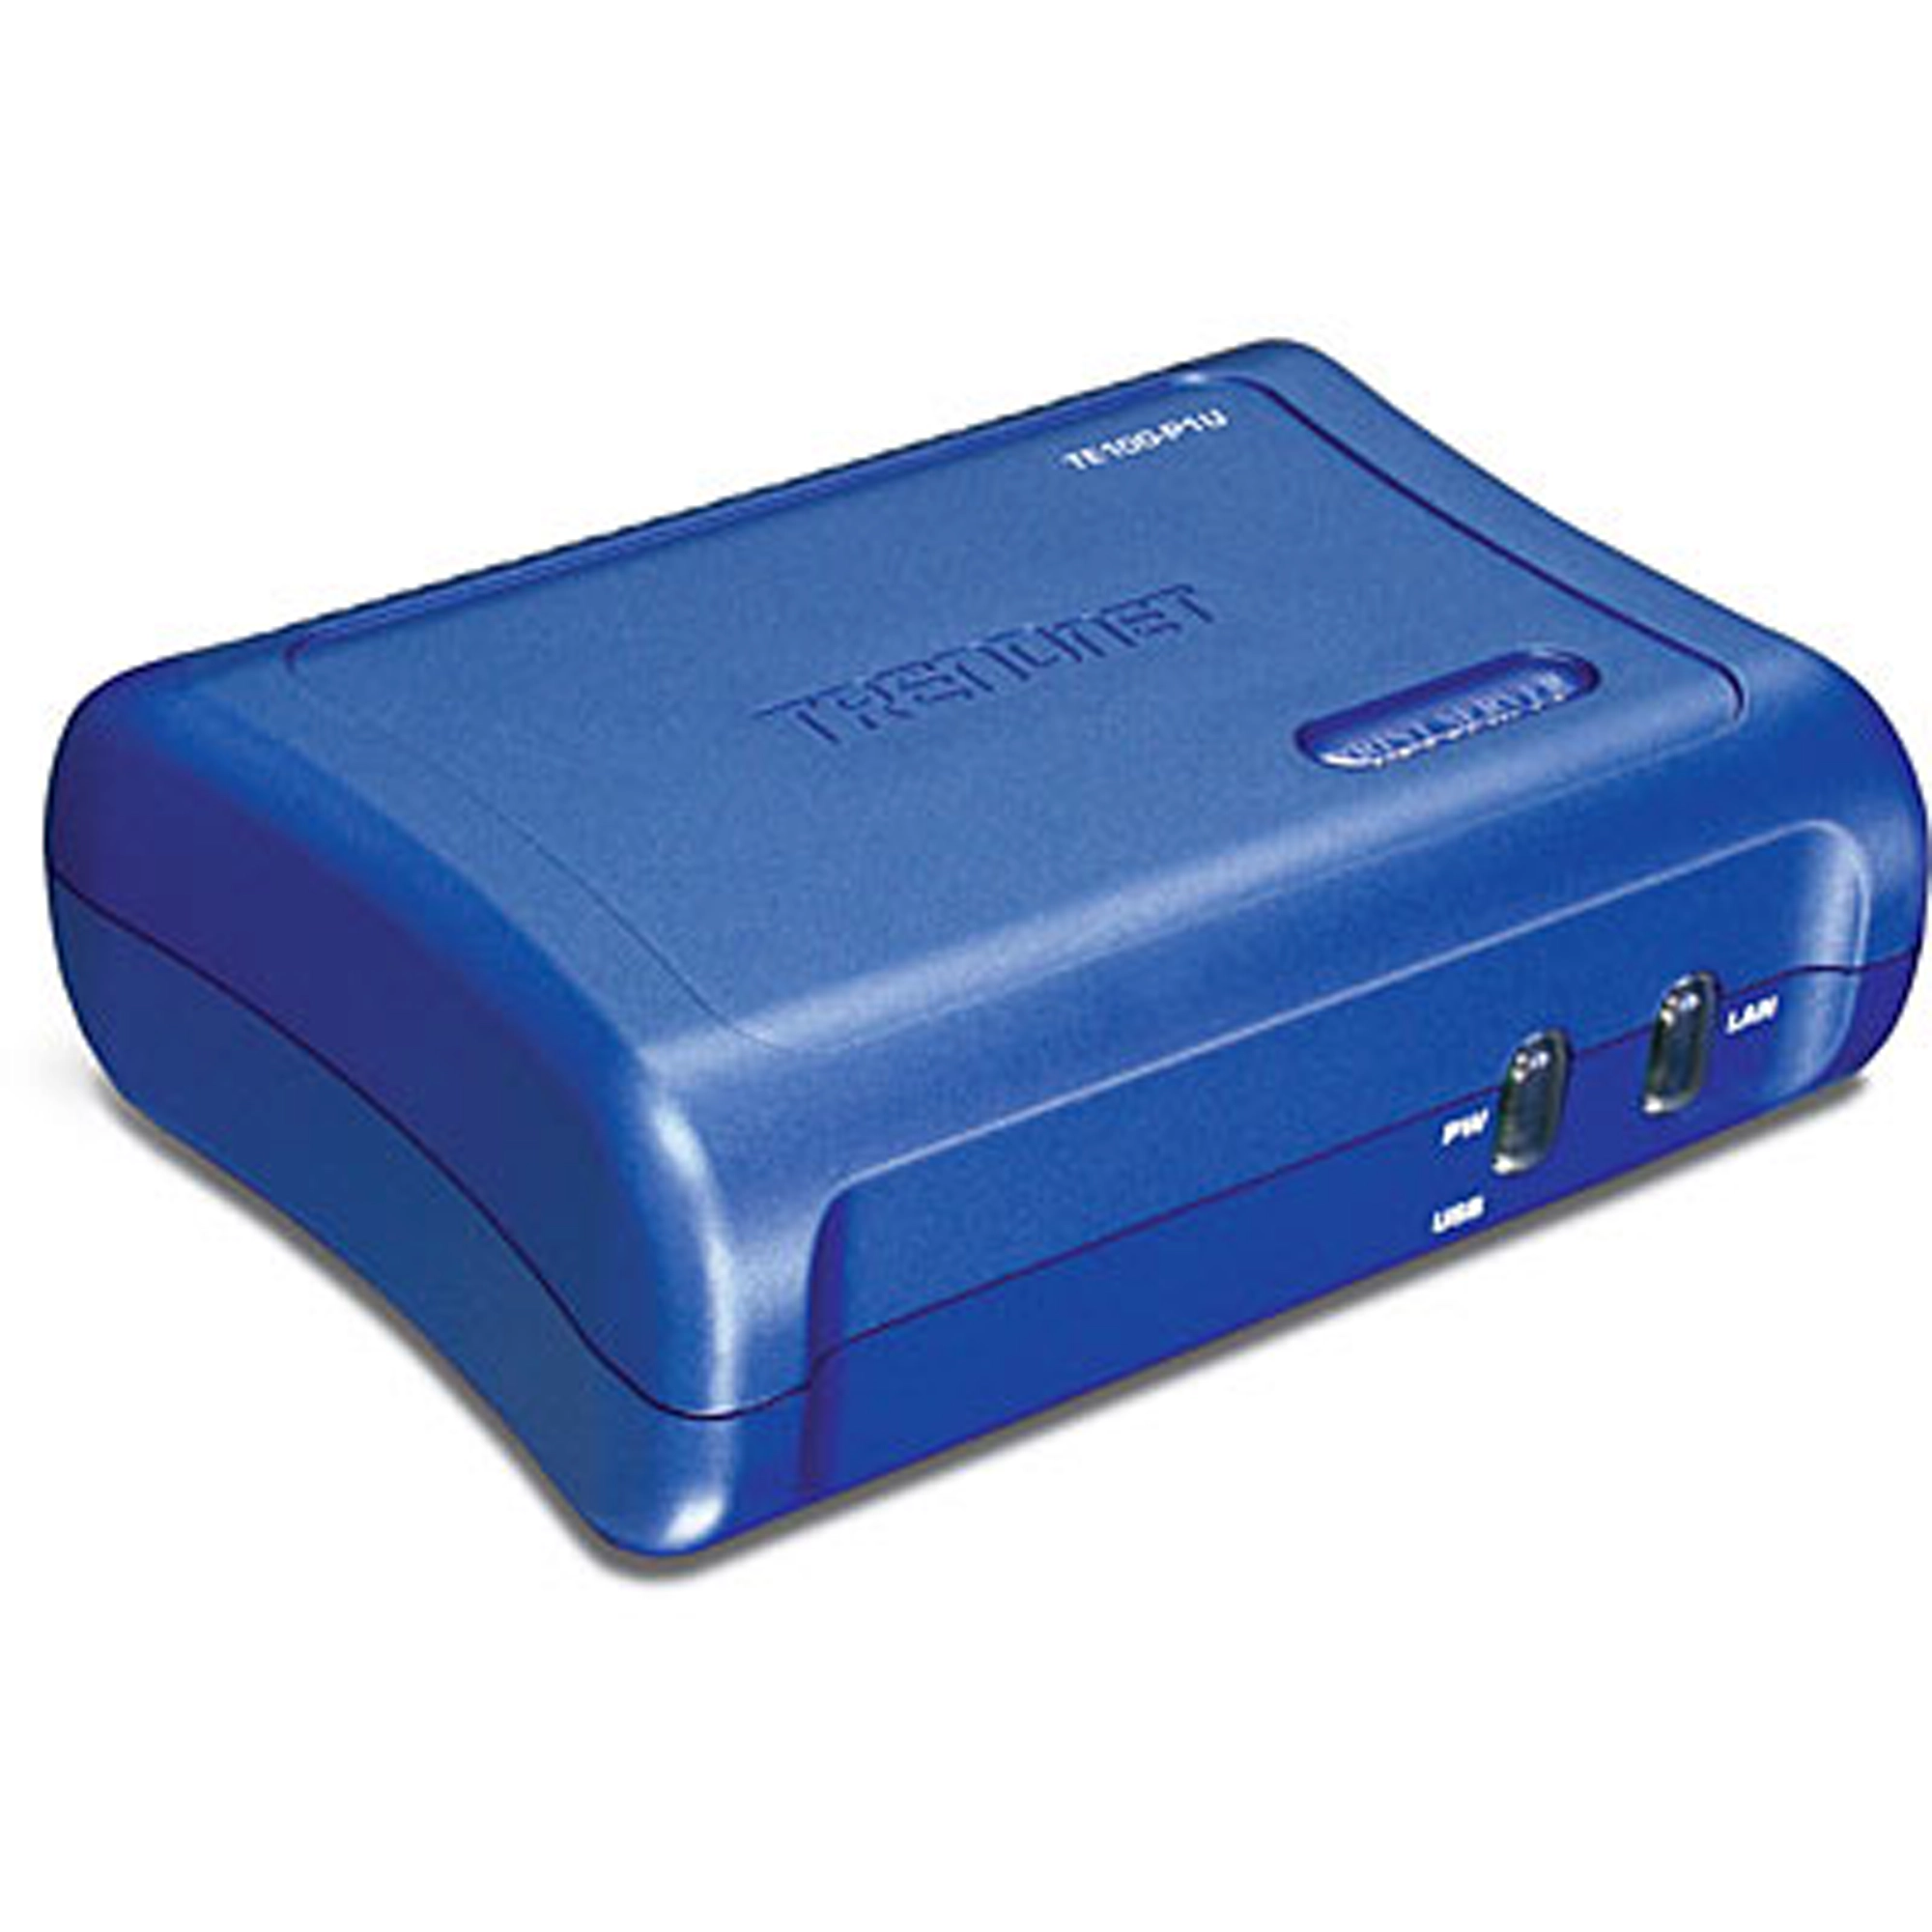
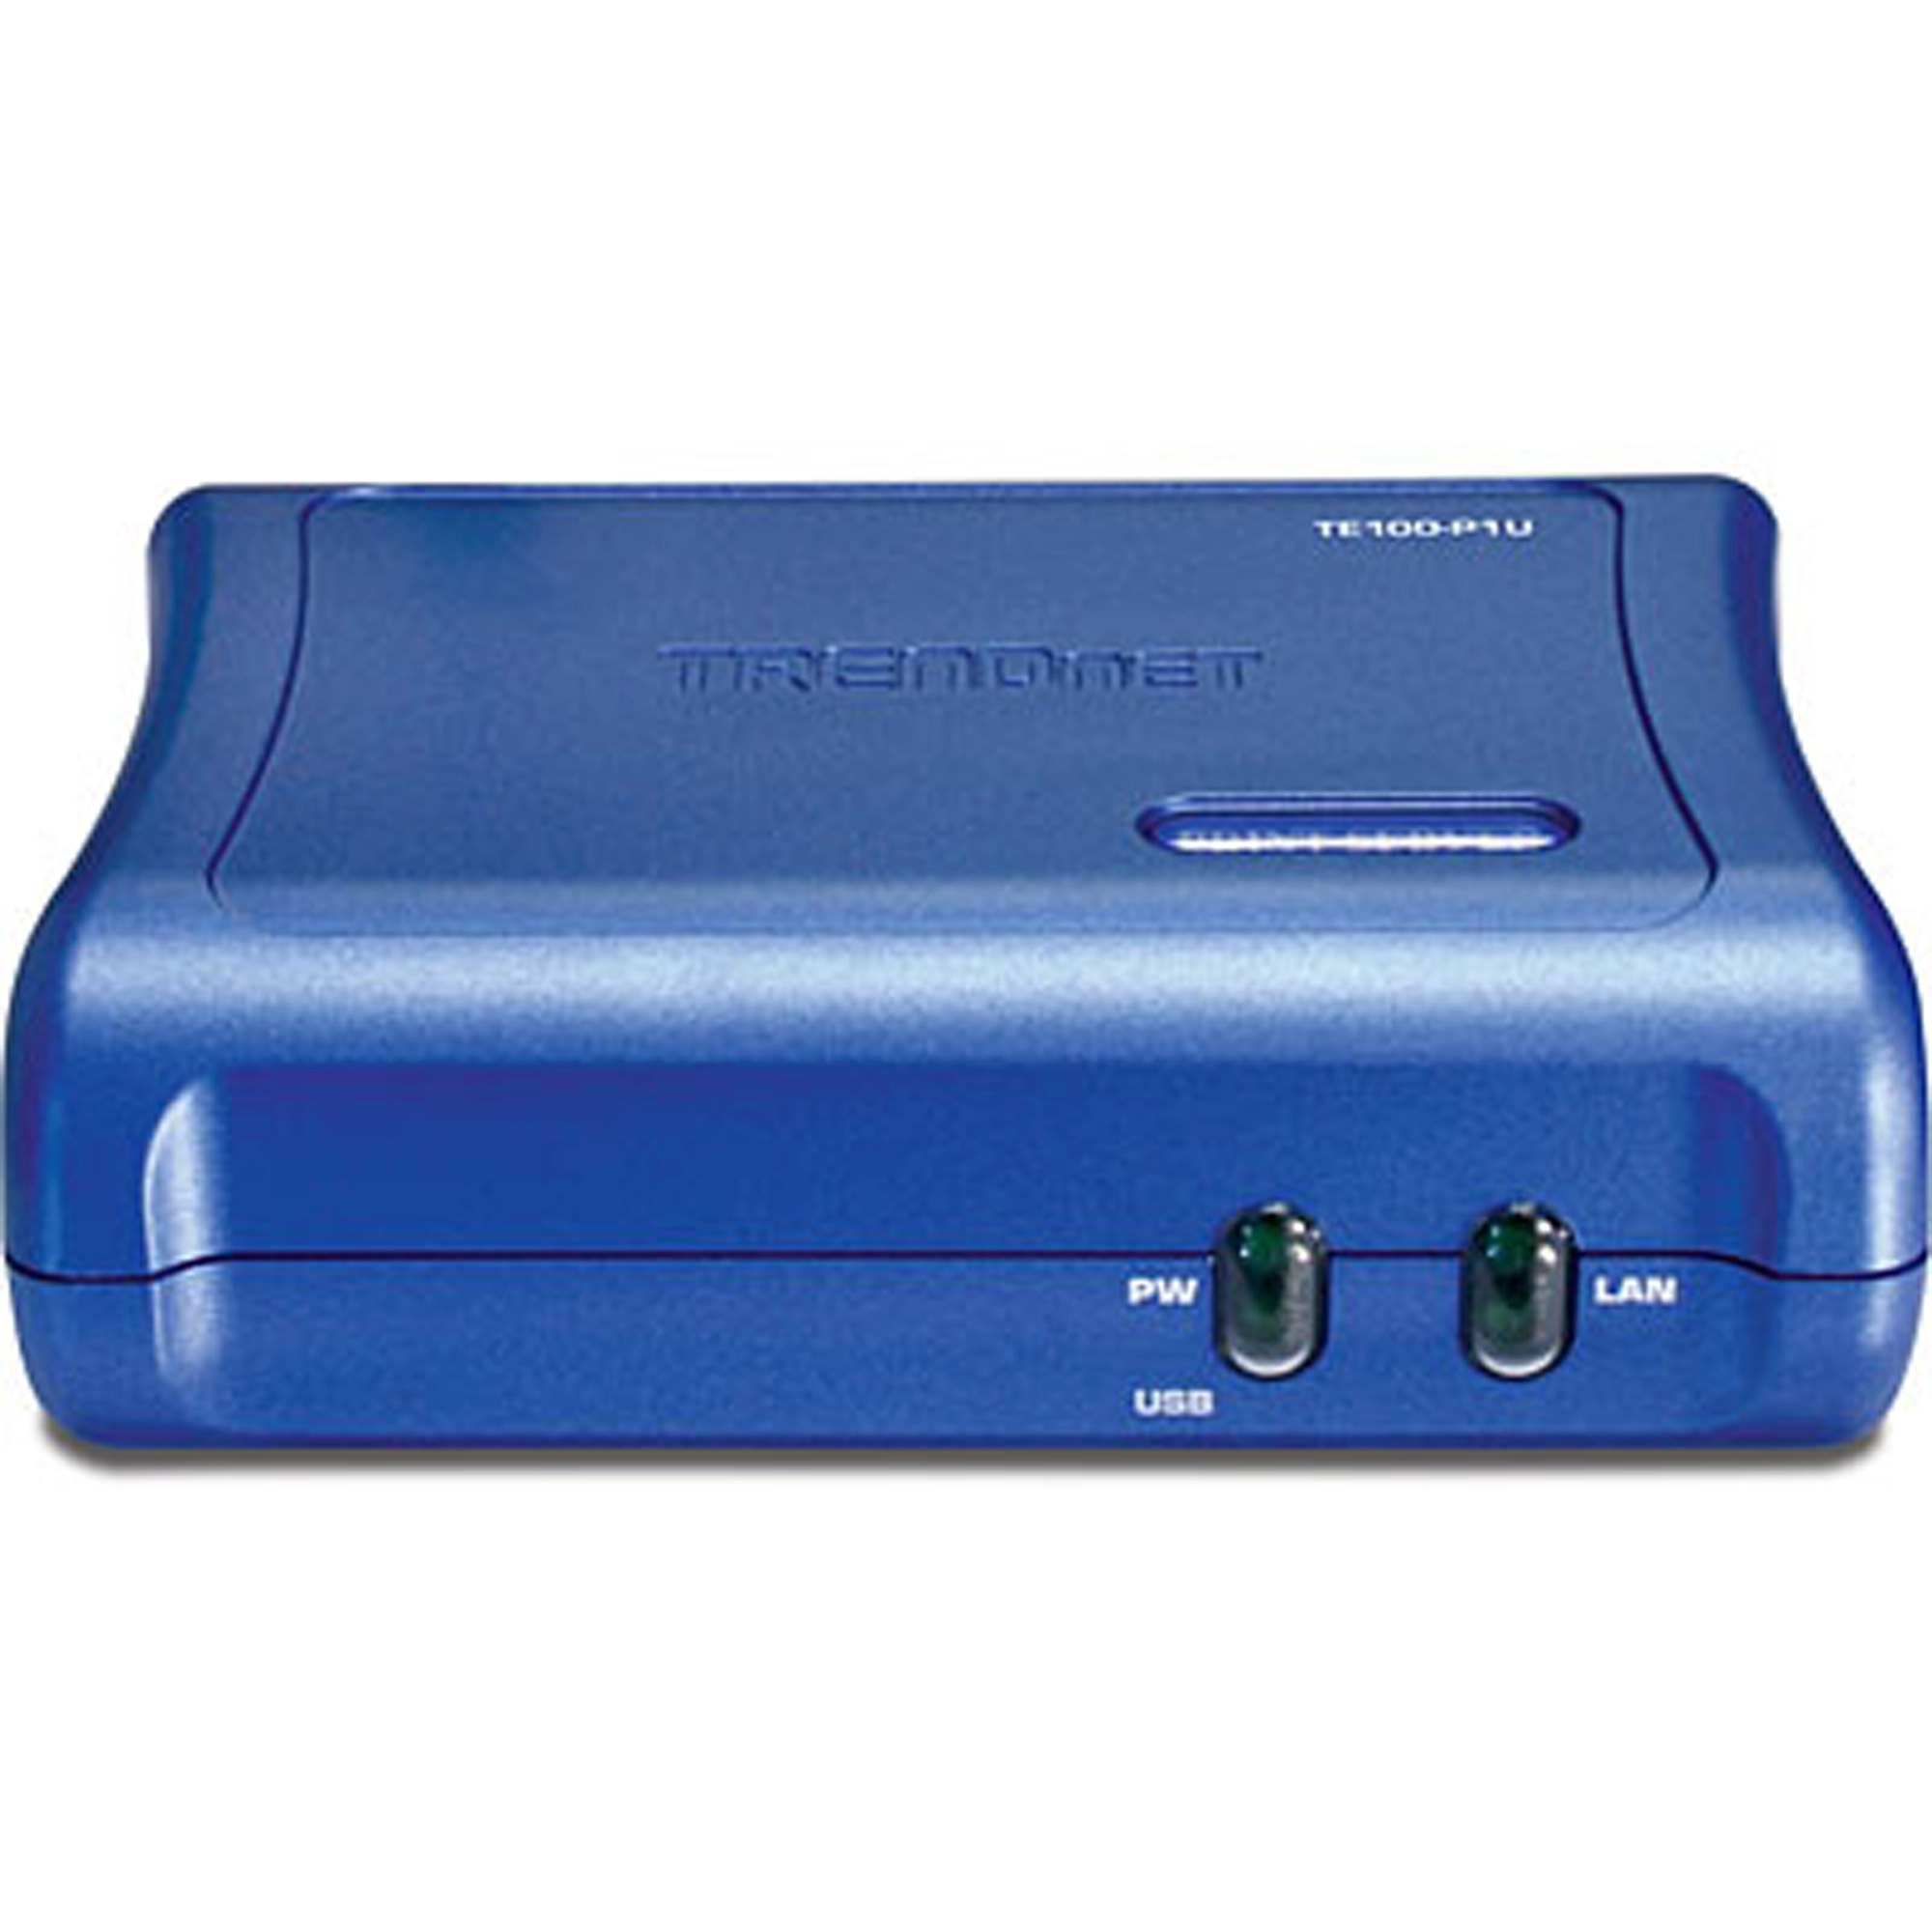
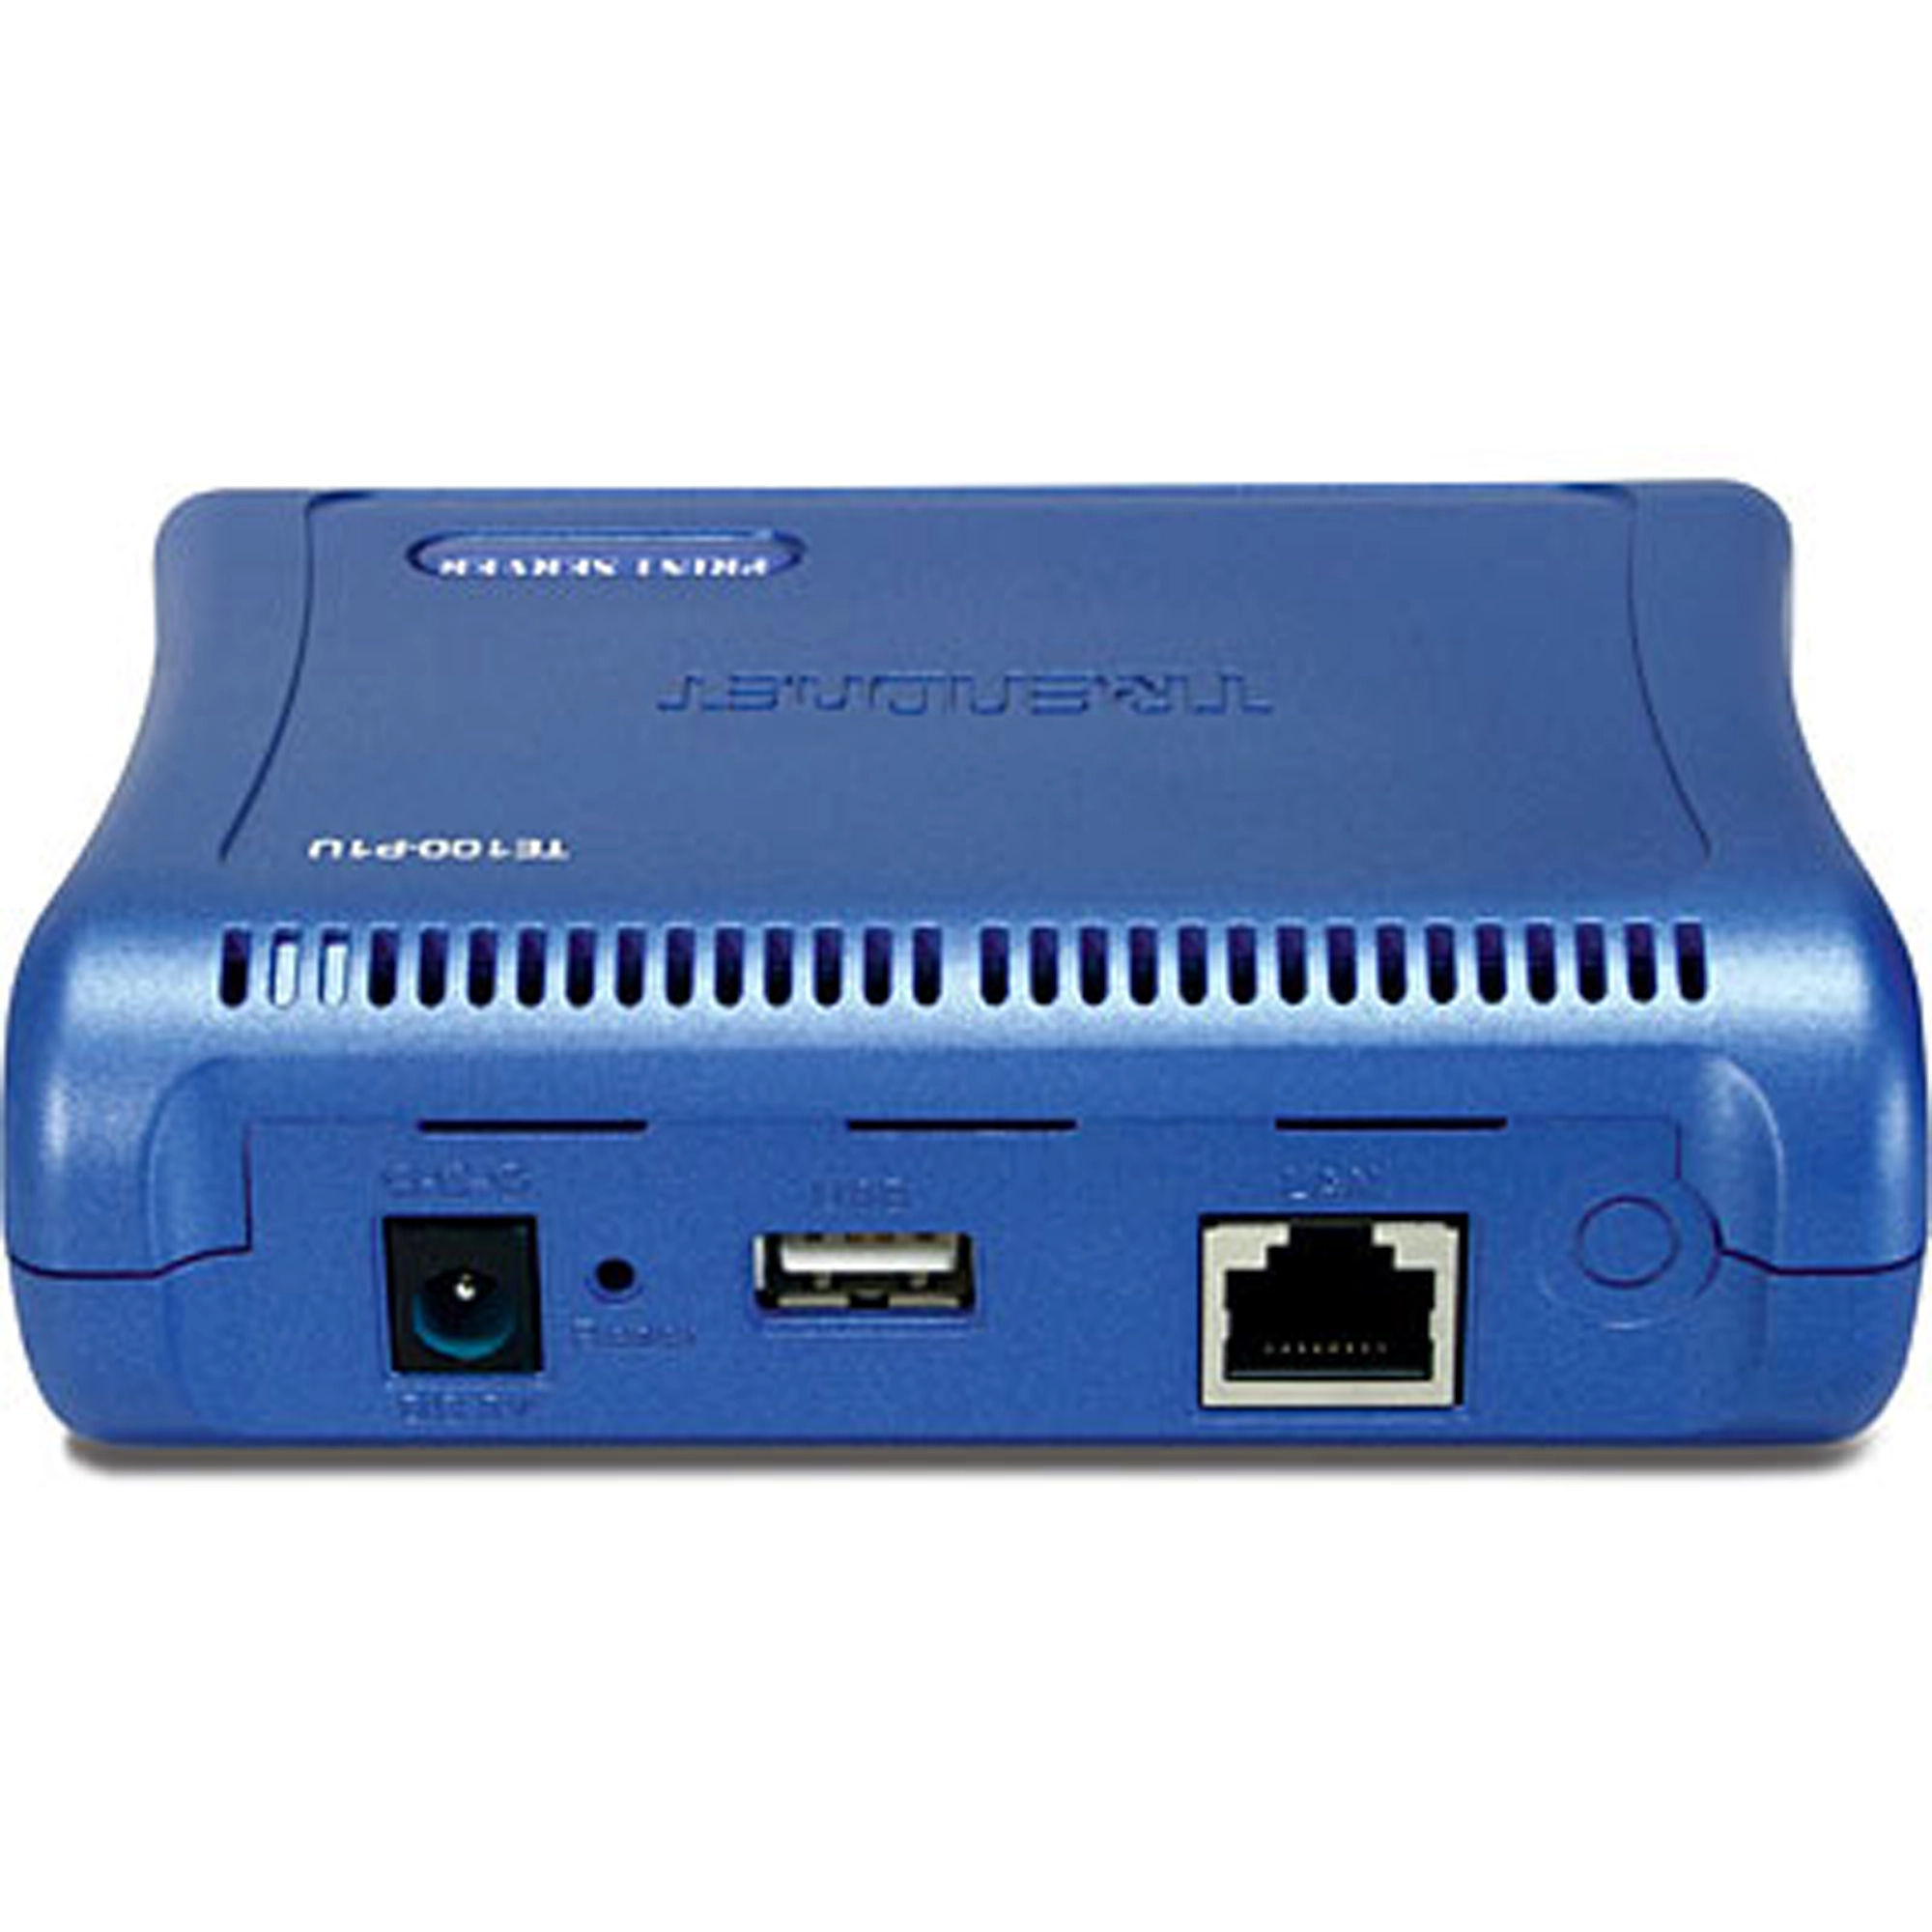
Serveur d'impression USB 2.0 10/100Mbps
TE100-P1U (Version v2.xR)
- Transforme une imprimante USB autonome en ressource réseau partagée
- Permet une impression à haut débit USB 2.0
- Gère le serveur d'impression à distance via le navigateur Internet ou l'utilitaire
DISCONTINUED PRODUCT
The TE100-P1U (Version v2.xR) has been discontinued. For a list of discontinued products, click here.Utilitaires
Nom de fichier: Utility_PSWizard(2.20)_PSUtility(3.13).zip
SHA-1 Checksum: 656EC84732B88297BD23D014FCD115D42B811E8F
Date: 7/25/2017
Taille du fichier: 2.24 MB
Firmware
NE PAS faire de mise à niveau d’un firmware sur quelque produit TRENDnet que ce soit à l’aide d’une connexion sans fil. Les mises à niveau de firmware via une connexion sans fil peuvent endommager le produit. Veuillez faire les mises à niveau de firmware uniquement avec un réseau filaire |
Firmware Version: V4.32
Release Date: July 2013
Notes:
- Improved Security
Nom de fichier: FW_TE100-P1U(v4.32).zip
SHA-1 Checksum: 499DD97E11A5D4AF0453C9CF90ACCECE01439932
Date: 7/25/2017
Taille du fichier: 399.27 KB
Feuilles de données
Nom de fichier: EN_Spec_TE100-P1U(v2.1R_2.2R).pdf
Date: 9/23/2010
Taille du fichier: 436.34 KB
Nom de fichier: FR_Spec_TE100-P1U(v2.1R_2.2R).pdf
Date: 9/23/2010
Taille du fichier: 439.78 KB
Nom de fichier: GE_Spec_TE100-P1U(v2.1R_2.2R).pdf
Date: 9/23/2010
Taille du fichier: 444.95 KB
Nom de fichier: PO_Spec_TE100-P1U(v2.1R_2.2R).pdf
Date: 1/11/2012
Taille du fichier: 788.61 KB
Nom de fichier: SP_Spec_TE100-P1U(v2.1R_2.2R).pdf
Date: 9/23/2010
Taille du fichier: 443.53 KB
Nom de fichier: RU_Spec_TE100-P1U(v2.1R_2.2R).pdf
Date: 9/23/2010
Taille du fichier: 961.70 KB
Nom de fichier: ITA_Spec_TE100-P1U(v2.1R_V2.2R).pdf
Date: 8/1/2008
Taille du fichier: 307.36 KB
Guide d'installation rapide
Nom de fichier: EN_Web_TE100-P1U(V2).pdf
Date: 2/1/2011
Taille du fichier: 1.43 MB
Nom de fichier: FR_Web_TE100-P1U(V2).pdf
Date: 2/1/2011
Taille du fichier: 1.43 MB
Nom de fichier: GE_Web_TE100-P1U(V2).pdf
Date: 2/1/2011
Taille du fichier: 1.41 MB
Nom de fichier: PO_Web_TE100-P1U(V2).pdf
Date: 2/1/2011
Taille du fichier: 1.37 MB
Nom de fichier: SP_Web_TE100-P1U(V2).pdf
Date: 2/1/2011
Taille du fichier: 1.41 MB
Nom de fichier: RU_Web_TE100-P1U(V2).pdf
Date: 2/1/2011
Taille du fichier: 2.18 MB
Nom de fichier: EST_Web_TE100-P1U(V2).pdf
Date: 2/1/2011
Taille du fichier: 1.15 MB
Guide de l'utilisateur
Nom de fichier: UG_TE100-P1U_v2.31R_.pdf
Date: 12/20/2011
Taille du fichier: 8.05 MB
Print servers are IEEE1284 bi-directional compatible. This means that data can
be sent and received in both directions between the printer and the print server.
Toner status, paper level, etc., will not be communicated back to the PC.
In order to get printer status information, the proprietary ...
The TE100-P1P's port name is P1 the TE100-P1U's port name is U1. They are case sensitive.
Yes, but you must assign the print server an IP address from a Windows based operating system first. Once that is done you can use LPR or LPD printing for the Macs and you can manage the print server by entering its IP address into a web browser. Also the printer must be a postscript printer....
Step 1 Go to Start>Settings>Printers>Add New Printer (WinXP - Start>Printers
and Faxes>Add a Printer).
Step 2 Select Local Printer. Make sure to uncheck Automatically
detect and install my plug and play printer. Click Next.
Step 3 Select Create a New Port and select Standard TCP/IP port. Cli...
In Windows 98/Me you will need to install the LPR client.
For Windows 98/ME you will also need to know the port name that you are printing
to (The Port Name is U1 for the TE100-P1U and P1 for the TE100-P1P).
Installing LPR:
Step 1 Once the file is downloaded and extracted, Go to Start > Setting...
First, launch your web browser (such as the Internet Explorer 6.0 used in this
manual). Then, type https://192.168.0.1 (the default IP address) in the Address
bar and press [Enter] to enter the Management screen of the Configuration Utility.
Or use the IP address that you manually assigned to ...
Step 1 Open up the PS-Utility and click on Change IP Address.
Step 2 Change IP Address:
Click this button to bring up the following dialog box, allowing you to change
the IP Address. In this dialog box you can select either Manually Assign
or DHCP Assign Automatically. When completed click "O...
If you are using Windows XP you will have to disable the built in firewall. But for all operating systems you have to disable any other form of firewall software such as Norton Internet Security, Black Ice, and ZoneAlarm....
If you are using Windows XP you will have to disable the built in firewall. But for all operating systems you have to disable any other form of firewall software such as Norton Internet Security, Black Ice, and Zonealarm....
Make sure to change your IP Address to 192.168.0.xxx where xxx is an available number between 2 to 253....
Open PS-Utility v2.00 (See 4. Configure the Print Server) to locate your Print Server's IP address. For MAC users, press the Reset button at the back of the TE100-P1U, hold the button for 15 seconds, release the button, and enter https://192.168.0.1 in a web browser to access the web utility feature...
Make sure to set the newly installed network printer to your default printer.
Make sure that the printer is online by turning the printer on. Make sure the power adapter of your printer is properly connected to a power outlet. ...
Make sure that the server name and printer name is entered correctly. There should be no spaces, and the back slashes that separate the server name and printer name should be this, \\, instead of this, //. (See 5. Add Network Printer). ...
Make sure that you are typing the correct printer name.
Please double check your hardware connections. Make sure that your printer is connected properly to the print server and your power adapter is connected properly to a power outlet. (See 3. Hardware Installation)...
| Matériel | |
| Normes | IEEE 802.3 10Base-T IEEE 802.3u 100Base-TX |
|---|---|
| Interface d'imprimante | Port USB 2.0, 1.1 compatible port USB de type A |
| Port LAN | Port RJ-45 10/100Mbps UTP/STP à auto-négociation |
| Microprocesseur/SDRAM/Flash ROM | RDC R2886 150MHz / 2MByte / 512KByte |
| Voyants lumineux | Alimentation, USB, Link/Act |
| Protocole de transport | TCP/IP |
| Protocole TCP/IP supporté | DHCP, IPP, LPR, HTTP |
| SE supportés |
|
| Gestion | Utilitaire PS ou configuration via navigateur Internet |
| Alimentation | Adaptateur secteur externe 5V DC, 2,5A |
| Dimensions | 115 x 85 x 30mm ( 4,5 x 3,4 x 1,2 pouces) |
| Poids | 128g |
| Température | Fonctionnement : De 0 à 50°C Entreposage : De -25 à 55°C |
| Humidité | Entre 10 et 90%, pas de condensation |
| Certifications | FCC, CE |
 | |
CONTENU DE L'EMBALLAGE |
|
Toutes les références au débit ne sont données qu’à titre de comparaison. Les spécifications, la taille et la forme du produit sont sujettes à modification sans avis préalable, et l’apparence réelle du produit peut différer de celle illustrée ici.


