Encodeur vidéo simple canal PoE Analogique vers IP
TV-VS1P (Version v1.0R)
- Fournit une fonctionnalité de point basée sur IP pour une caméra analogique de vidéosurveillance
- Visualiser une caméra de surveillance à partir d'une connexion Internet et sur les téléphones portables compatibles
- Pas besoin d'installer cette caméra près d'une source de courant, l'alimentation électrique et les données sont reçues via un simple câble Ethernet
- Enregistrement de détection de mouvement, alertes par email, déclencheurs d'alarme
- Sessions d'enregistrement planifiées sur un serveur avec la prise en charge de client Samba
DISCONTINUED PRODUCT
The TV-VS1P (Version v1.0R) has been discontinued. For a list of discontinued products, click here.Utilitaires
Nom de fichier: Utility_IPSetup_2.0.0.0.zip
SHA-1 Checksum: 726795D8F4960B605CD4C80F2D23437268275074
Date: 7/28/2017
Taille du fichier: 793.68 KB
Firmware
NE PAS faire de mise à niveau d’un firmware sur quelque produit TRENDnet que ce soit à l’aide d’une connexion sans fil. Les mises à niveau de firmware via une connexion sans fil peuvent endommager le produit. Veuillez faire les mises à niveau de firmware uniquement avec un réseau filaire |
Firmware: V1.0.1 build 11
Release Note: 2/2012
- Improved Security
Note:
- Please do not save the camera's configuration file from the old firmware and restore it after the firmware upgrade.
- After a successful firmware upgrade, please reset the camera to factory default and reconfigure the camera. We strongly recommend that you change the camera's administrator's account password.
Nom de fichier: FW_TV-VS1P_V1(1.0.1.11).zip
SHA-1 Checksum: DEDCAA92019AE2D5443F22DA385C84B09CE7A445
Date: 7/28/2017
Taille du fichier: 5.32 MB
Feuilles de données
Nom de fichier: EN_spec_TV_VS1P(V1.0R).pdf
Date: 9/6/2013
Taille du fichier: 655.22 KB
Nom de fichier: FR_spec_TV_VS1P(V1.0R).pdf
Date: 9/6/2013
Taille du fichier: 673.36 KB
Nom de fichier: GE_spec_TV_VS1P(V1.0R).pdf
Date: 9/6/2013
Taille du fichier: 678.23 KB
Nom de fichier: PO_spec_TV_VS1P(V1.0R).pdf
Date: 9/6/2013
Taille du fichier: 653.44 KB
Nom de fichier: SP_spec_TV_VS1P(V1.0R).pdf
Date: 9/6/2013
Taille du fichier: 660.99 KB
Nom de fichier: RU_spec_TV_VS1P(V1.0R).pdf
Date: 9/6/2013
Taille du fichier: 630.87 KB
Nom de fichier: IT_spec_TV_VS1P(V1.0R).pdf
Date: 9/6/2013
Taille du fichier: 660.12 KB
Guide d'installation rapide
Nom de fichier: EN_Web_TV-VS1_VS1P(1.01).pdf
Date: 6/30/2011
Taille du fichier: 5.59 MB
Nom de fichier: FR_Web_TV-VS1_VS1P(1.01).pdf
Date: 6/30/2011
Taille du fichier: 5.55 MB
Nom de fichier: GE_Web_TV-VS1_VS1P(1.01).pdf
Date: 6/30/2011
Taille du fichier: 5.00 MB
Nom de fichier: PO_Web_TV-VS1_VS1P(1.01).pdf
Date: 6/30/2011
Taille du fichier: 4.96 MB
Nom de fichier: SP_Web_TV-VS1_VS1P(1.01).pdf
Date: 6/30/2011
Taille du fichier: 5.00 MB
Nom de fichier: RU_Web_TV-VS1_VS1P(1.01).pdf
Date: 6/30/2011
Taille du fichier: 5.95 MB
Nom de fichier: EST_Web_TV-VS1_VS1P(1.01).pdf
Date: 6/30/2011
Taille du fichier: 4.74 MB
Guide de l'utilisateur
Nom de fichier: UG_TV-VS1_TV-VS1P(1.01).pdf
Date: 6/30/2011
Taille du fichier: 3.55 MB
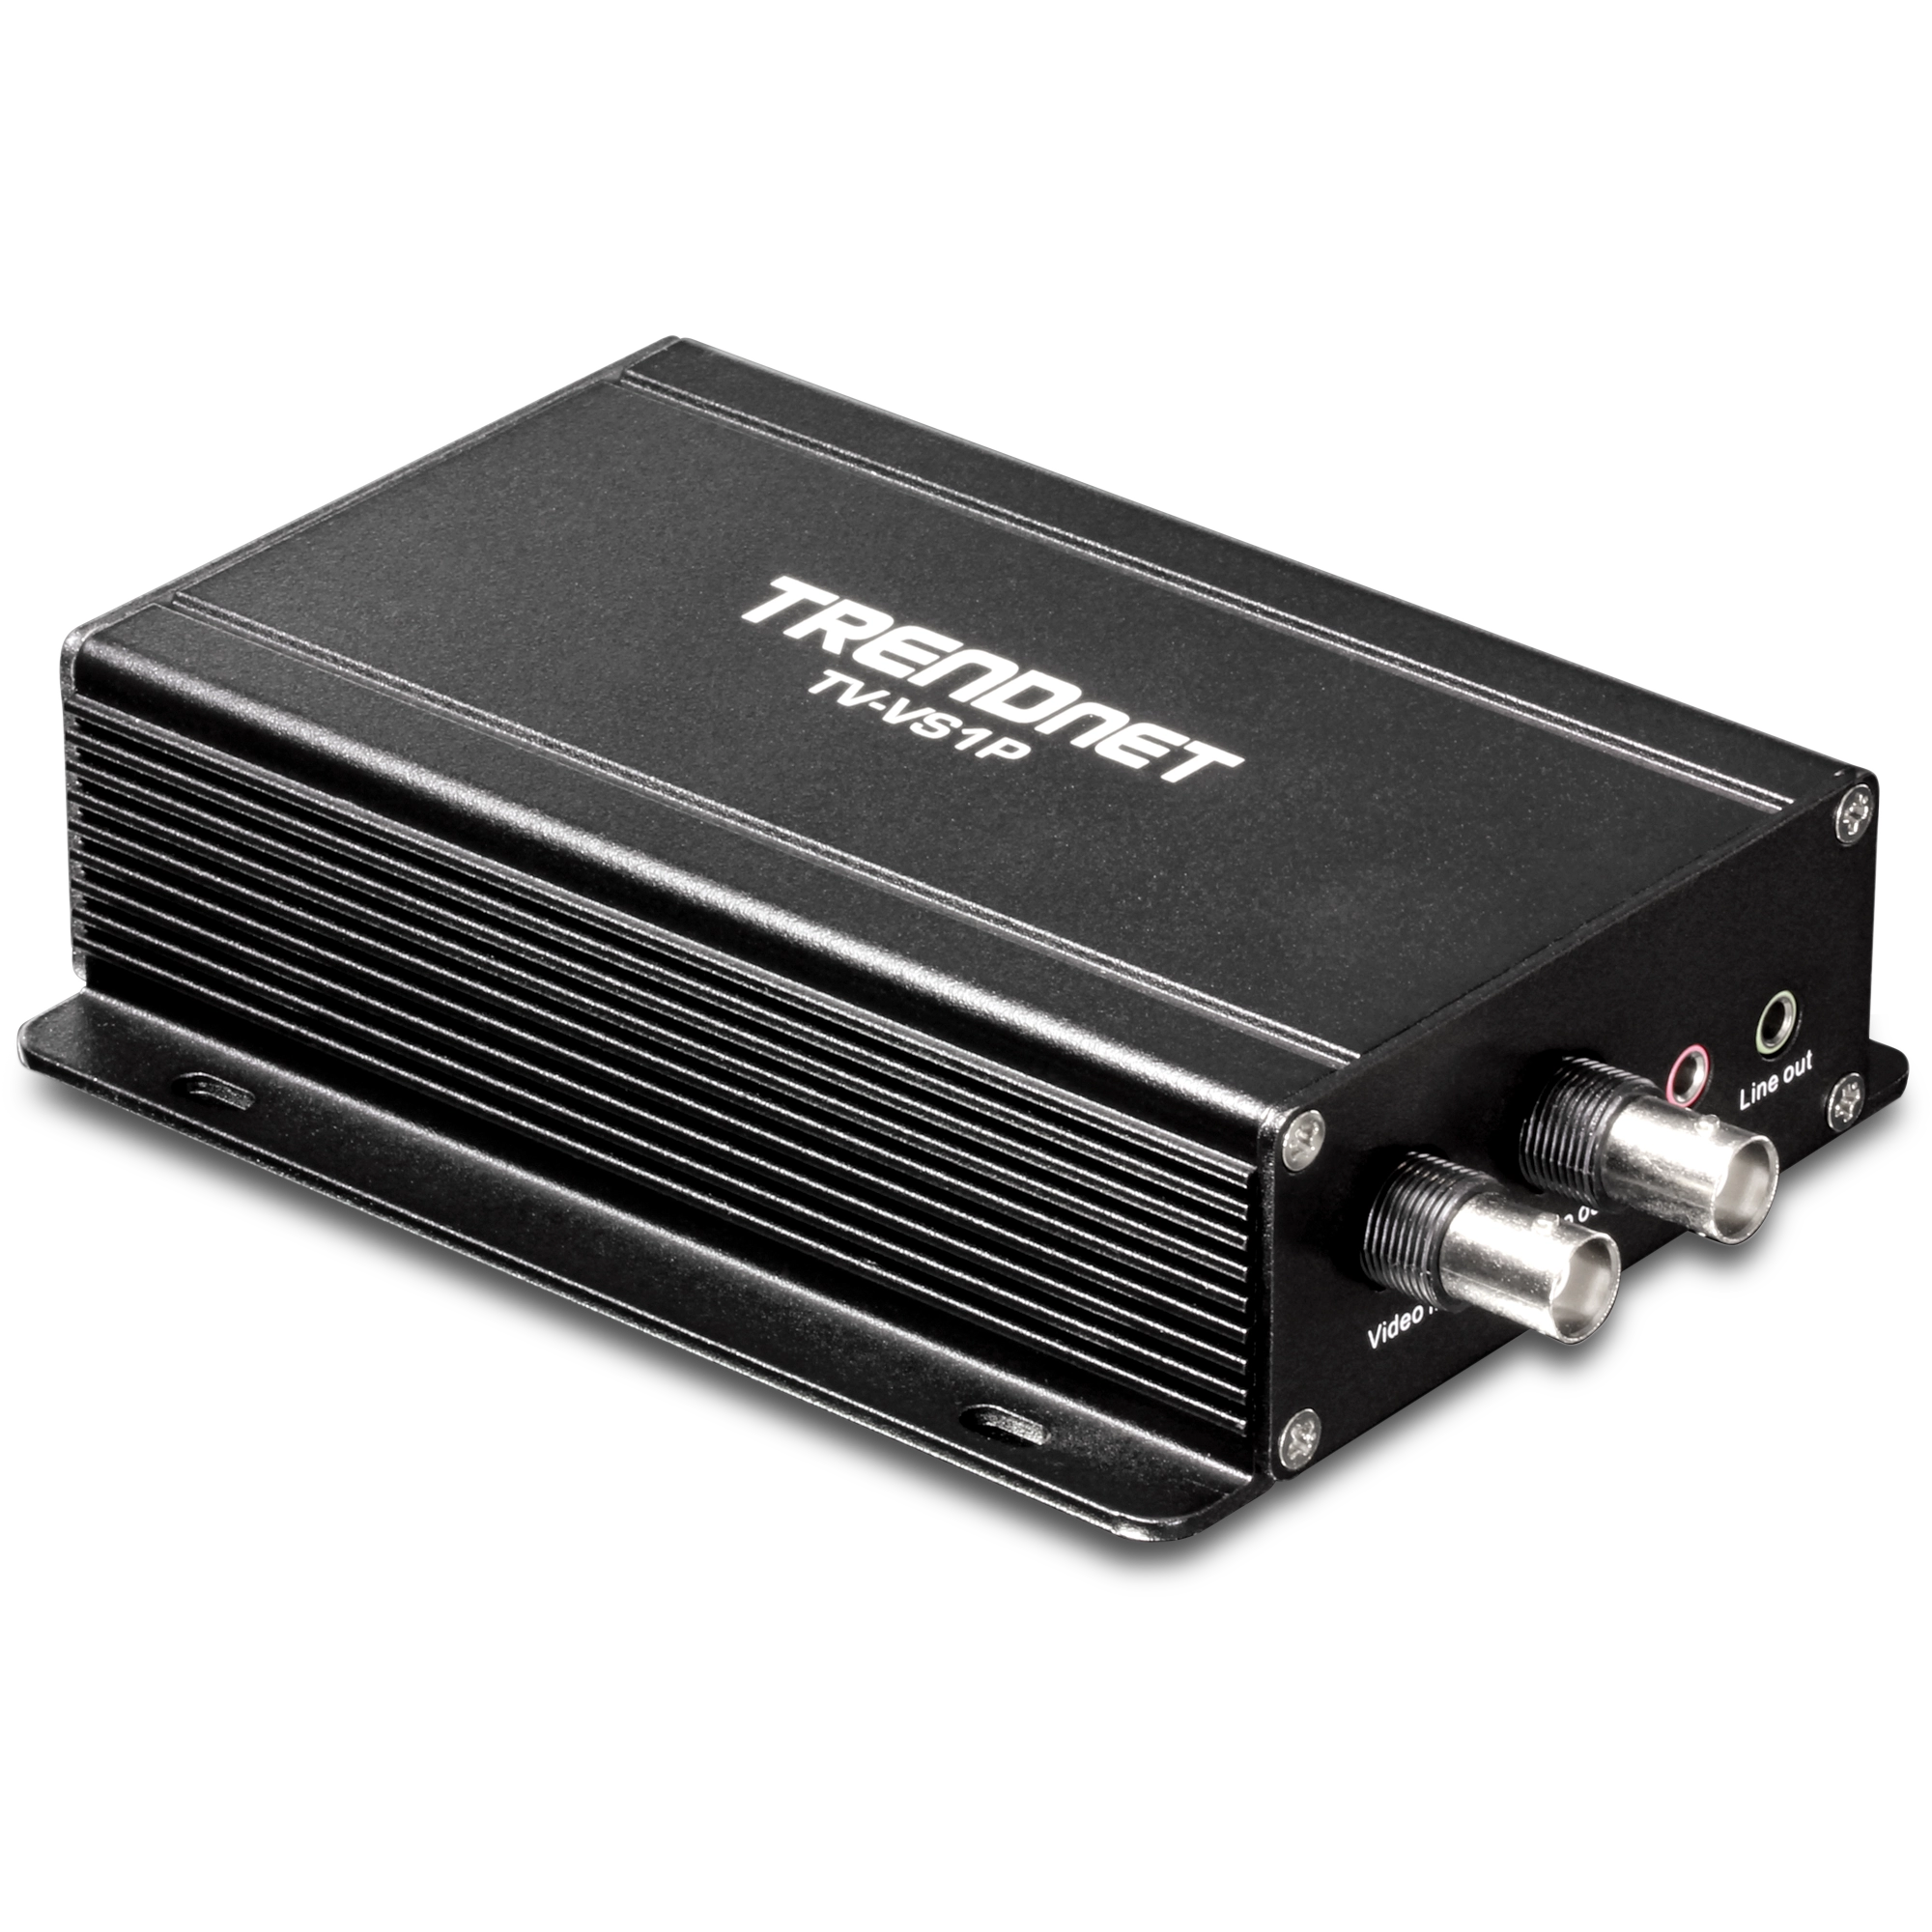
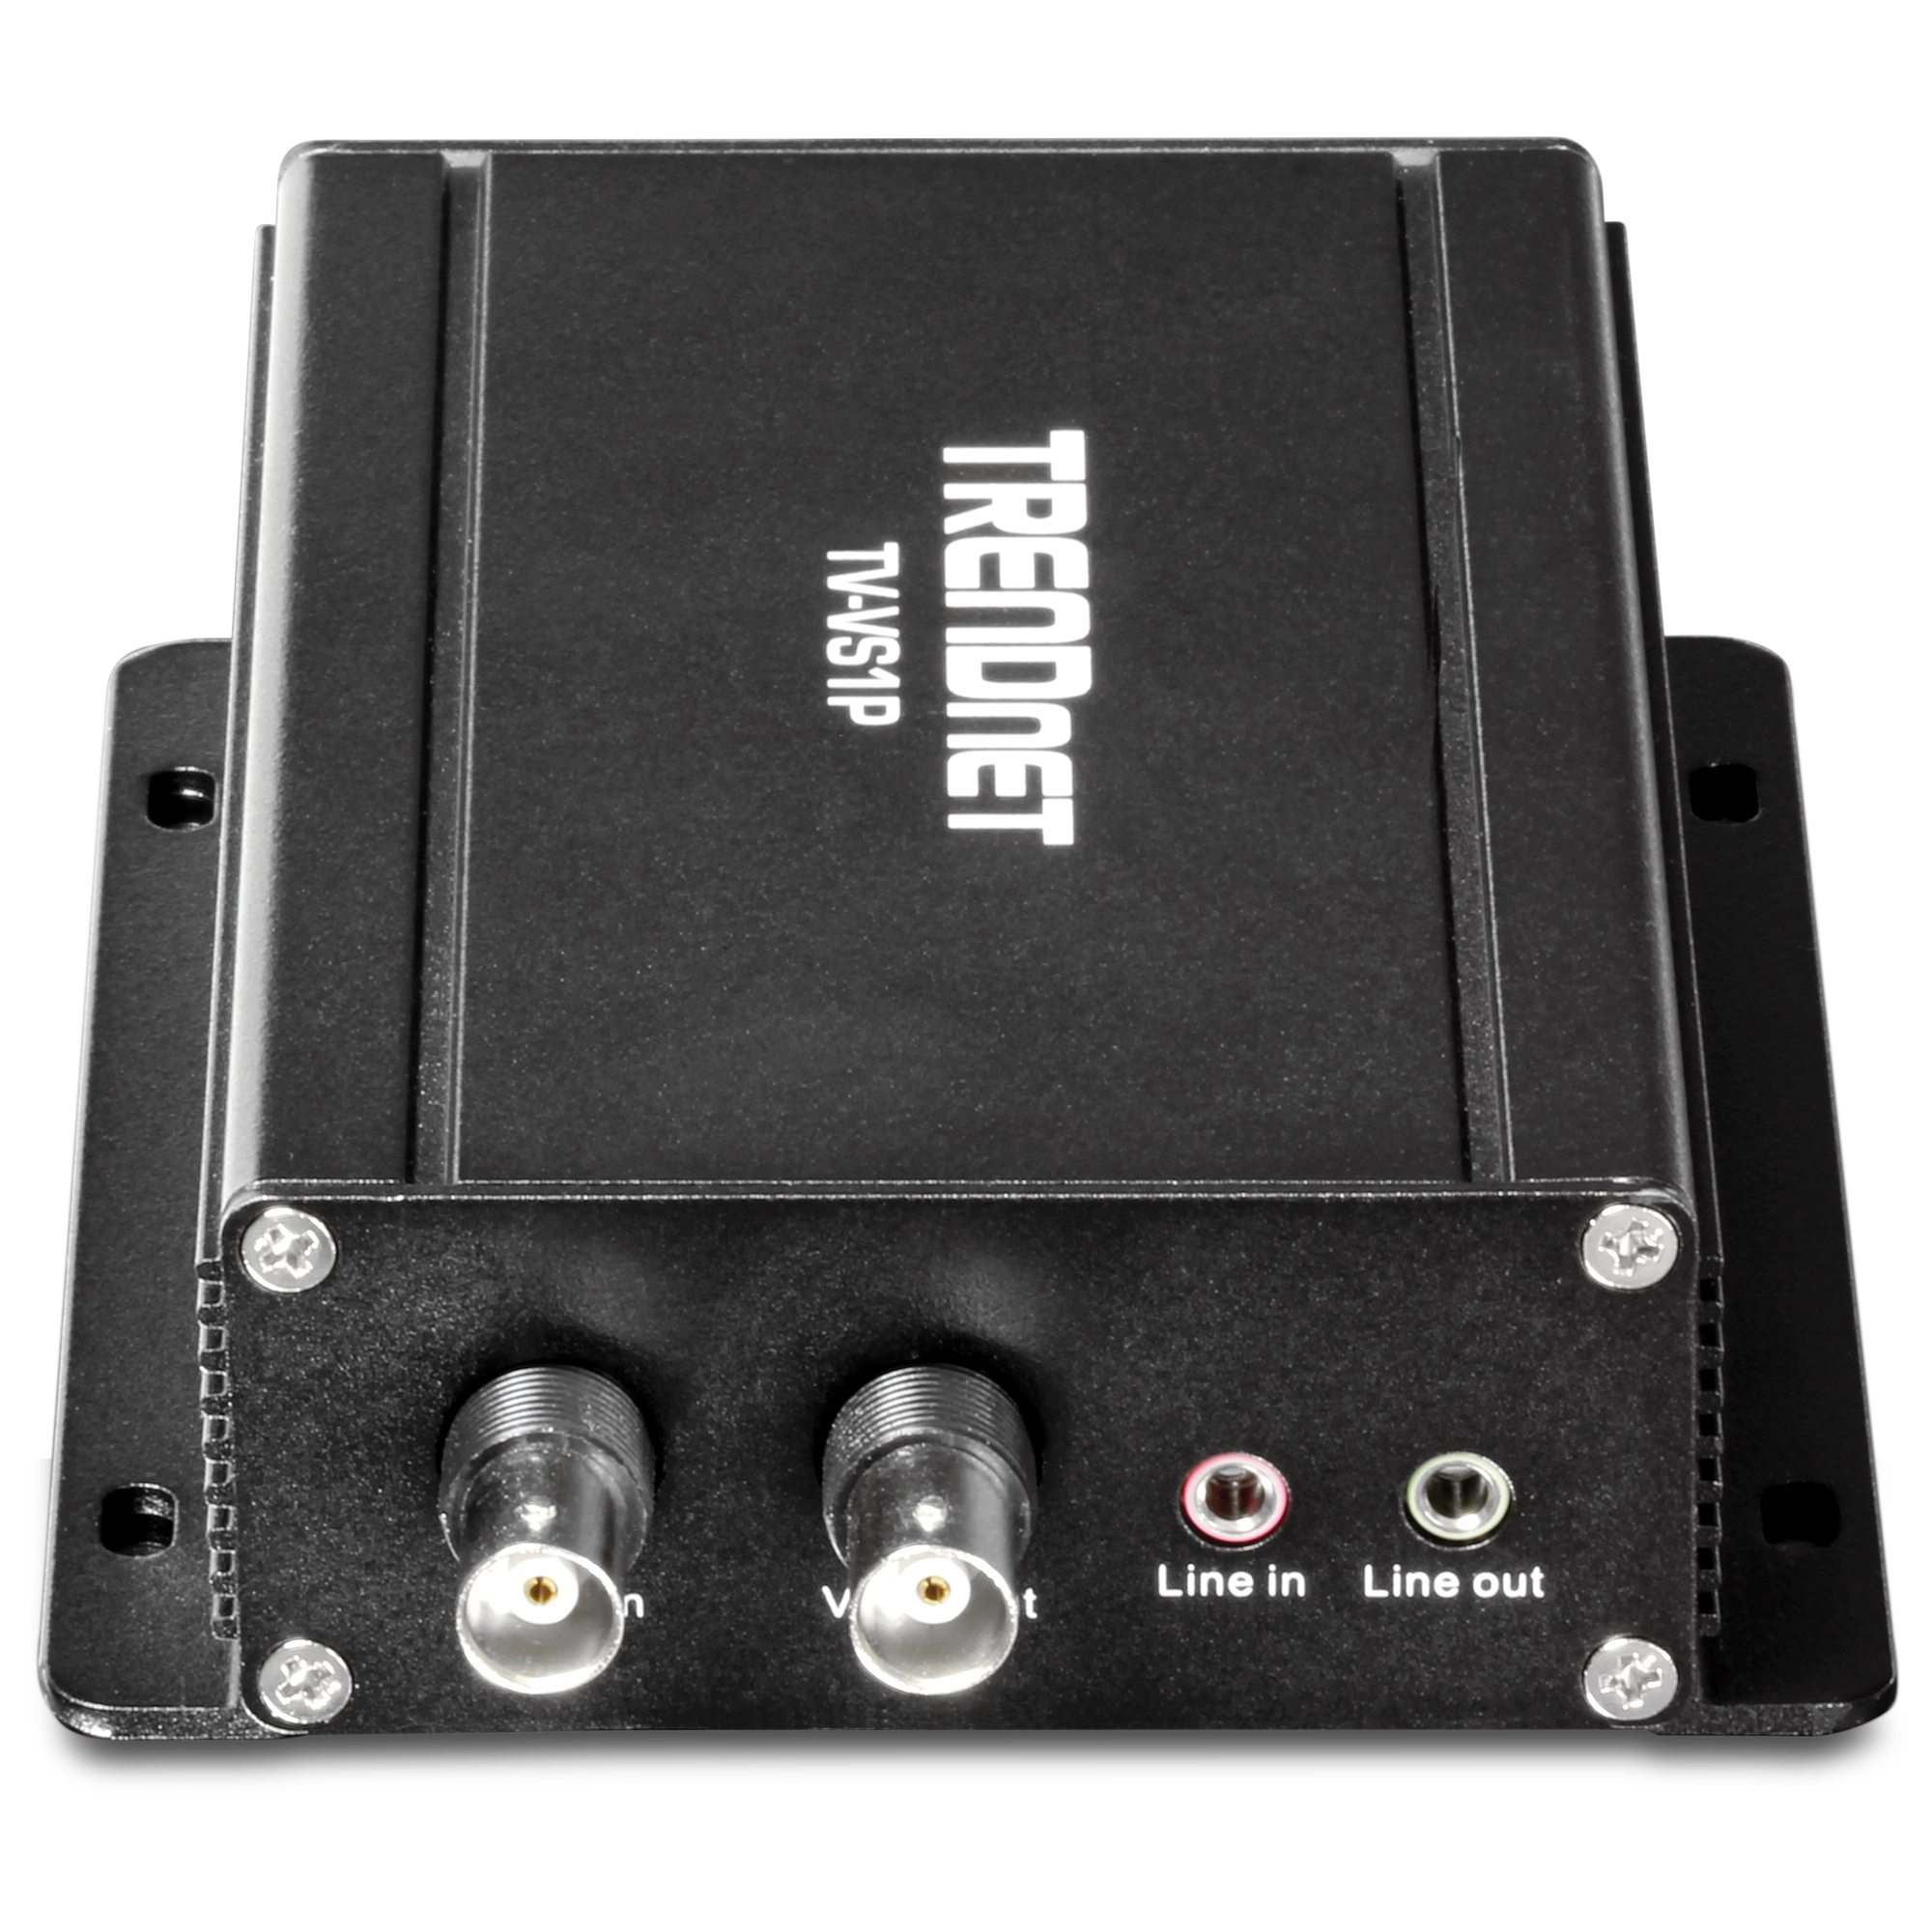
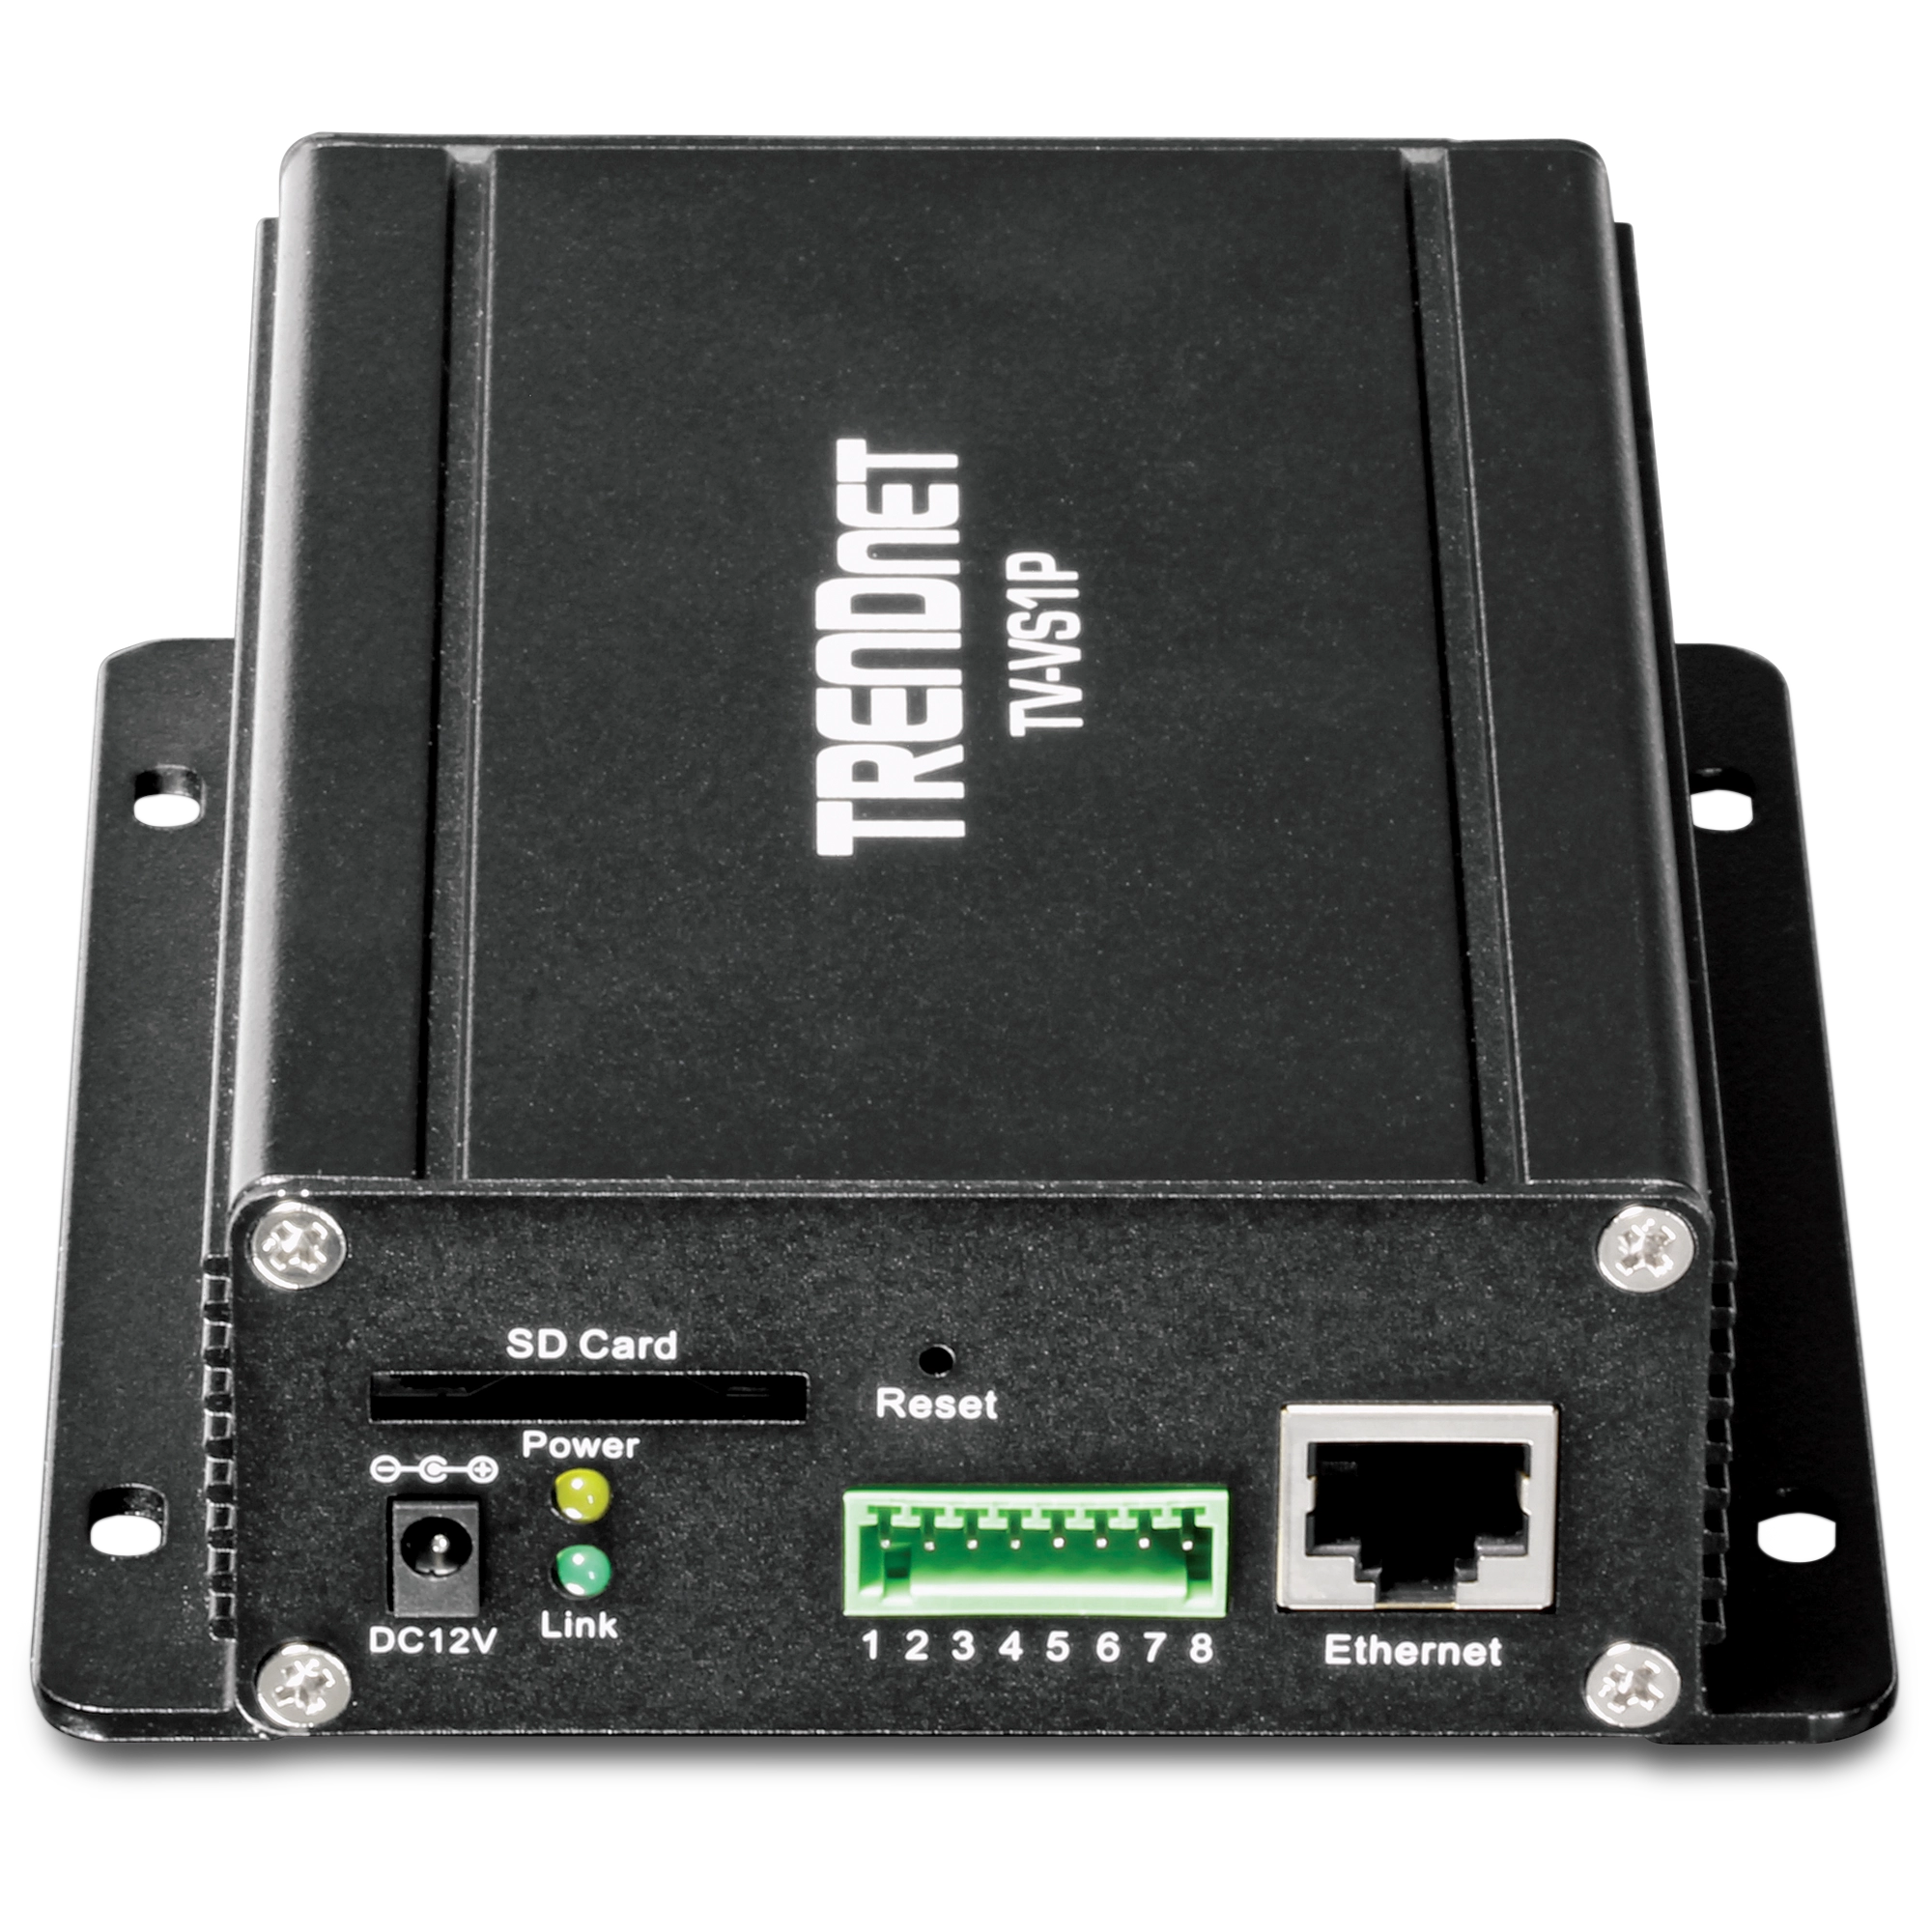
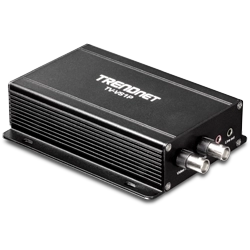
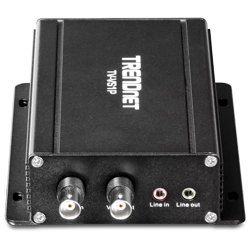
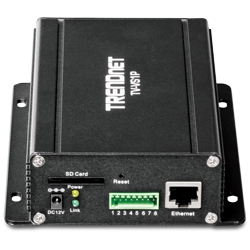
Images produit
Yes, the Secure Digital card will allow you to save video to it on motion detected and GPIO triggered events.
Log in to the camera by entering the camera's IP address into your browser. The default IP address is https://192.168.10.30. The default username and password are both admin.
Click Setup ...
Yes, log in to the camera and click on Setup then click on Event Server>Network Storage on the left hand side. Enter your Samba server information here.
After applying the Samba server information click on Event Config on the left hand side. You have three options, Motion Detection, Scheduled...
The camera must be configured properly to have Internet access. This includes making sure you have entered a valid default gateway address for the camera and valid DNS server entries. ...
By default the camera uses TCP port 80. Forward this port in your router or firewall to the camera....
Unfortunately SecurView is not compatible with Macintosh operating systems.
The camera can be configured from a Macintosh through its web-based configuration page. The camera's web configuration page can be reached by entering its IP address into a web browser. For example, if the IP address is 192.168.10.30 you would access it by opening your web browser and entering htt...
The camera's web configuration page can be reached by entering its IP address into a web browser. For example, if the IP address is 192.168.10.30 you would access it by opening Internet Explorer and entering https://192.168.10.30 into the address line....
The camera by default is configured to receive an IP address via DHCP. If it is unable to receive an IP address via DHCP it will default to 192.168.10.30. You can use the IP Setup Utility to find and change the IP address of the camera as well.
...
Start the SecurView Pro application and login. The default username and password are both "admin".
Click on Device > Device Setting
Select the camera and click modify
Click the Motion Detection Area button
Define your motion detection areas. You have three areas you can define....
Download the latest firmware update from our website here. Follow the firmware update instructions included with the downloaded firmware.
TV-VS1P:
https://www.TRENDnet.com/downloads/list_subcategory.asp?SUBTYPE_ID=1481
...
Log in to the camera and click on Setup then click on Event Server>Email on the left hand side. Enter your email server and user information here.
After applying the email server information click on EventConfig on the left hand side. You have three options, Motion Detection, Scheduled uploa...
Log in to the TV-VS1(P) and click on Setup then click on Event Server>FTP on the left hand side. Enter your FTP server information here.
After applying the FTP server information click on Event Config on the left hand side. You have three options Motion Detection, Scheduled uploading and GPI...
After you have the camera configured on your network start SecurView Pro. The default username and password for SecurView Pro are both admin.
Click on the Device button then click Device Settings.
Click New.
Click on the Device Search button.
Click Sea...
The supported browsers are Internet Explorer 6.0 or above.
Press and hold in the reset button on the TV-VS1(P) for 5 seconds while the power is on to restore factory default settings.
...
The orange LED is a power light. It should be a steady orange light when power is applied. The green LED is a link light. It should be green with an active Ethernet connection and blinking when sending and receiving data....
Log in to the camera by entering the camera's IP address into your browser. The default IP address ishttps://192.168.10.30. The default username and password are both admin.
After you have logged into the camera do the following.
-Click Setup>Basic>User
You can define the Administrator Pass...
Yes, the camera does support DDNS (Dynamic DNS). Dynamic DNS services will allow you to maintain a single hostname for the camera, even if your ISP changes your WAN IP address. The camera will update the DDNS record to reflect the new IP address. This ensures that each time you go to the hostname yo...
You will need to forward the port that the TV-VS1(P) is using in the router to the TV-VS1(P). By default this is TCP port80. From a remote location you would enter in the public or WAN IP address of your router into your browser or add it to SecurView Pro using the public IP address.
Refer to you...
| General | |
| vidéo |
|
|---|---|
| Audio |
|
| GPIO |
|
| Slot carte SD |
|
| Pan/Tilt/Zoom |
|
| Matériel | |
| Réseau |
|
| Voyants lumineux |
|
| Bouton de réinitialisation |
|
| Consommation |
|
| Alimentation |
|
| Dimensions |
|
| Poids |
|
| Température |
|
| Humidité |
|
| Certifications |
|
| Configuration nécessaire | |
| Interface de gestion |
|
| Pour exécuter l'utilitaire |
|
| Protocoles réseau |
|
| Gestion | |
| Identification à distance |
|
| Sauvegarde/Restauration |
|
| Paramétrages | |
| Image |
|
| Encodeur vidéo |
|
| Enregistrement |
|
| Paramètrages des ports |
|
| Zoom numérique |
|
| DNS dynamique |
|
| Heure |
|
| SMTP |
|
| Journal système |
|
CONTENU DE L'EMBALLAGE |
|
Toutes les références au débit ne sont données qu’à titre de comparaison. Les spécifications, la taille et la forme du produit sont sujettes à modification sans préavis, et l’apparence réelle du produit peut différer de celle illustrée ici.
Non disponible en