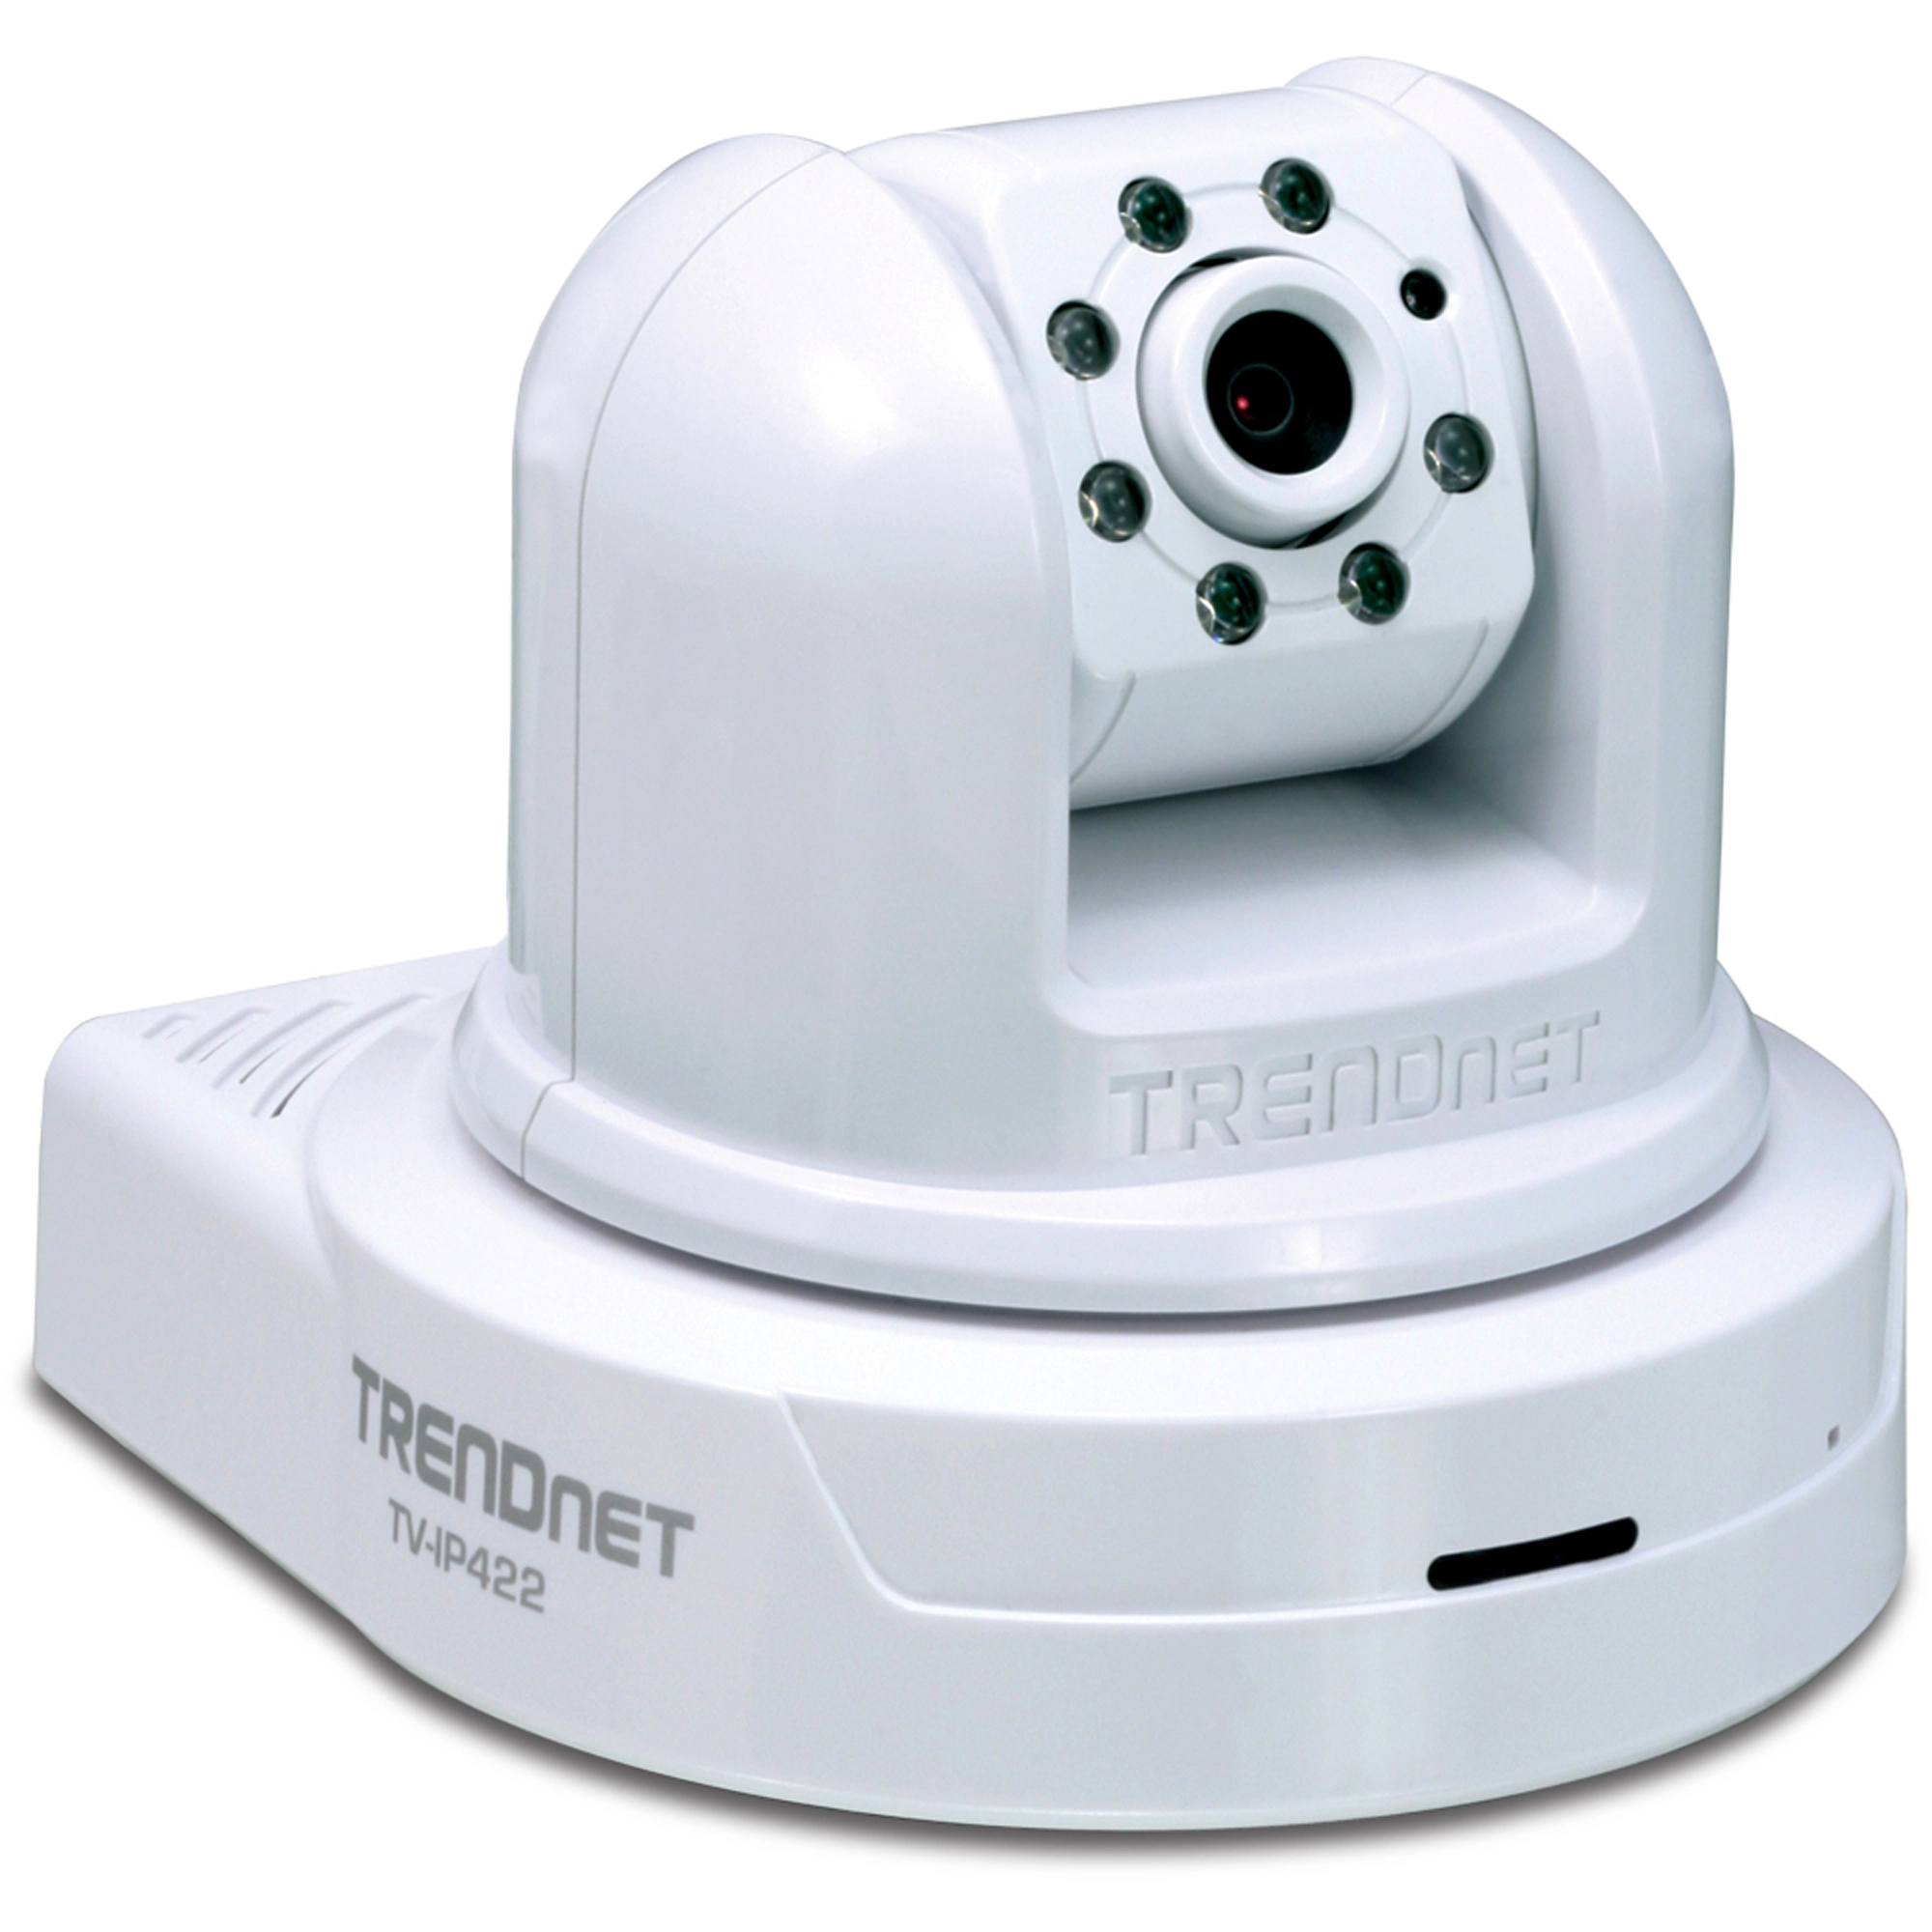
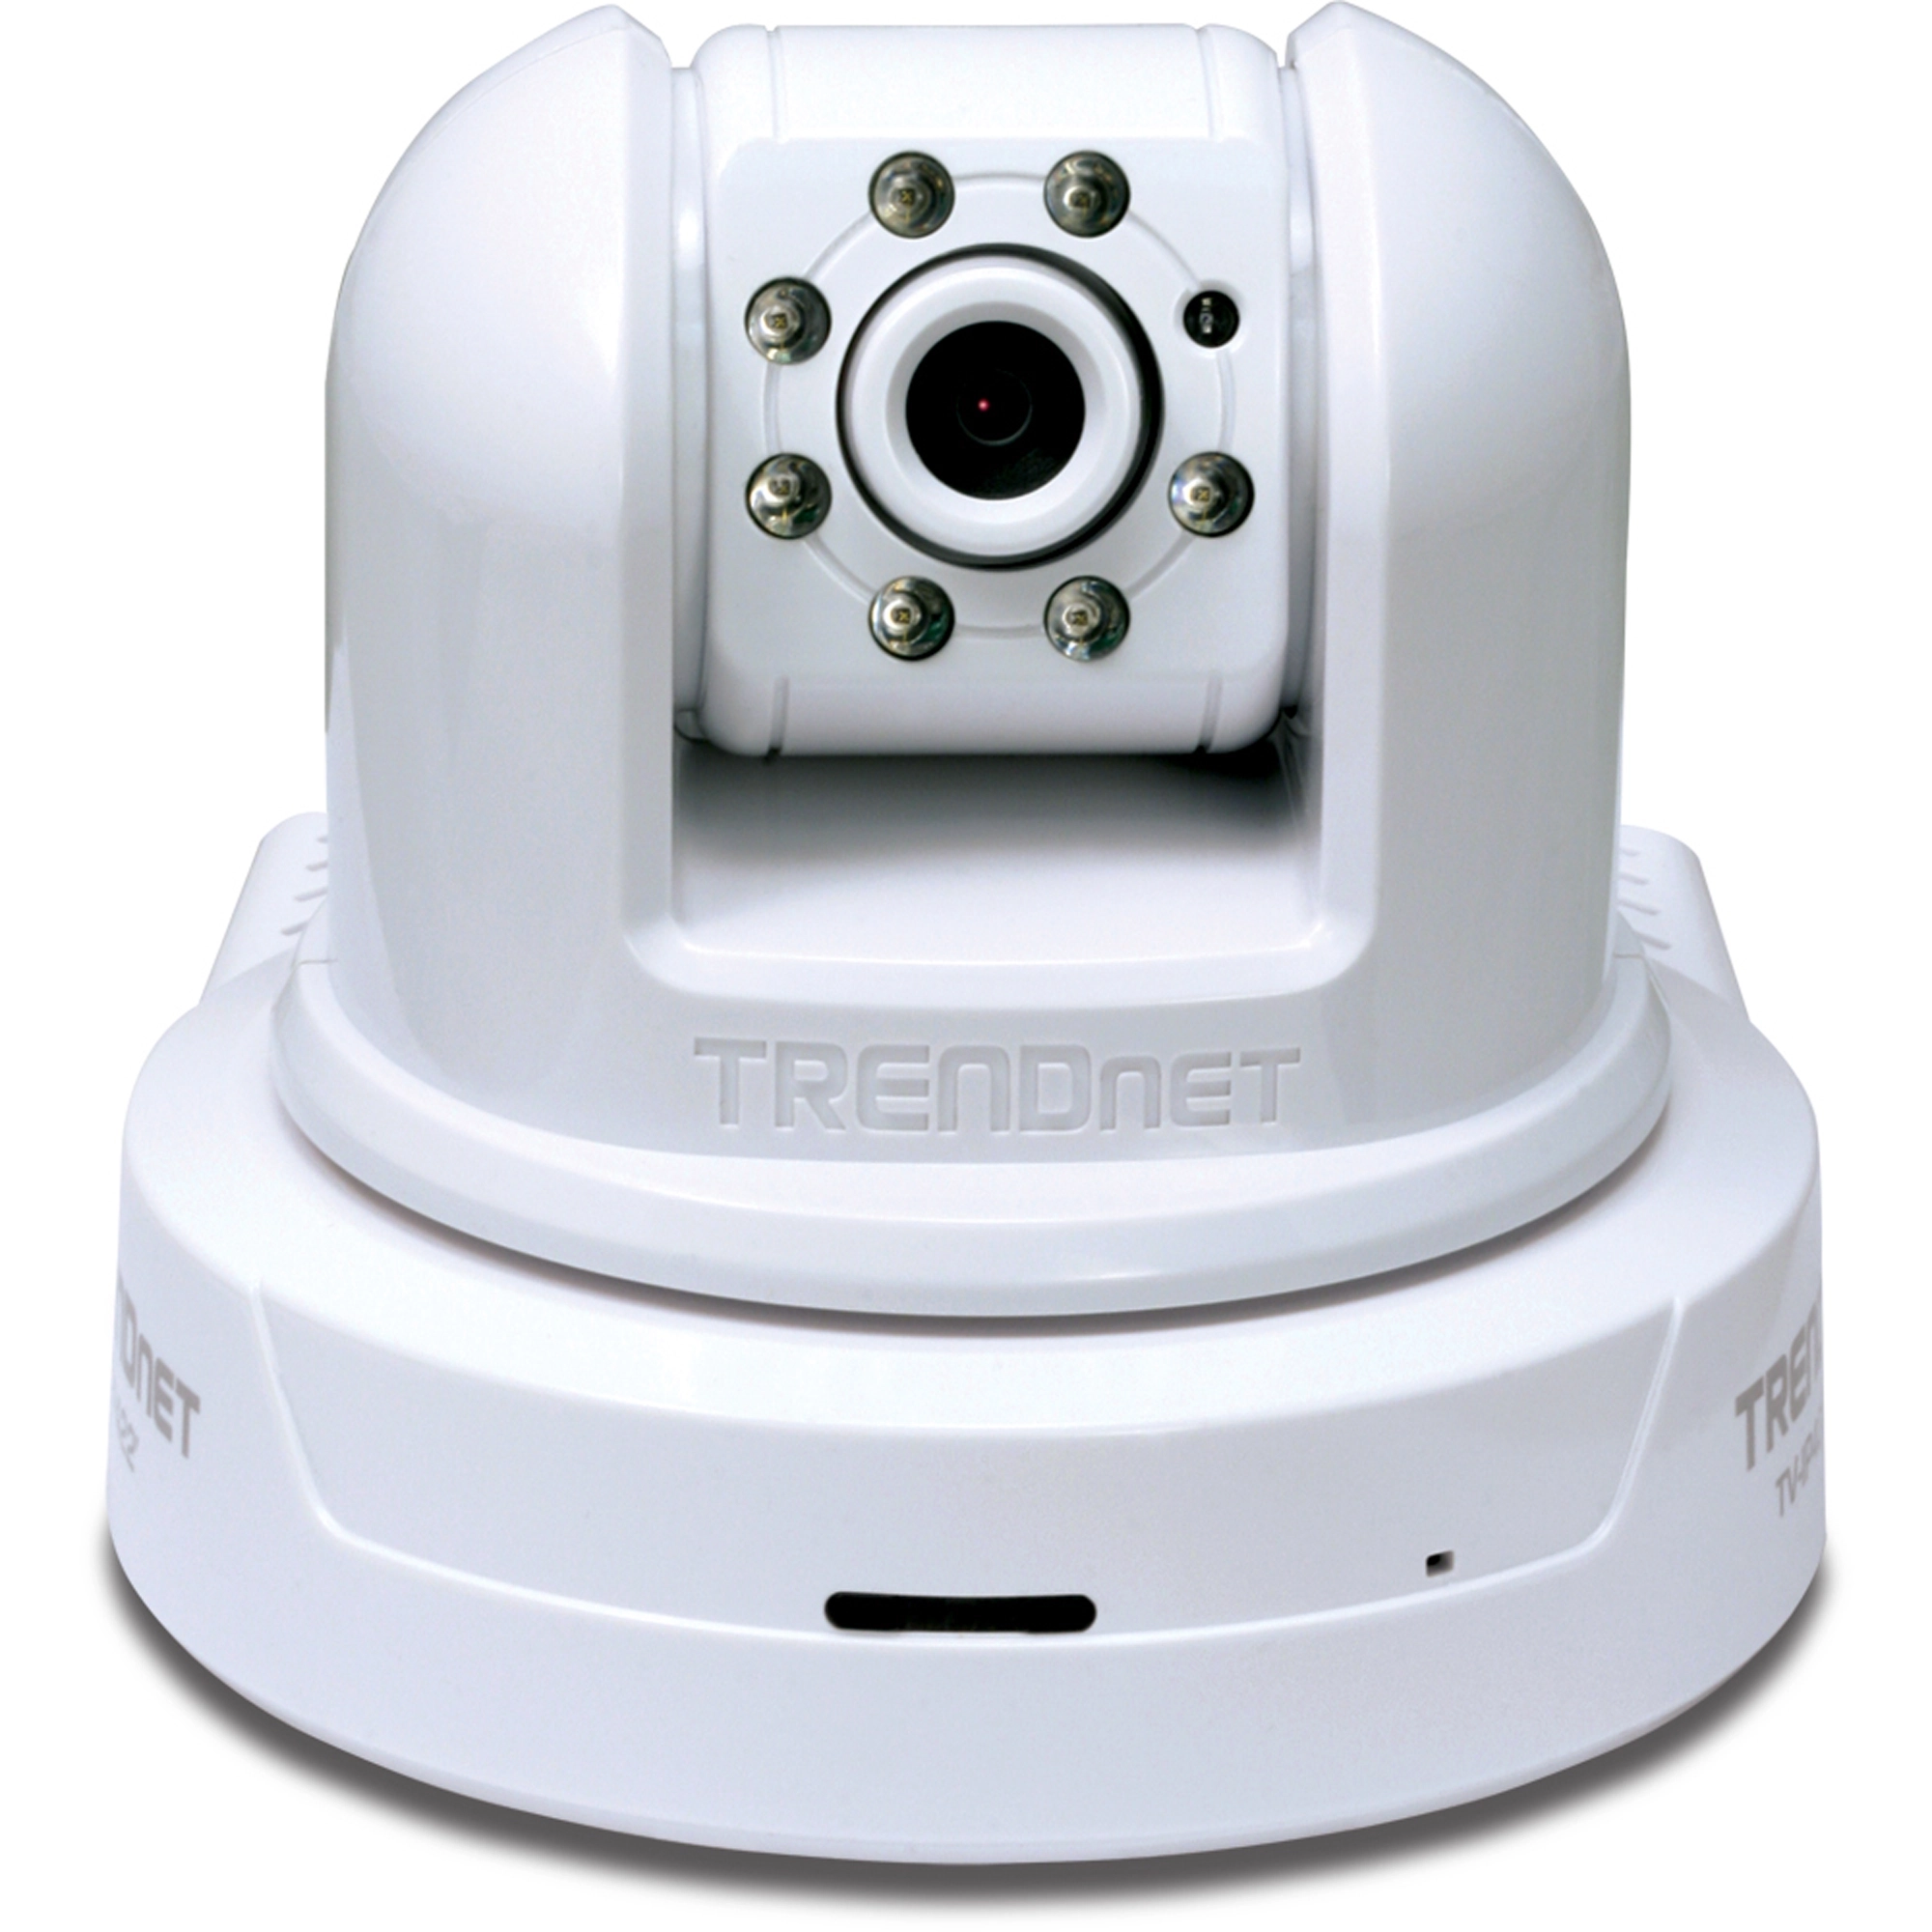
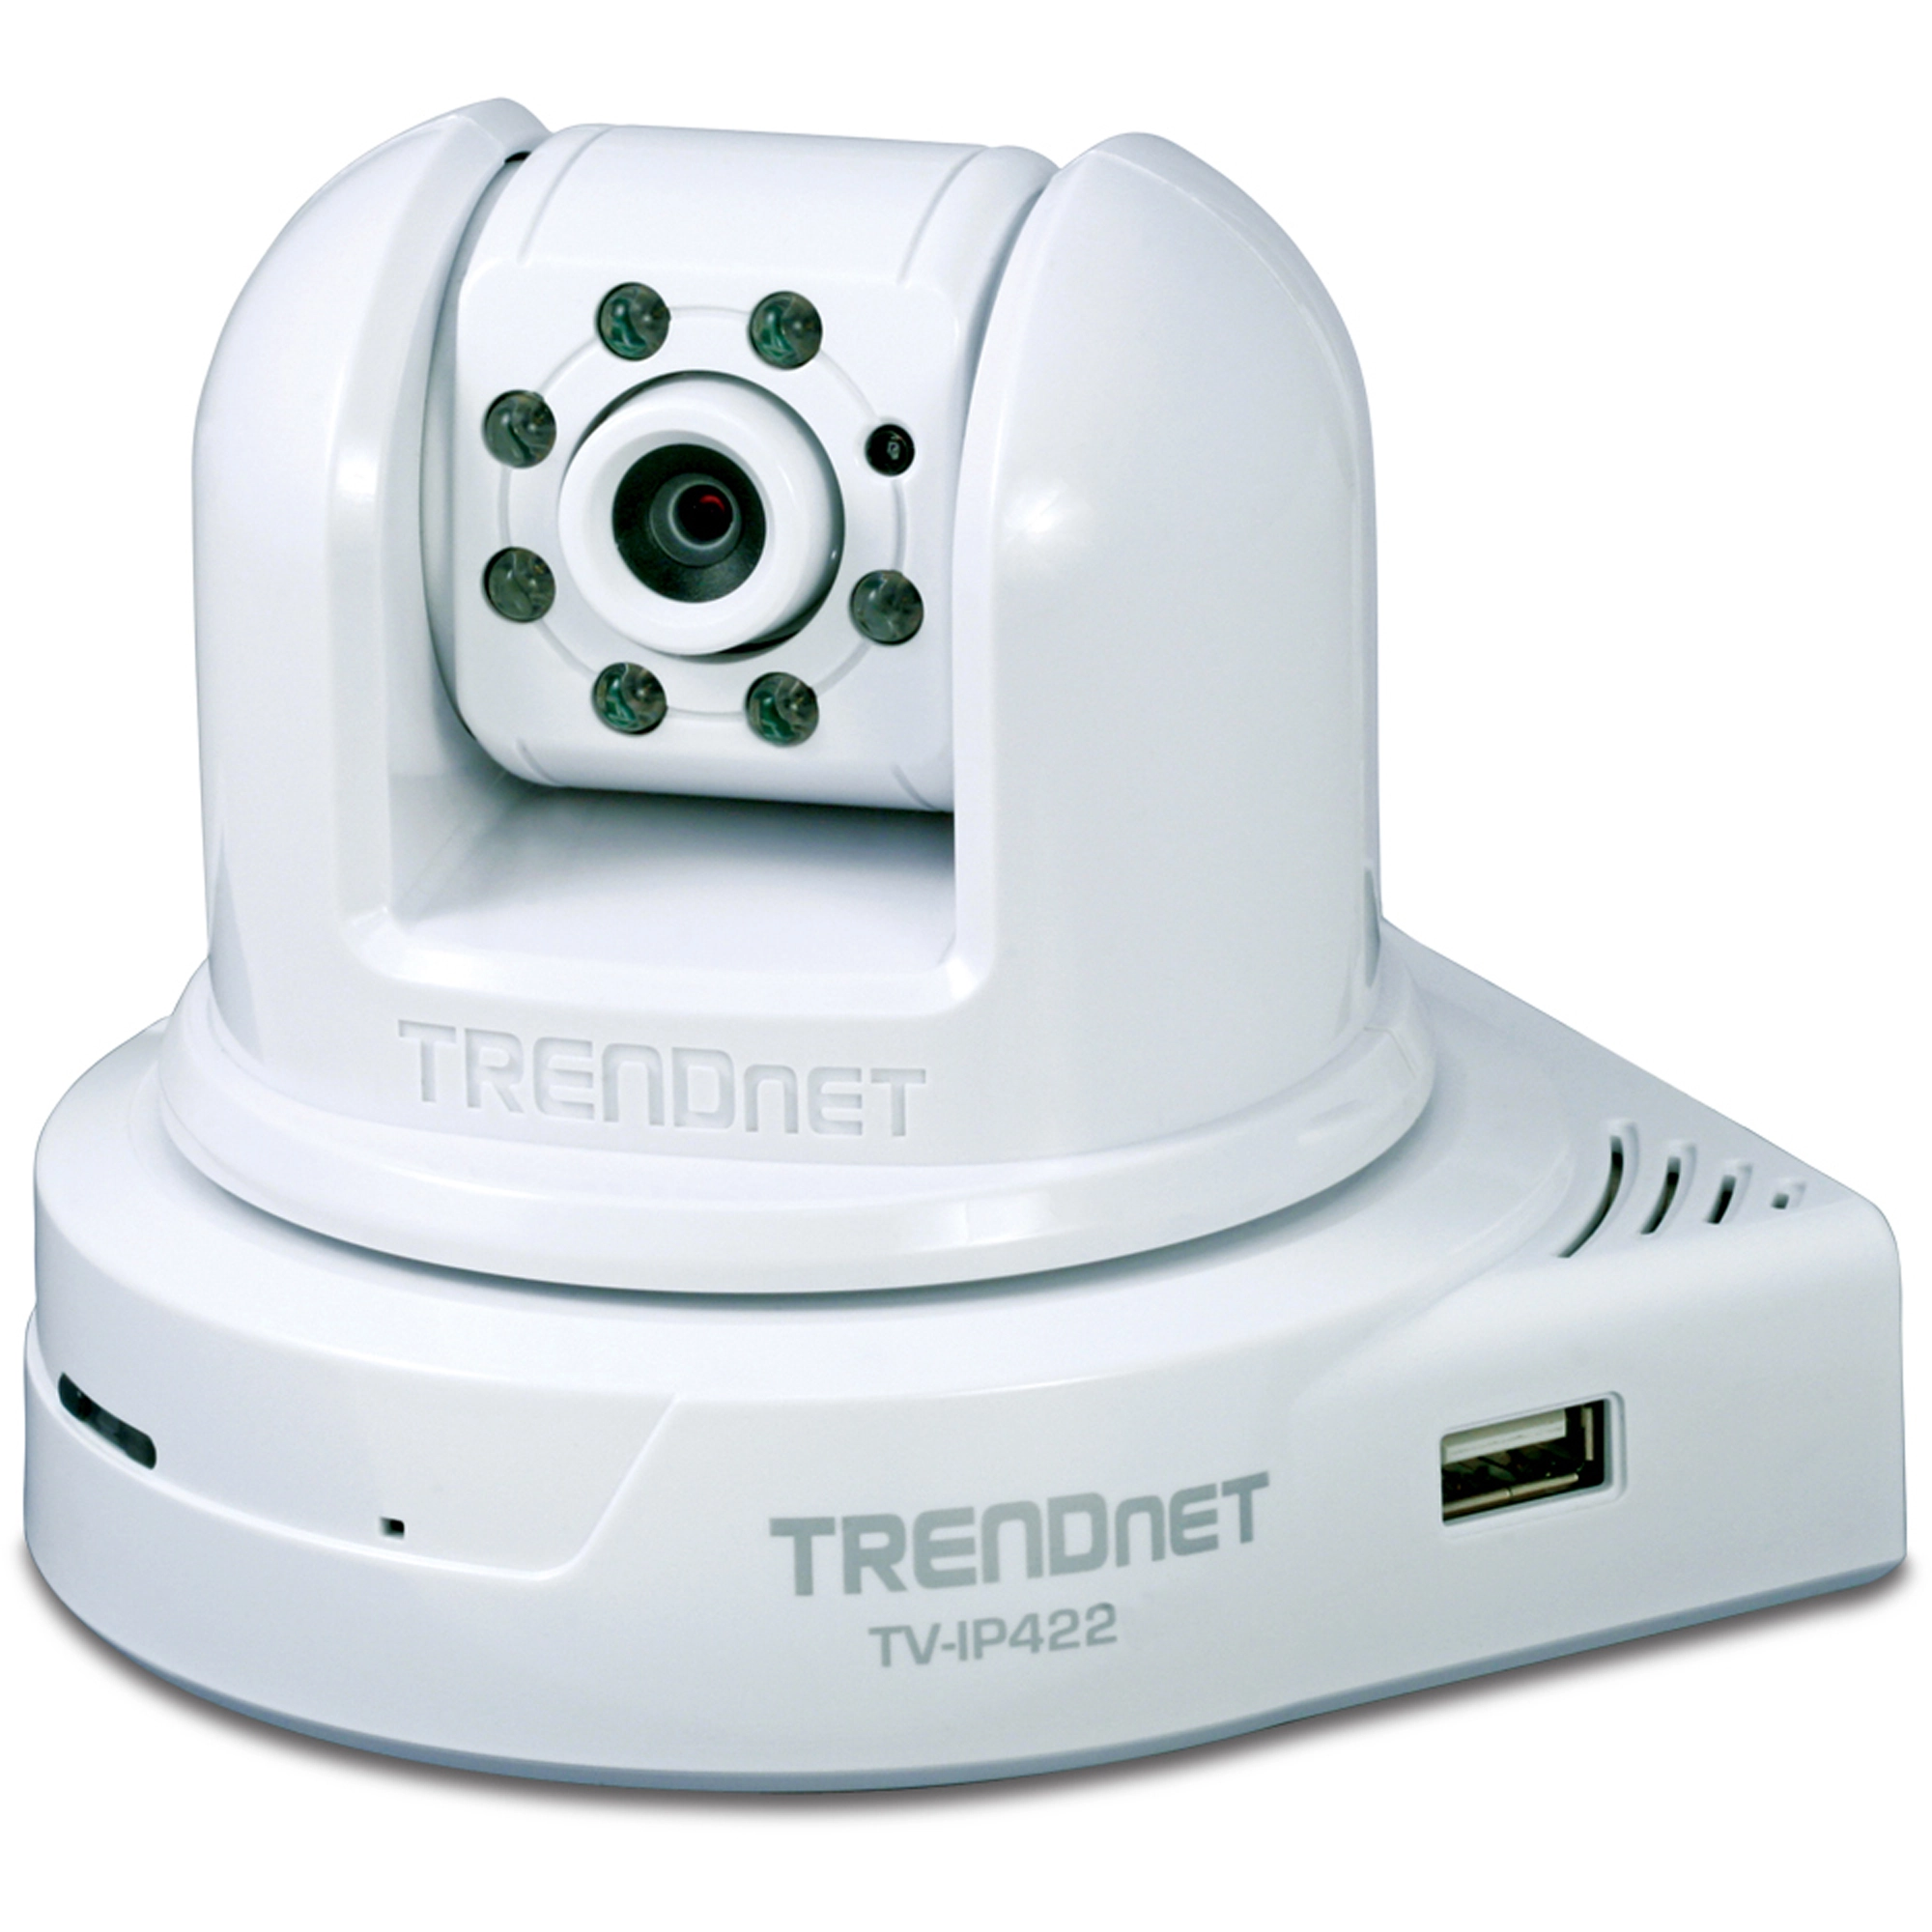
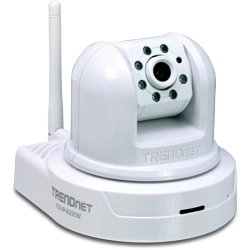
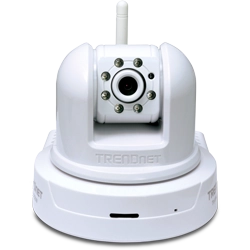
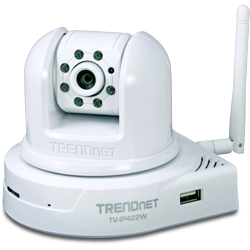
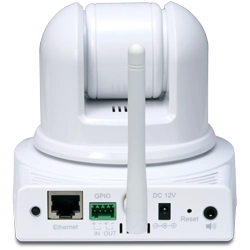
Caméra Internet SecurView sans fil jour/nuit Pan/Tilt/Zoom

TV-IP422W   (Version A1.0R)

  • Pas besoin de câble de connexion Ethernet : l'image est transmise via un signal crypté sans fil
  • Visibilité de nuit jusqu'à 5 m
  • Surveillez une grande étendue grâce au pan and tilt
  • Faites pivoter la caméra latéralement pour obtenir un angle de vue de 330° et faites la basculer de haut en bas de 105°
  • Programmez la détection des mouvements et des alertes via des e-mails grâce au programme gratuit

DISCONTINUED PRODUCT

The TV-IP422W (Version A1.0R) has been discontinued. It has been replaced by the TV-IP460PI (Version v1.0R). For a list of discontinued products, click here.

Firmware

NE PAS faire de mise à niveau d’un firmware sur quelque produit TRENDnet que ce soit à l’aide d’une connexion sans fil.
Les mises à niveau de firmware via une connexion sans fil peuvent endommager le produit. Veuillez faire les mises à niveau de firmware uniquement avec un réseau filaire

Firmware Version: V1.1.1 build 98
Release Date: 1/2015
Note:

  1. Fix ActiveX buffer overflow issue
  2. Apply new security key to ActiveX/java applet

Note:

  • The new firmware natively works with Internet Explorer 10. If you have Internet Explorer 11 or higher version. Please add the camera on the compatibility setting list.
  • Please change the Java setting with Java Control app to turn off blocking self-signing apps.
  • More details included in the firmware upgrade instruction file.

Nom de fichier: FW_TV-IP422W(1.1.1.98).zip
SHA-1 Checksum: F22346F2670523F75F31162FB8E0EBEFAAF77019
Date: 7/27/2017
Taille du fichier: 4.46 MB

Logiciels

Software Version: 2.5.9
Release Date: 4/2017
Notes:

  • Fixed TV-IP420P P/T issue

Nom de fichier: TRENDnetViewPro(2.5.9).zip
SHA-1 Checksum: 7CD1D9AE621816395E9FE9644B651F3696388215
Date: 7/27/2017
Taille du fichier: 41.15 MB

Feuilles de données

Nom de fichier: EN_Spec_TV-IP422W(A1.0R).pdf
Date: 5/5/2011
Taille du fichier: 1.53 MB
Nom de fichier: FR_Spec_TV-IP422W(A1.0R).pdf
Date: 5/5/2011
Taille du fichier: 1.56 MB
Nom de fichier: GE_Spec_TV-IP422W(A1.0R).pdf
Date: 5/5/2011
Taille du fichier: 1.56 MB
Nom de fichier: SP_Spec_TV-IP422W(A1.0R).pdf
Date: 5/5/2011
Taille du fichier: 4.70 MB
Nom de fichier: RU_Spec_TV-IP422W(A1.0R).pdf
Date: 5/5/2011
Taille du fichier: 2.89 MB
Nom de fichier: ITA_Spec_TV-IP422W(A1.0R).pdf
Date: 5/5/2011
Taille du fichier: 3.52 MB

Guide d'installation rapide

Nom de fichier: EN_QIG_TV-IP422-422W(A1.0R).pdf
Date: 2/18/2009
Taille du fichier: 1.02 MB
Nom de fichier: FR_QIG_TV-IP422-422W(A1.0R).pdf
Date: 2/18/2009
Taille du fichier: 1.02 MB
Nom de fichier: GE_QIG_TV-IP422-422W(A1.0R).pdf
Date: 2/18/2009
Taille du fichier: 1.02 MB
Nom de fichier: PO_QIG_TV-IP422-422W(A1.0R).pdf
Date: 2/18/2009
Taille du fichier: 1.01 MB
Nom de fichier: SP_QIG_TV-IP422-422W(A1.0R).pdf
Date: 2/18/2009
Taille du fichier: 1.02 MB
Nom de fichier: RU_QIG_TV-IP422-422W(A1.0R).pdf
Date: 2/18/2009
Taille du fichier: 1.82 MB
Nom de fichier: EST_QIG_TV-IP422-422W(A1.0R).pdf
Date: 2/18/2009
Taille du fichier: 1.02 MB

Guide de l'utilisateur

Nom de fichier: UG_TV-IP422_TV-IP422W(A2.21).pdf
Date: 4/26/2010
Taille du fichier: 3.96 MB

Images produit

JPEG Image
Taille du fichier: : 373.35 KB
Date: : 5/1/2008
JPEG Image
Taille du fichier: : 327.35 KB
Date: : 5/1/2008
JPEG Image
Taille du fichier: : 399.95 KB
Date: : 5/1/2008
TIFF Image
Taille du fichier: : 4.24 MB
Date: : 5/1/2008
TIFF Image
Taille du fichier: : 4.24 MB
Date: : 5/1/2008
TIFF Image
Taille du fichier: : 4.27 MB
Date: : 5/1/2008
JPEG Image
Taille du fichier: : 362.09 KB
Date: : 5/1/2008
TIFF Image
Taille du fichier: : 4.76 MB
Date: : 8/13/2009
ROHS compliant WEEE crossed-out bin symbol.
OverviewPlease ensure you have followed the quick installation guide and have the camera setup and accessible on your home/office network. The following instructions are going to outline how to make a SecurView camera accessible over the Internet. We will start by assigning a unique static IP addres...
The files cannot be accessed through the camera. Dismount the USB memory stick from the camera and connect it to your computer....
The USB page does not automatically update, press Control + F5 simultaneously to refresh the page.
The USB stick may not be formatted in FAT, to check connect USB stick to your computer. Go to My Computer right click on the USB stick go to Properties look for File System....
Unfortunately due to the IR lights causing a reflection from an ensclosures dome when there is not enough light we do not recommend using the TV-IP422 (w) in an enclosure....
No, unfortunately the IR lights do not have a manual switch. They will activate automatically when there is not enough light....
Log into the camera and click on Setup then click on Event Server>Network Storage on the left hand side.   Enter your Samba server information here.  After applying the Samba server information click on Event Config on the left hand side.   You have three options, Motion Detection, Schedule...
The camera must be configured properly to have Internet access.  This includes making sure you have entered a valid default gateway address for the camera and valid DNS server entries to ensure it can resolve names.   Unfortunately the camera does not support SSL.  If the email provider requires SS...
TRENDnet offers TREDnet VortexIP, an advanced Server-based IP camera management software solution designed for small, medium and large enterprise applications and packed full of advanced security features.    You can find more information regarding TRENDnet VortexIP here. https://www.TRENDnet.com...
Unfortunately the cameras from different families do not share a common, free, application and cannot be used together.  SecurView cameras will not function in IPView Pro and vice versa. We do offer TRENDnet VortexIP as a software solution for our cameras.  You can find information regarding TREND...
By default the camera uses TCP port 80. Forward this port in your router or firewall to the camera.
Unfortunately SecurView is not compatible with Macintosh operating systems.
The camera can be configured from a Macintosh through its web-based configuration page.  The camera's web configuration page can be reached by entering its IP address into a web browser.  For example, if the IP address is 192.168.10.30 you would access it by opening your web browser and entering htt...
The camera's web configuration page can be reached by entering its IP address into a web browser. For example, if the IP address is 192.168.10.30 you would access it by opening Internet Explorer and entering https://192.168.10.30 into the address line....
The camera by default is configured to receive an IP address via DHCP.  If it is unable to receive an IP address via DHCP it will default to 192.168.10.30.  You can use the IP Setup Utility to find and change the IP address of the camera as well. ...
Log into the camera and click on Setup.  Click on Motion Detect on the left hand side.  On this page you can setup two motion detection windows.   Under "Window" you can select either 1 or 2.  Place a check in "Enable" to turn on motion detection.    You can adjust the threshold for each window indi...
Warning: Firmware upgrade failure may permanently damage the unit and cause it to malfunction. Do not interrupt the firmware upgrade process by disconnecting it from the network or unplugging its power from the power outlet once the firmware upgrade process has begun. Never perform a firmware upgr...
The TV-IP422 (w) is not a PoE device.  However, you can use an injector and splitter combination for a PoE solution.    Injector: TPE-101ihttps://www.TRENDnet.com/products/product-detail.asp?prod=105_TPE-101I Splitter: TPE-102shttps://www.TRENDnet.com/products/product-detail.asp?prod=100_TPE-1...
Log into the camera and click on Setup then click on Event Server>Email on the left hand side.   Enter your email server and user information here.  After applying the email server information click on Event Config on the left hand side.   You have three options, Motion Detection, Scheduled...
Log into the camera and click on Setup then click on Event Server>FTP on the left hand side.   Enter your FTP server information here.  After applying the FTP server information click on Event Config on the left hand side.   You have three options, Motion Detection, Scheduled uploading and ...
Once you have the camera configured on your network start SecurView.  Click on the "Settings" button then click on the "Add Camera" button.  It will search your network for any supported cameras and display a list of them.  Highlight the camera you want to view in SecurView then click "Add Camera". ...
The supported browsers are Internet Explorer 6.0 or above.
Please refer to our Camera Helper to determine what hardware specs would be recommended for the amount of cameras and frame rate you require. https://TRENDnet.com/camerahelper...
Press and hold in the reset button on the back of the camera for approximately 10 seconds while the power is on to restore the factory default settings. ...
The top LED is a power light. It should be a steady orange light when power is applied to the camera. The bottom LED is a link light. It should be green and blinking when sending and receiving data. ...
Log into the camera by entering the camera's IP address into your browser.  The default IP address is https://192.168.10.30.  The default username and password are both "admin". Once you have logged into the camera do the following. -Click Setup -Click Basic>User You can define th...
Log into the camera by entering the camera's IP address into your browser.  The default IP address is https://192.168.10.30.  The default username and password are both "admin". Once you have logged into the camera do the following. -Click Setup. -Click Network>Wireless. -Click th...
Yes, the camera does support DDNS (Dynamic DNS).     Dynamic DNS services will allow you to maintain a single hostname for the camera, even if your ISP changes your WAN IP address.  The camera will update the DDNS record to reflect the new IP address.  This ensures that each time you go to the hostn...
You will need to forward the port that the camera is using in the router to the camera.   By default this is TCP port 80.  From a remote location you would enter in the public or WAN IP address of your router into your browser or add it to SecurView using the public IP address.  Refer to your rou...
Due to the heavy load placed on the CPU TRENDnet does not recommend running CPU usage over 70%. With the following computer specs we would recommend no more than 6 cameras. Intel Core Duo 2.5GHz, 2GB Memory, Nvidia GeForce 7100 256MB, 640 x 320 VGA view With higher system specs you can run...
The camera is set by default for indoor lighting conditions. If the camera is placed within an environment with bright lighting please change the Light Frequency to "Outdoor". This should resolve the issue. Open the camera's configuration page using web browser (e.g. https://192.168.10.30) and ...
Camera Specifications
Capteur d'image

Capteur

Capteur CMOS couleur 1/4"

Résolution

640 x 480 pixels

Lentilles Fixes

f: 4,0mm F: 1.8 (lentille IR)

Angle de vuee

64 degrés

Eclairage minimum

0 lux
Son
Entrée microSensibilité omnidirectionnelle
interne: -48dB + 3dB
Fréquence de réponse :
de 50 à 16000Hz
Sortie audioPrise Jack de 3,5mm pour diffuseur
Format PCM/AMR (mono)
Vidéo/Image

Format Vidéo

MPEG-4 et MJPEG

Vitesse de défilement de l'image

30fps @VGA, QVGA, QQVGA

Paramétrage de la vitesse de défilement

1 à 30 fps(trames par seconde)

Paramétrage du taux de compression

5 niveaux

Résolution

640 x 480, 320 x 240, 160 x 120
Zoom Numerique3x

Contrôle de l'exposition, de la
température de couleur, du gain

Automatique

Paramétrage de l'image

Brillance, contraste, saturation réglables

Basculement des images (Flip Images)

Vertical / horizontal

Féquence de la lumière

50Hz, 60Hz ou extérieur

Pan/tilt (Panoramique horizontal/vertical)
Angle de pivotement+165° ~ -165°
Angle de basculement+90° ~ -15°
Positions préprogrammées8 positions
ContrôleHaut, bas, droite, gauche, centre
Communication
LAN10/100Mbps Auto MDIX
ProtocolTCP/IP, UDP, ICMP, DHCP, NTP, DNS, DDNS, SMTP, FTP, HTTP, Samba, PPPoE, UPnP, RTP, RTSP, RTCP
Hardware Specifications
Système

Microprocesseur

ARM9 base
RAM32Mbyte SDRAM
ROM8Mbyte NOR Flash

SE

Linux
System Requirement (Web Configuration)

Microprocesseur

Pentium III 350MHz ou supérieur

Mémoire

128 MB ou supérieur

Résolution

800 x 600 ou supérieur

Navigateur

Internet Explorer 6.0 ou ultérieur

SE supportés

Windows 2000/XP/Vista
Configuration du système (logiciel SecurView™)
MicroprocesseurPentium 4 1GHz ou supérieur
Mémoire512MB ou supérieur
Résolution1024 X 768 ou supérieur
SE supportés Windows 2000/XP/Vista
Physiques et environnementales
Dimension 115 x 110 x 105 mm
(4,53 x 4,33 x 4,13 pouces)

Poids

330g

Alimentation

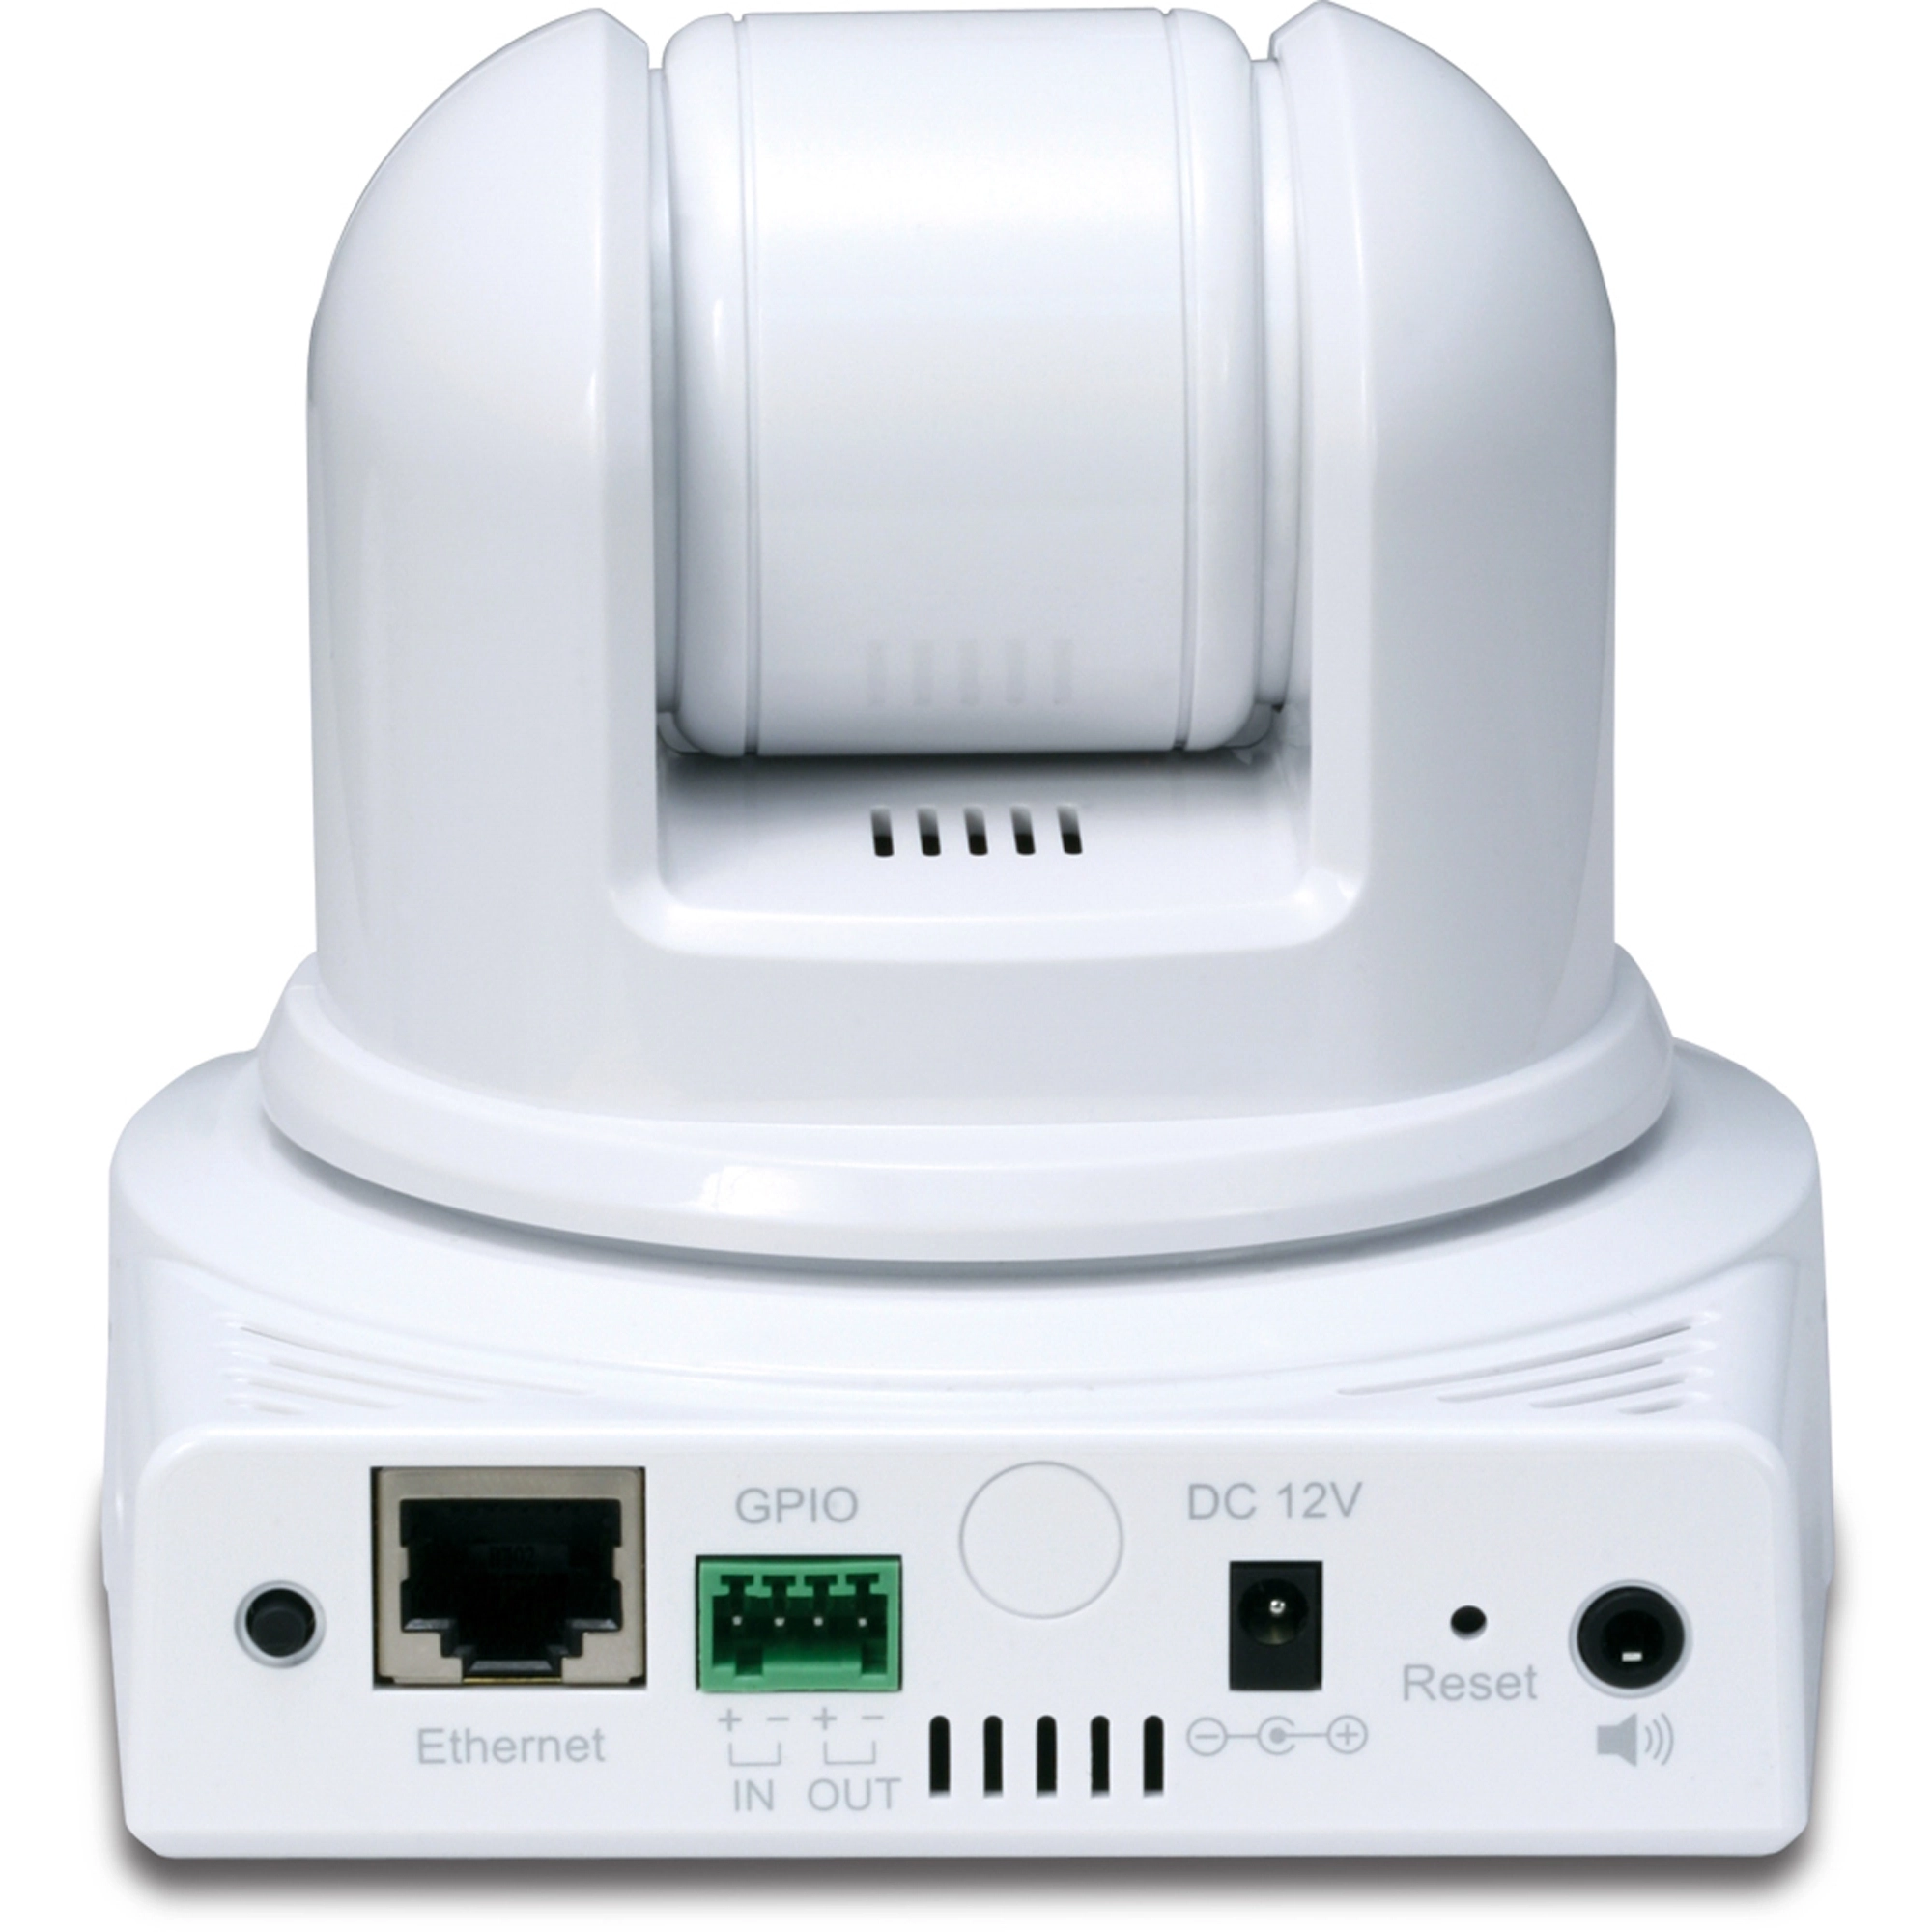
Adaptateur secteur externe 12V DC, 1,5A

Consommation

10 watts (max)

Voyants

Alimentation (orange), Link (vert)
Support activation/désactivation des voyants

Longueur d'onde IR940nm
Température
Fonctionnement : De 0 à 45ºC;
Entreposage : De -10º à 60ºC
Sans fil
Norme IEEE 802.11b/g
Sécurité WEP, WPA-PSK, WPA2-PSK (TKIP/AES) 64/128 bits
Antenne 2dBi amovible avec connecteur SMA inversé
Autre
Port USBUSB 1.1 (Type A)
Périphérique d'une puissance allant jusqu'à 500mA avec le format FAT16/32
GPIO1 entrée et 1 sortie
Détecteur IRMode normal : 2,5 Lux
Mode nuit : 0,5 Lux
voyant IR activé : 0 Lux
le décteur de lumière active l'allumage/l'extinction du voyant IR : 5 Lux

CONTENU DE L'EMBALLAGE

  • TV-IP422W
  • CD-ROM contenant l'utilitaire et le guide de l'utilisateur
  • Câble Ethernet de Cat. 5 (1,8 m)
  • Adaptateur GPIO
  • Kit de montage

Toutes les références au débit ne sont données qu’à titre de comparaison. Les spécifications, la taille et la forme du produit sont sujettes à modification sans avis préalable, et l’apparence réelle du produit peut différer de celle illustrée ici.