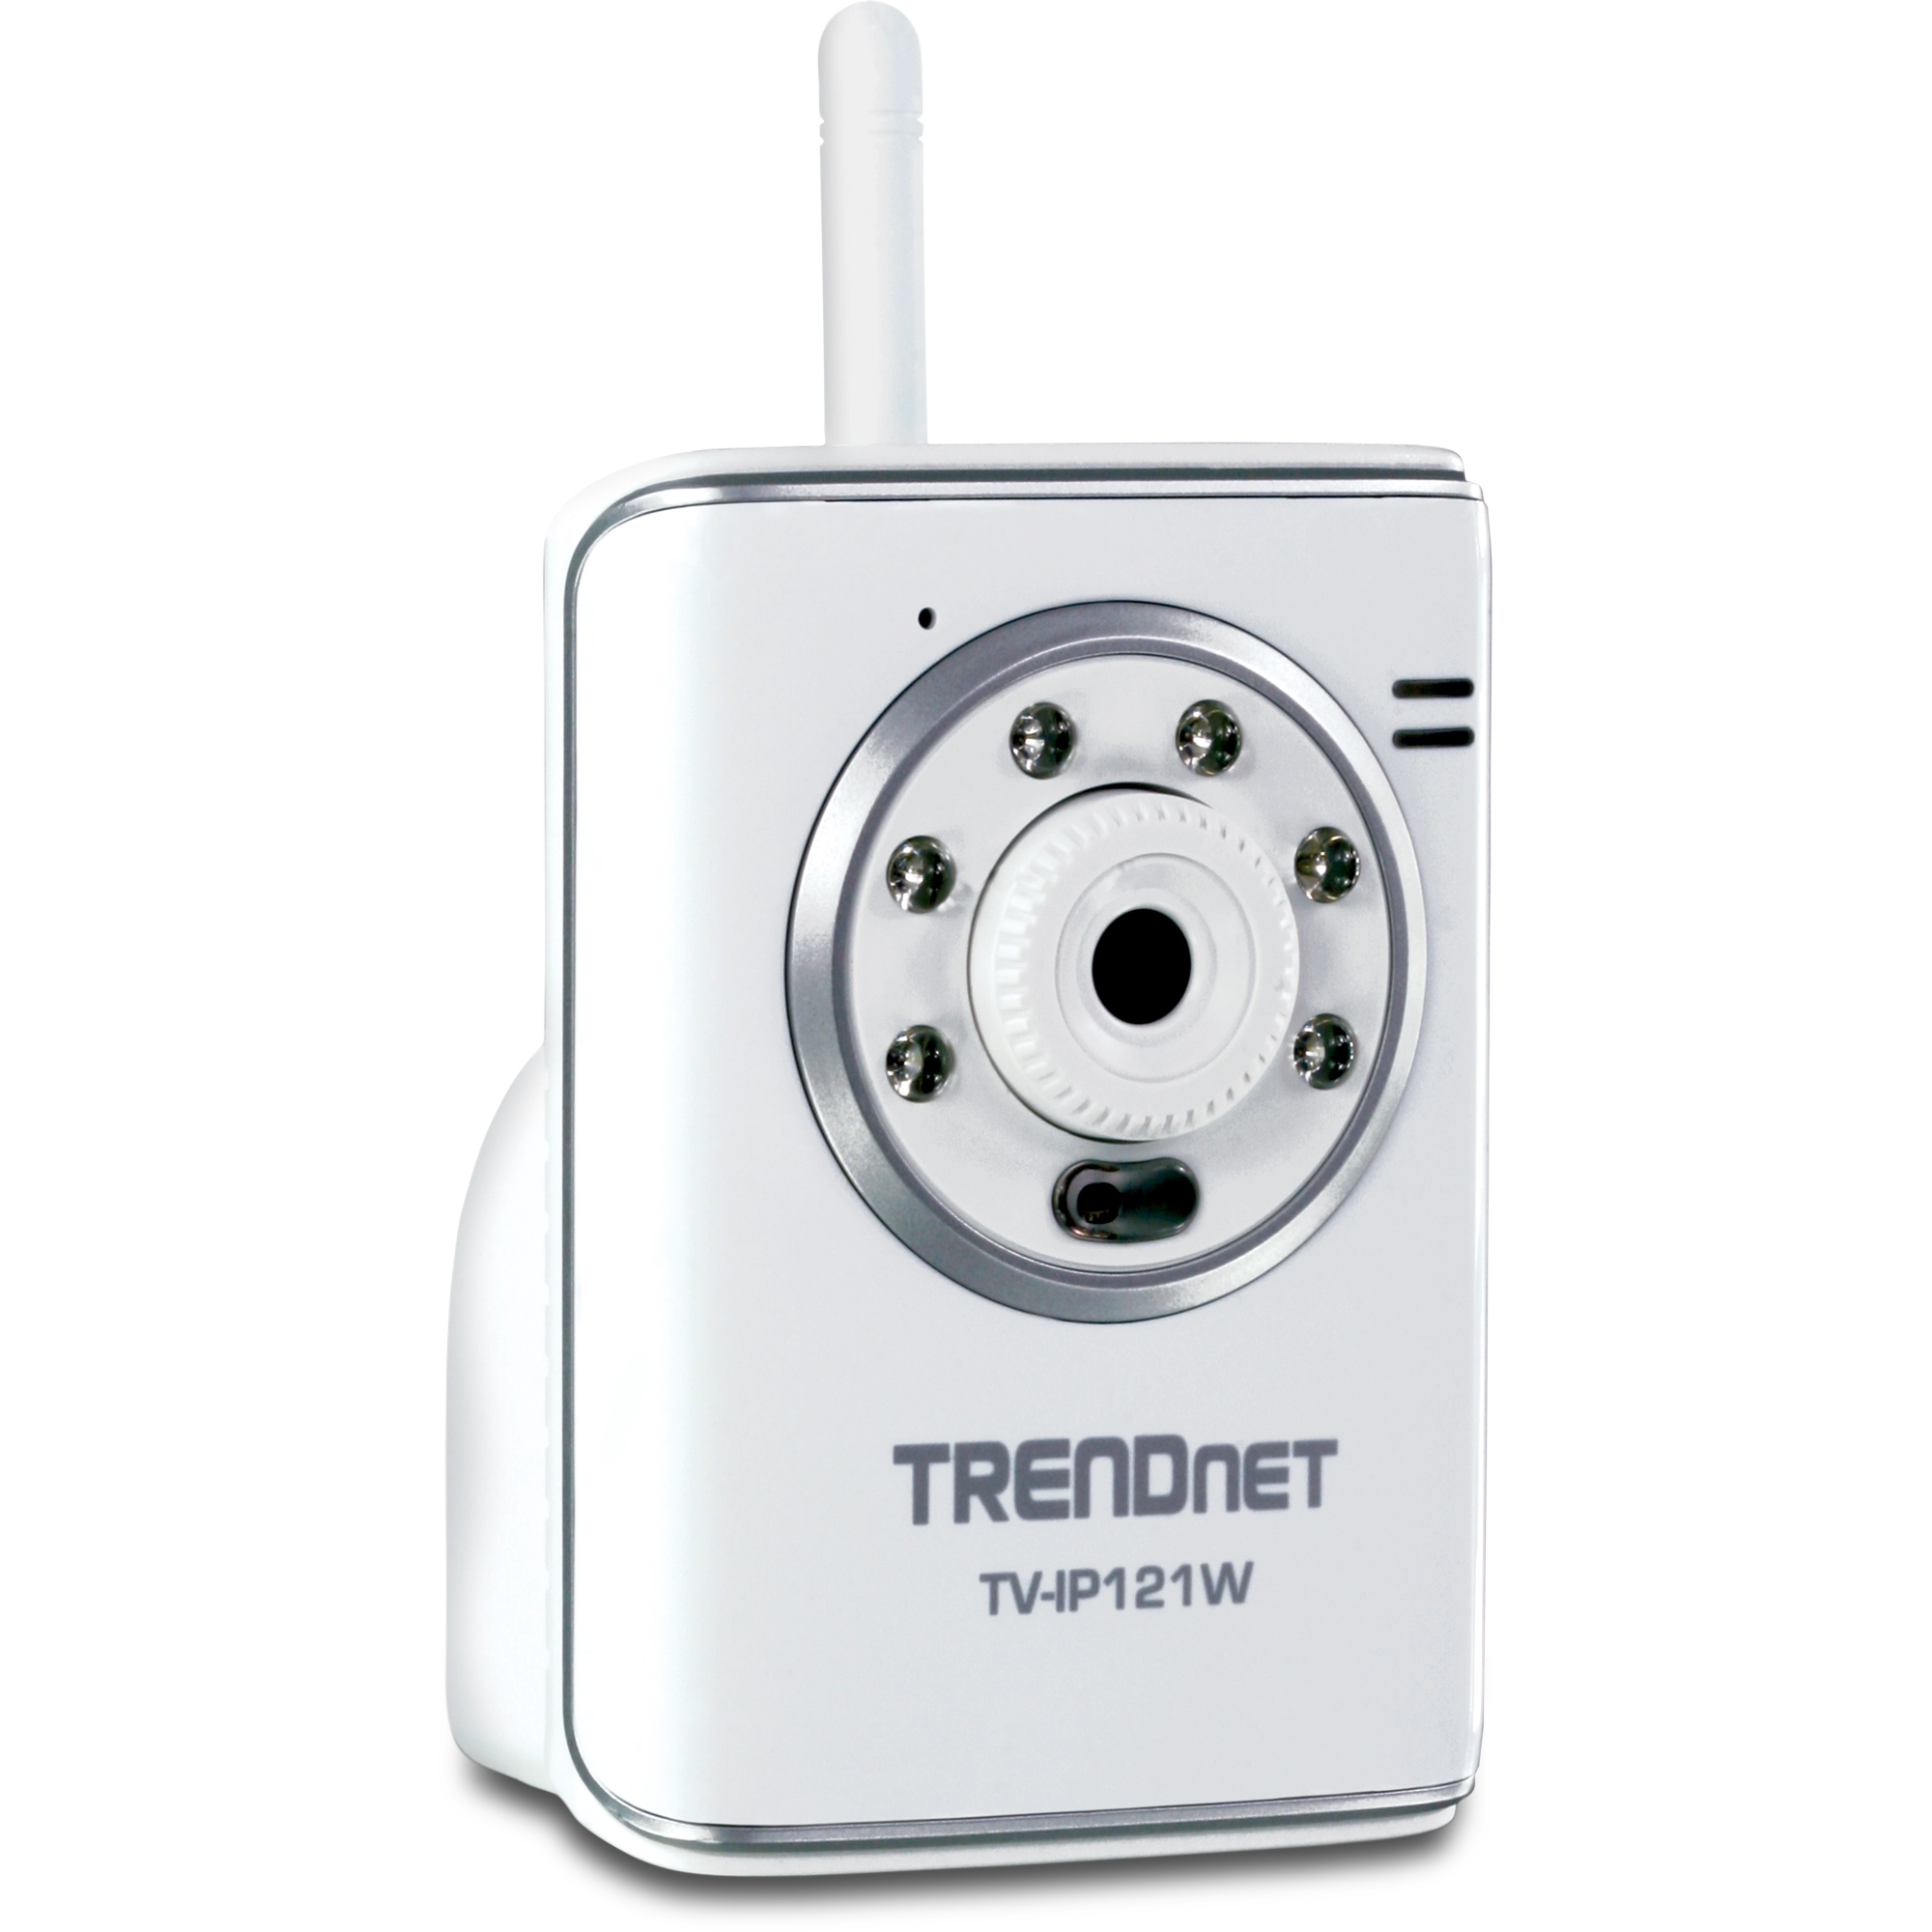
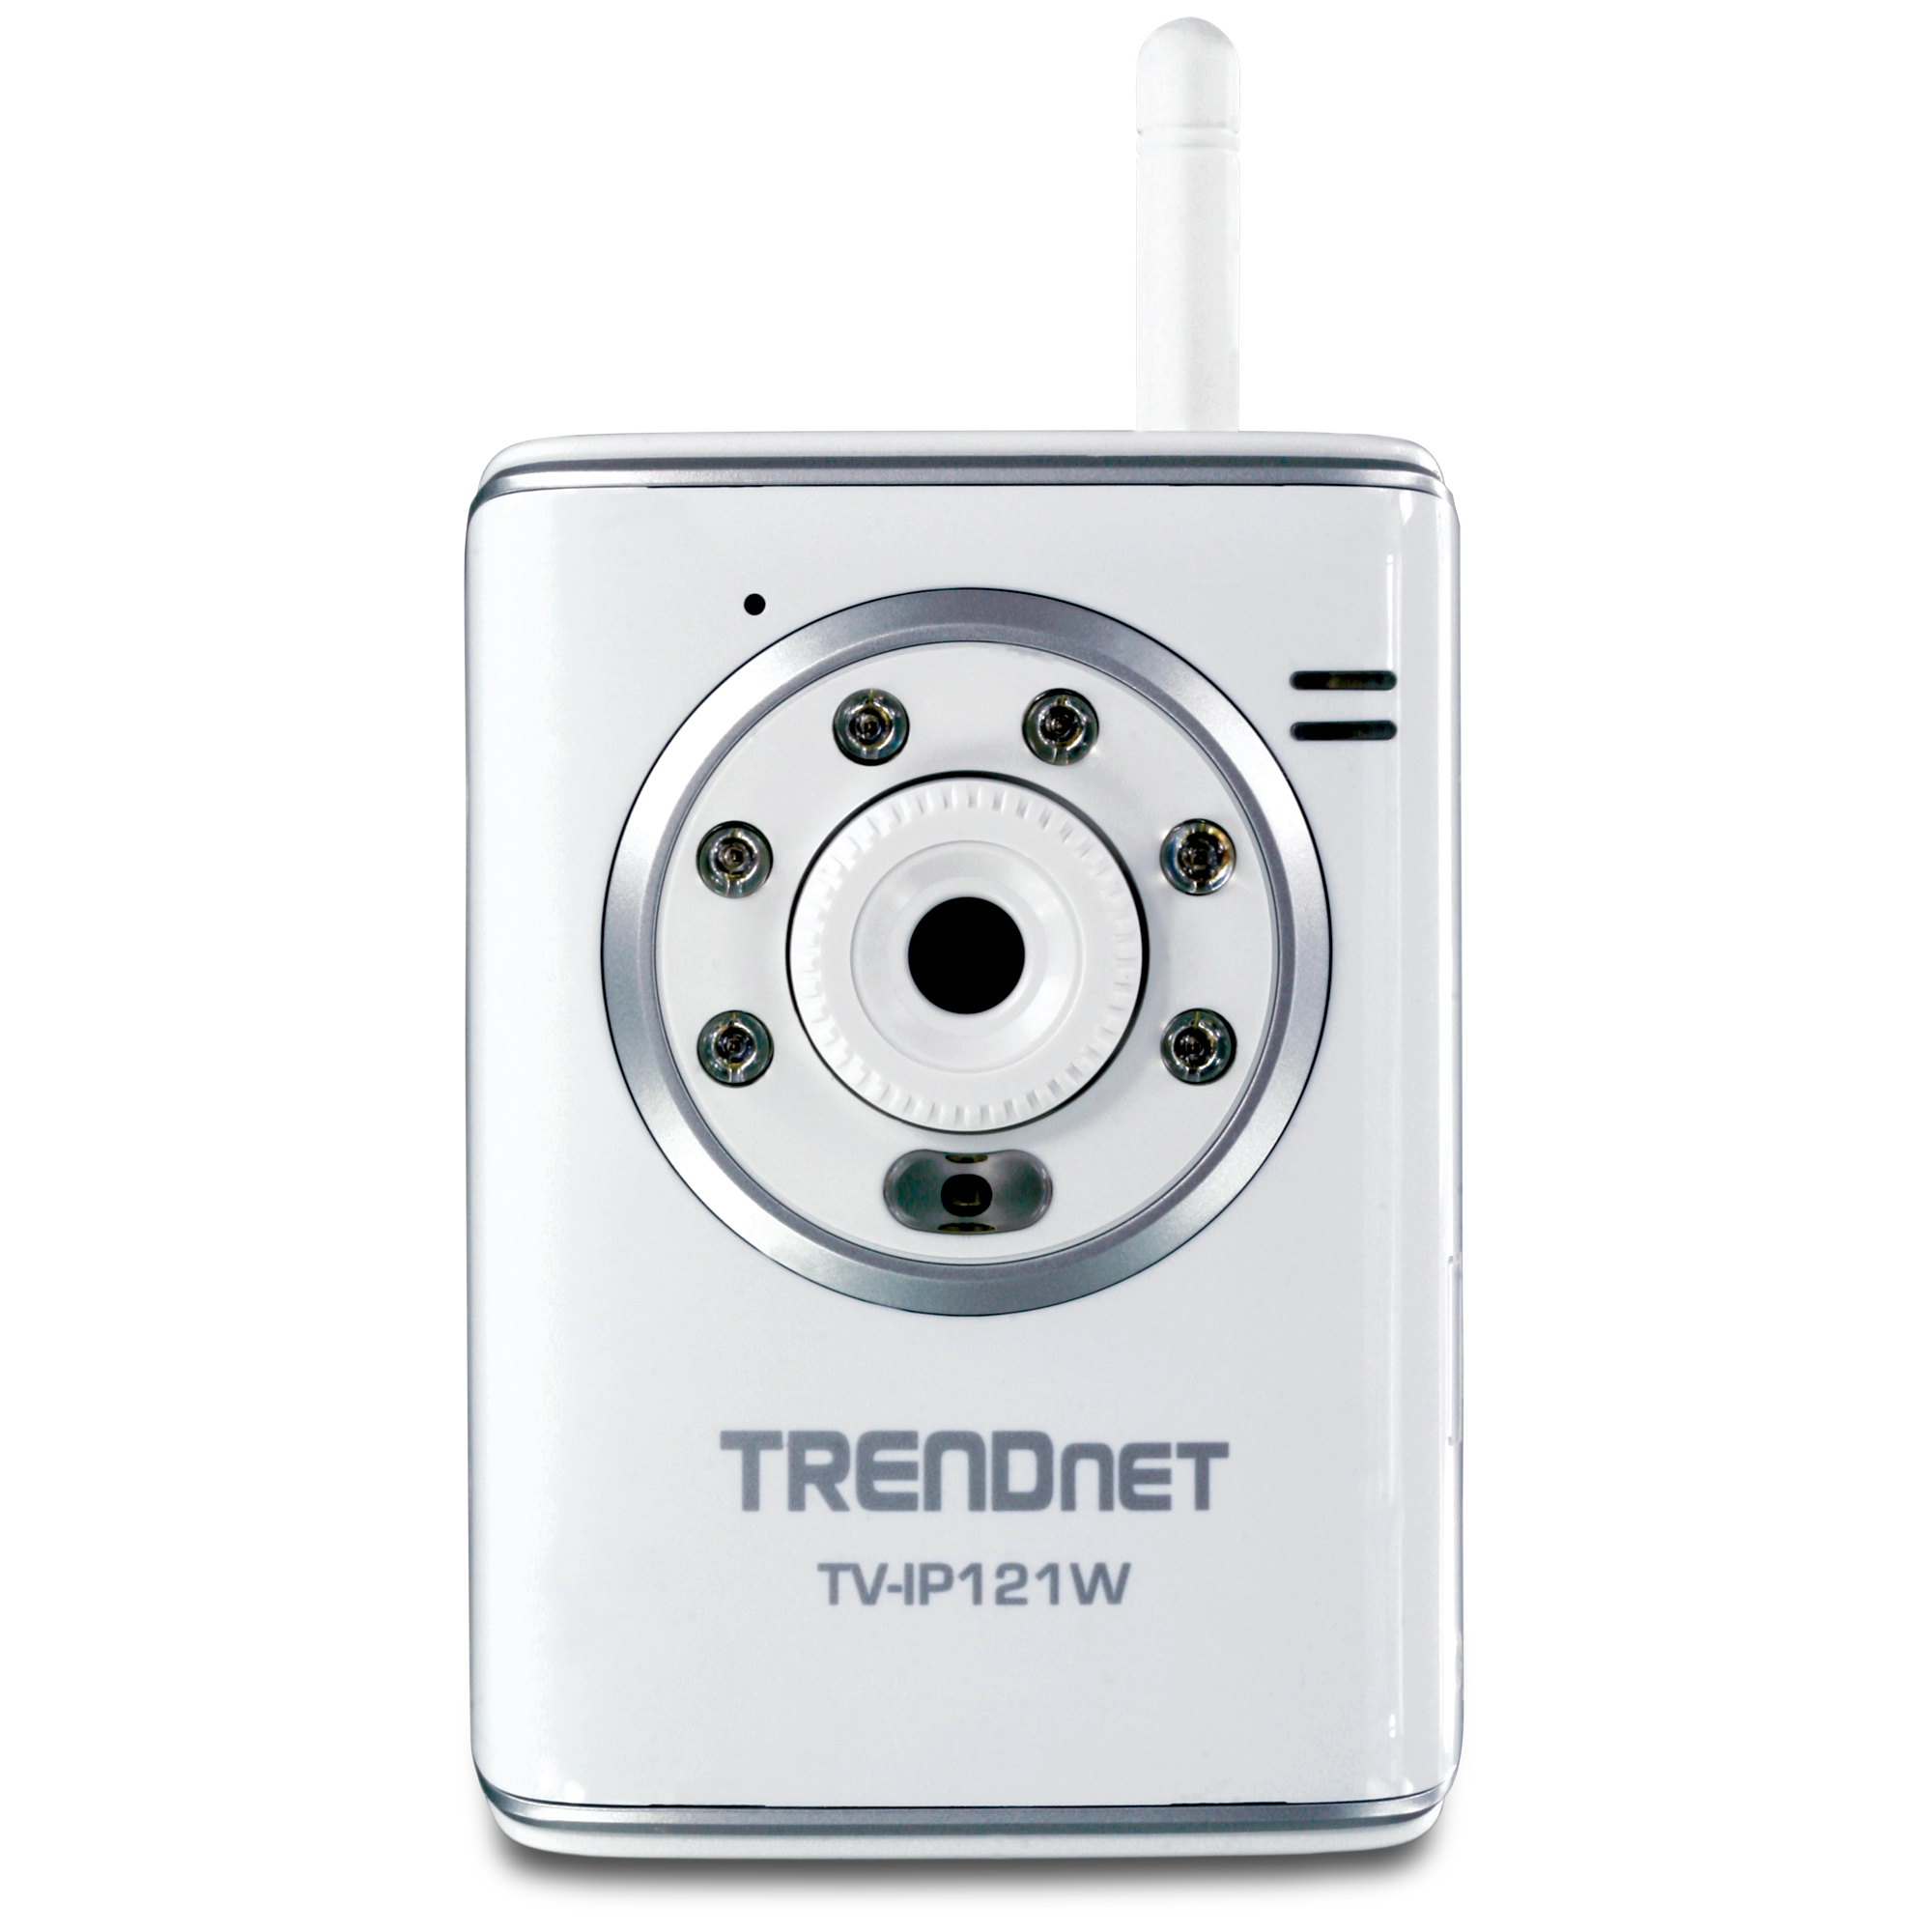
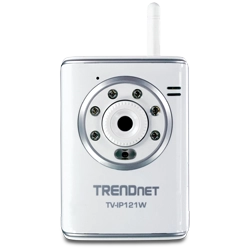
Caméra Internet Jour/nuit sans fil SecurView
TV-IP121W (Version A1.0R)
- Vision de nuit jusque 5 mètres
- Pas besoin de connexion Ethernet, la vidéo est transmise via un signal sans fil crypté sécurisé
- Programmez l'enregistrement de la détection de mouvements et les alertes par e-mail avec le logiciel gratuit
- Installez cette caméra Internet compacte sur la majorité des surfaces
DISCONTINUED PRODUCT
The TV-IP121W (Version A1.0R) has been discontinued. It has been replaced by the TV-IP324PI (Version v1.0R). For a list of discontinued products, click here.Utilitaires
Firmware
NE PAS faire de mise à niveau d’un firmware sur quelque produit TRENDnet que ce soit à l’aide d’une connexion sans fil. Les mises à niveau de firmware via une connexion sans fil peuvent endommager le produit. Veuillez faire les mises à niveau de firmware uniquement avec un réseau filaire |
Firmware Version: V1.1.1 build 36
Release Date: 4/2013
Notes:
- Upload.asp removed.
- Updated save configuration file encryption type.
Notes:
NE PAS faire de mise à niveau d’un firmware sur quelque produit TRENDnet que ce soit à l’aide d’une connexion sans fil. Les mises à niveau de firmware via une connexion sans fil peuvent endommager le produit. Veuillez faire les mises à niveau de firmware uniquement avec un réseau filaire |
Firmware en français seulement: Si votre appareil dispose d'une version du firmware 1.1.0 build 13, Veuillez mettre à jour le firmware avec cette Version.
Firmware Version: V1.1.1 build 5
Date de sortie: 4/2013
notes:
- Upload.asp supprimé.
- Mis à jour le fichier de sauvegarde de configuration type de cryptage.
Notes:
Feuilles de données
Guide d'installation rapide
Guide de l'utilisateur
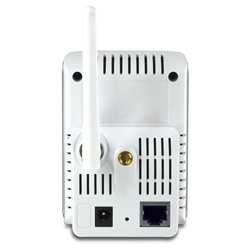
Images produit
| Caméra | |
| Général | Capteur: capteur d'image CMOS SOC 1/4" couleur Résolution: 640 x 480 pixels Distance focale: 4.5mm F/No: F2.8 (Lentille Board ) Eclairage minimum: 0.5 Lux @ F2.8 Pattern: 60° diagonal |
|---|---|
| Audio | Micro omnidirectionnel intégré Sensibilité: -48dB +/- 3dB (5 mètres max) Fréquence: 50~16000Hz Codec: PCM |
| Image & Vidéo | Compression: MJPEG Résolution: VGA (640x480), QVGA (320x240), QQVGA (160x120) Jusqu'à 30fps L'exposition / contrôle de la balance des blancs: automatique Flip Images: vertical / horizontal Féquence de la lumière: 50Hz, 60Hz ou estérieur |
| Matériel | |
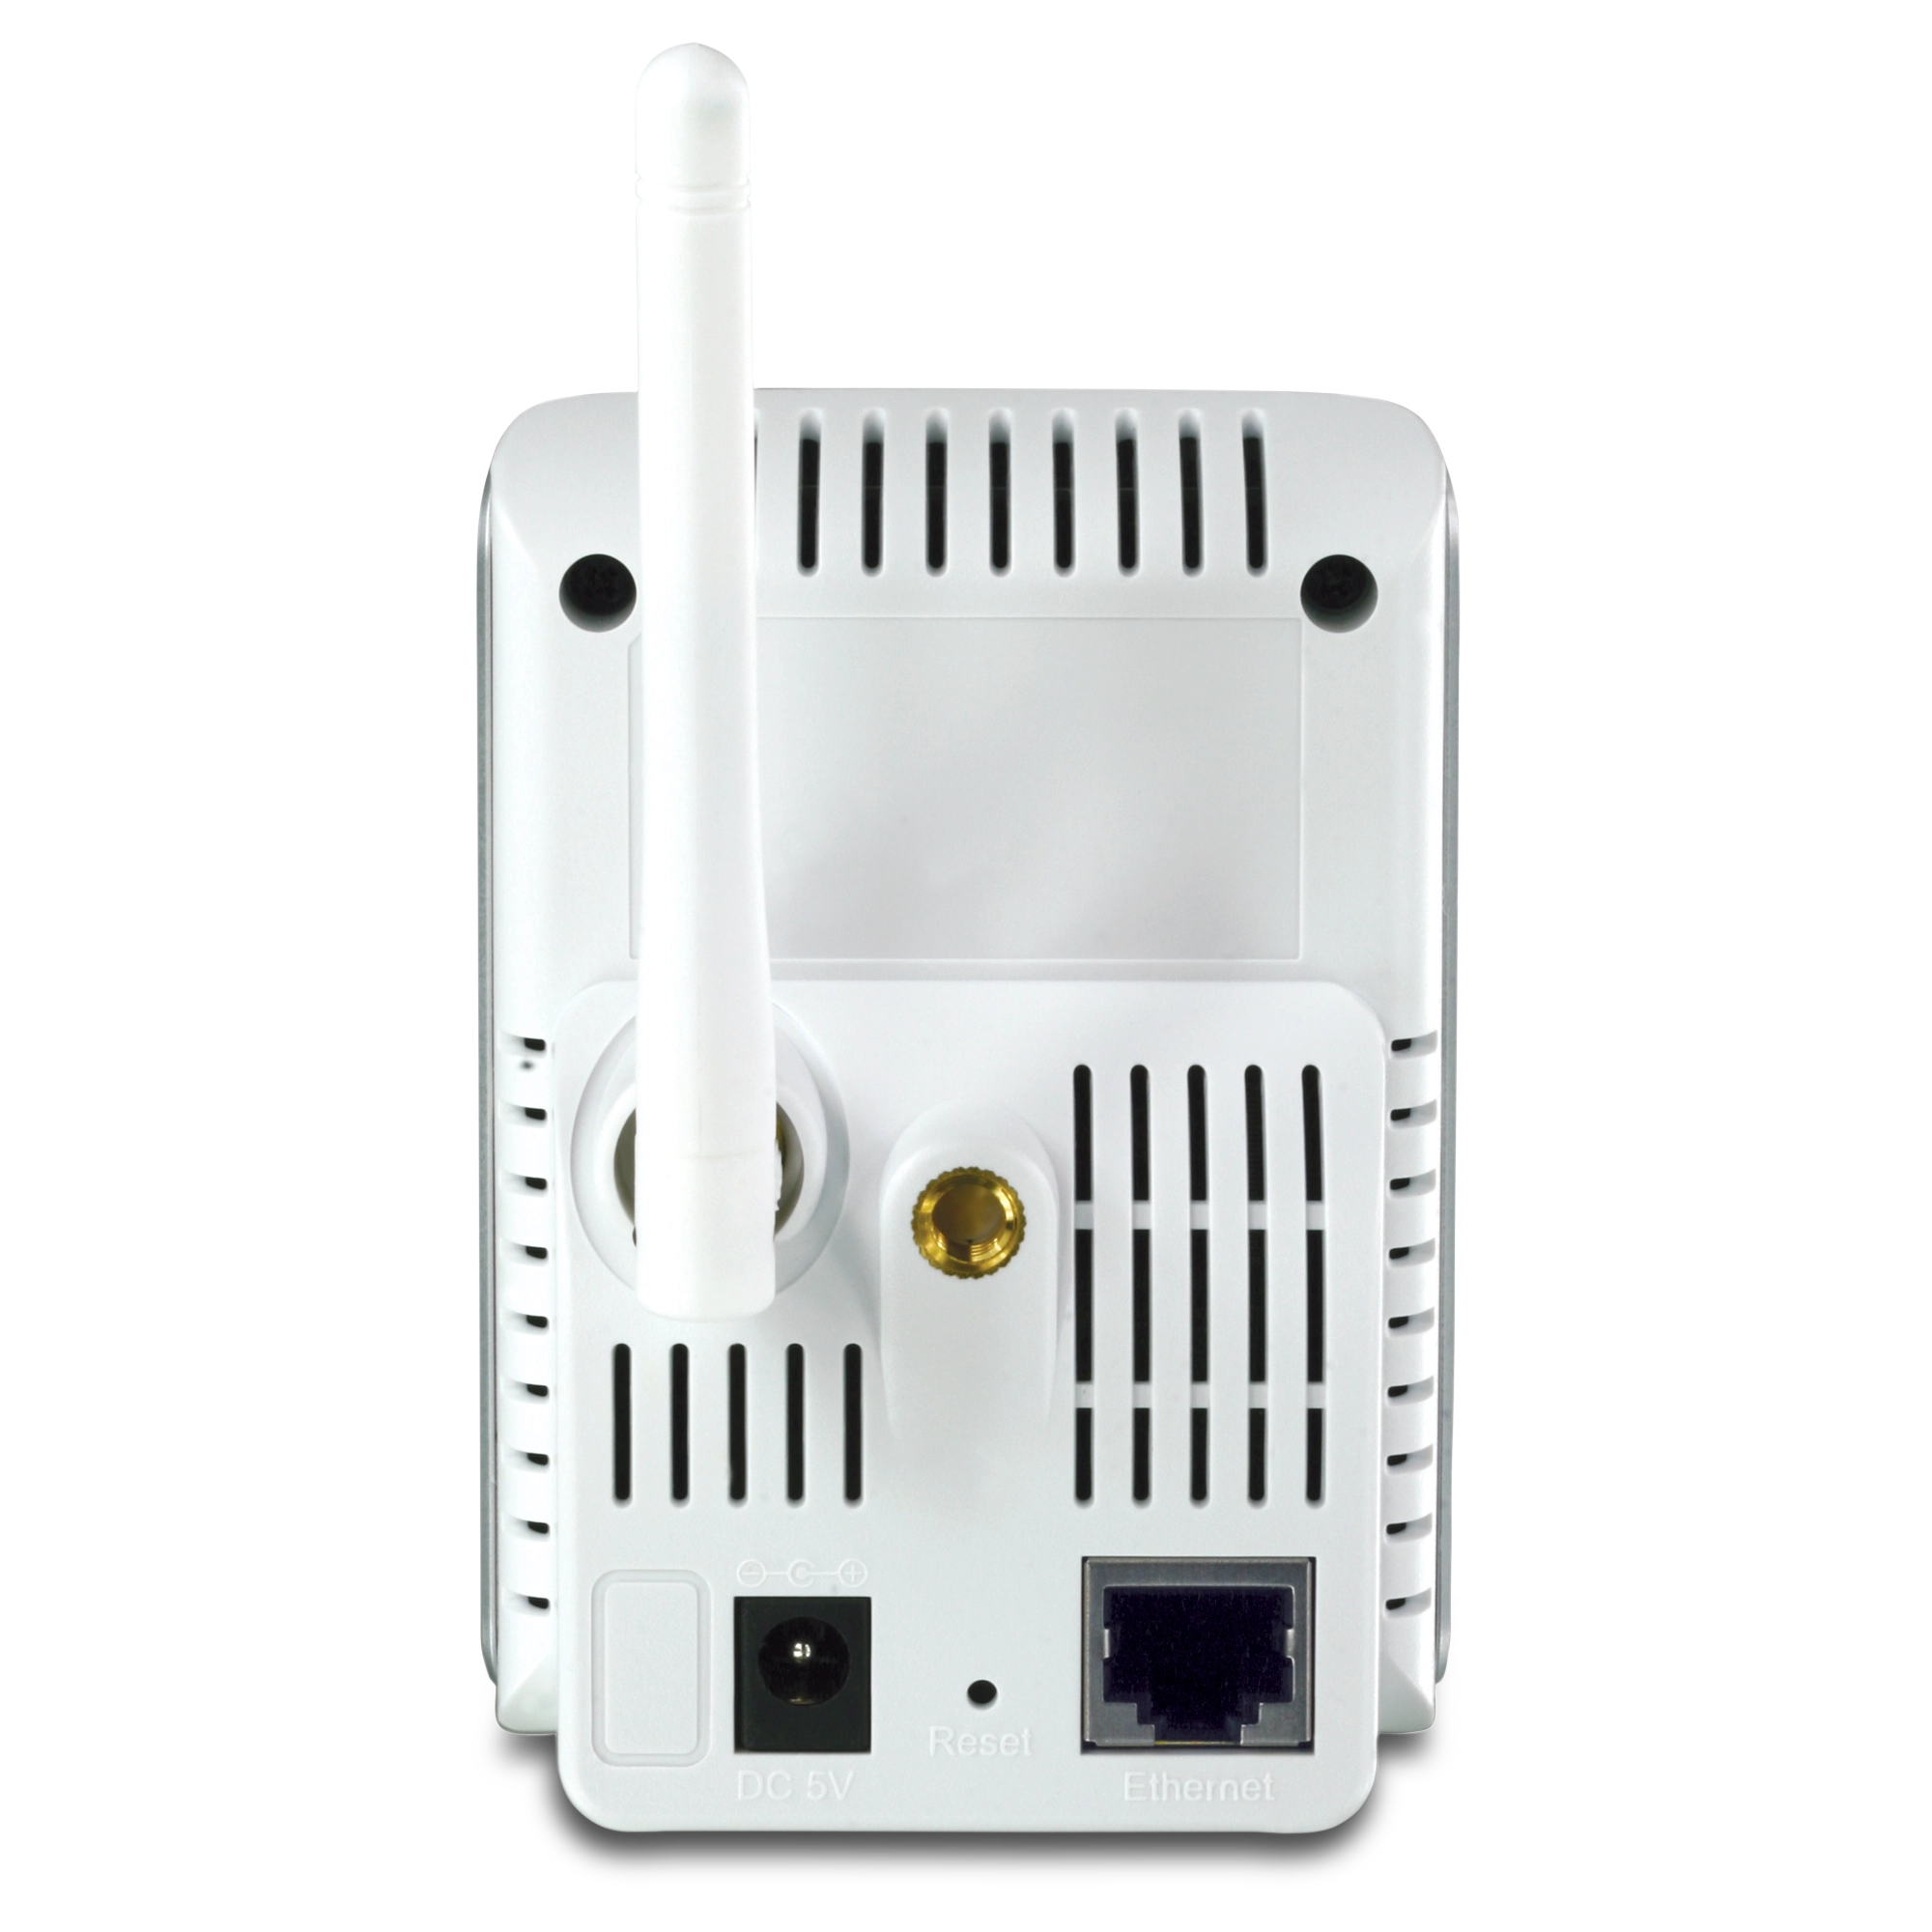
| Network | IEEE 802.3u 10/100Mbps Fast Ethernet, Auto-MDIX |
| LED | Alimentation, Link/Activité |
| Longueur d'onde IR | 850nm |
| Bouton de réinitialisation | Réinitialise les paramétrages |
| Consommation | 6 watts (max) |
| Alimentation | Adaptateur secteur externe 5V DC, 2.5A |
| Dimension | 70 x 100 x 57mm (2.67 x 3.94 x 2.95 pouces) |
| Weight | Caméra: 165g (5.8 oz.) Support: 135g (4.76 oz.) |
| Température | Fonctionnement: 0°C ~ 45°C (32°F ~ 113°F) Entreposage: -15°C ~ 60°C (14°F ~ 140°F) |
| Certification | CE, FCC |
| Configuration du système (SecurView™) | |
| Caméra Configuration | Internet Explorer 6.0 ou supérieur |
| To Run Software | Windows 2000, XP, Vista |
| SecurView™ Software | Canal: prise en charge jusqu'à 16 caméras Enregistrement/Lecture/Détection de mouvement/Audio |
| Sans fil | |
| Normes | IEEE 802.11b/g |
| Fréquence | 2.412 ~ 2.484 GHz |
| Antennes | 1 x 2dBi amovible SMA inversé connecteur |
| Sécurité | 64/128-bit WEP, WPA-PSK, WPA2-PSK |
| Paramétrages | |
| Image | Luminosité, contraste, saturation, acuité, balance des blancs, basculement, miroir (horizontal/vertical) |
| Recording | Type d'enregistrement: base sur évènement (détection de mouvement et déclencheur d'entrée numérique), continu et planifié Capacité de stockage: 32Mo (minimum) |
| Prise de photo | Évènement de déclenchement: détection de mouvement Action: envoie un email d'alerte et/ou téléchargement vers FTP |
| Paramétrages de Port | HTTP port: 80 (défaut) |
| Zoom Numerique | 3x |
| Dynamic DNS | Oui |
| Heure | Synchronise avec serveur NTP ou réglage de l'heure/date manuellement |
CONTENU DE L'EMBALLAGE |
|