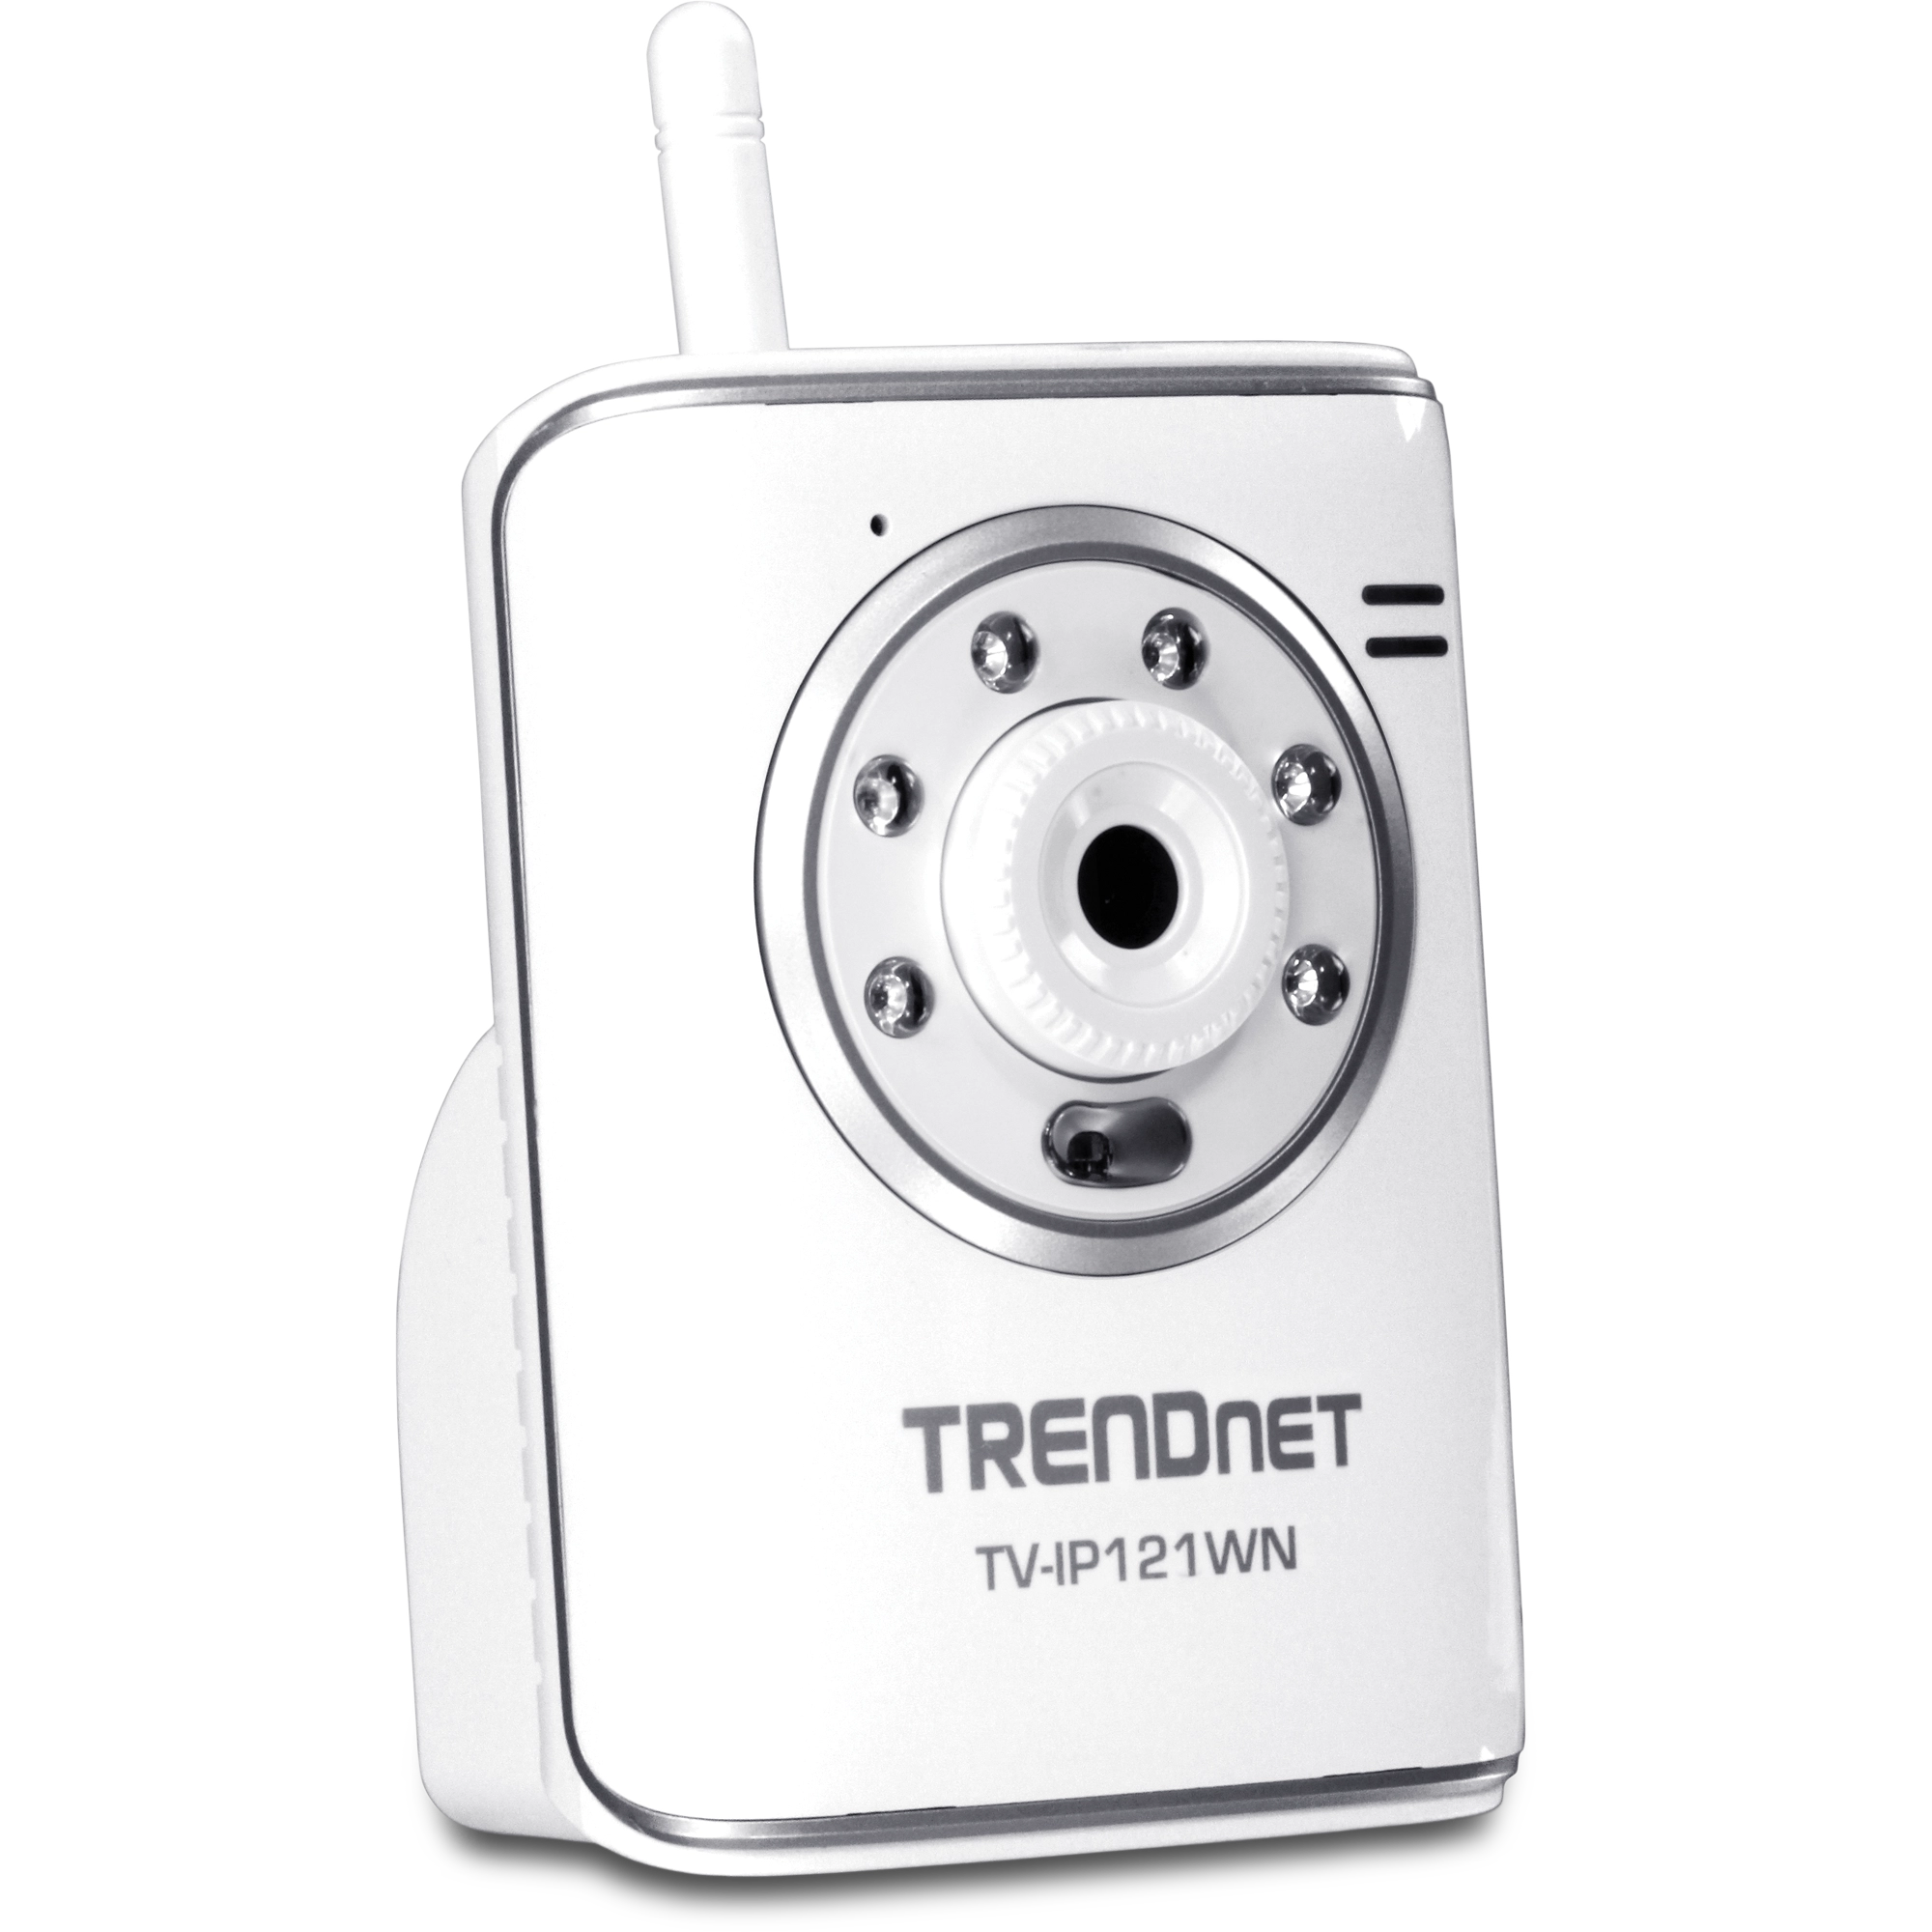
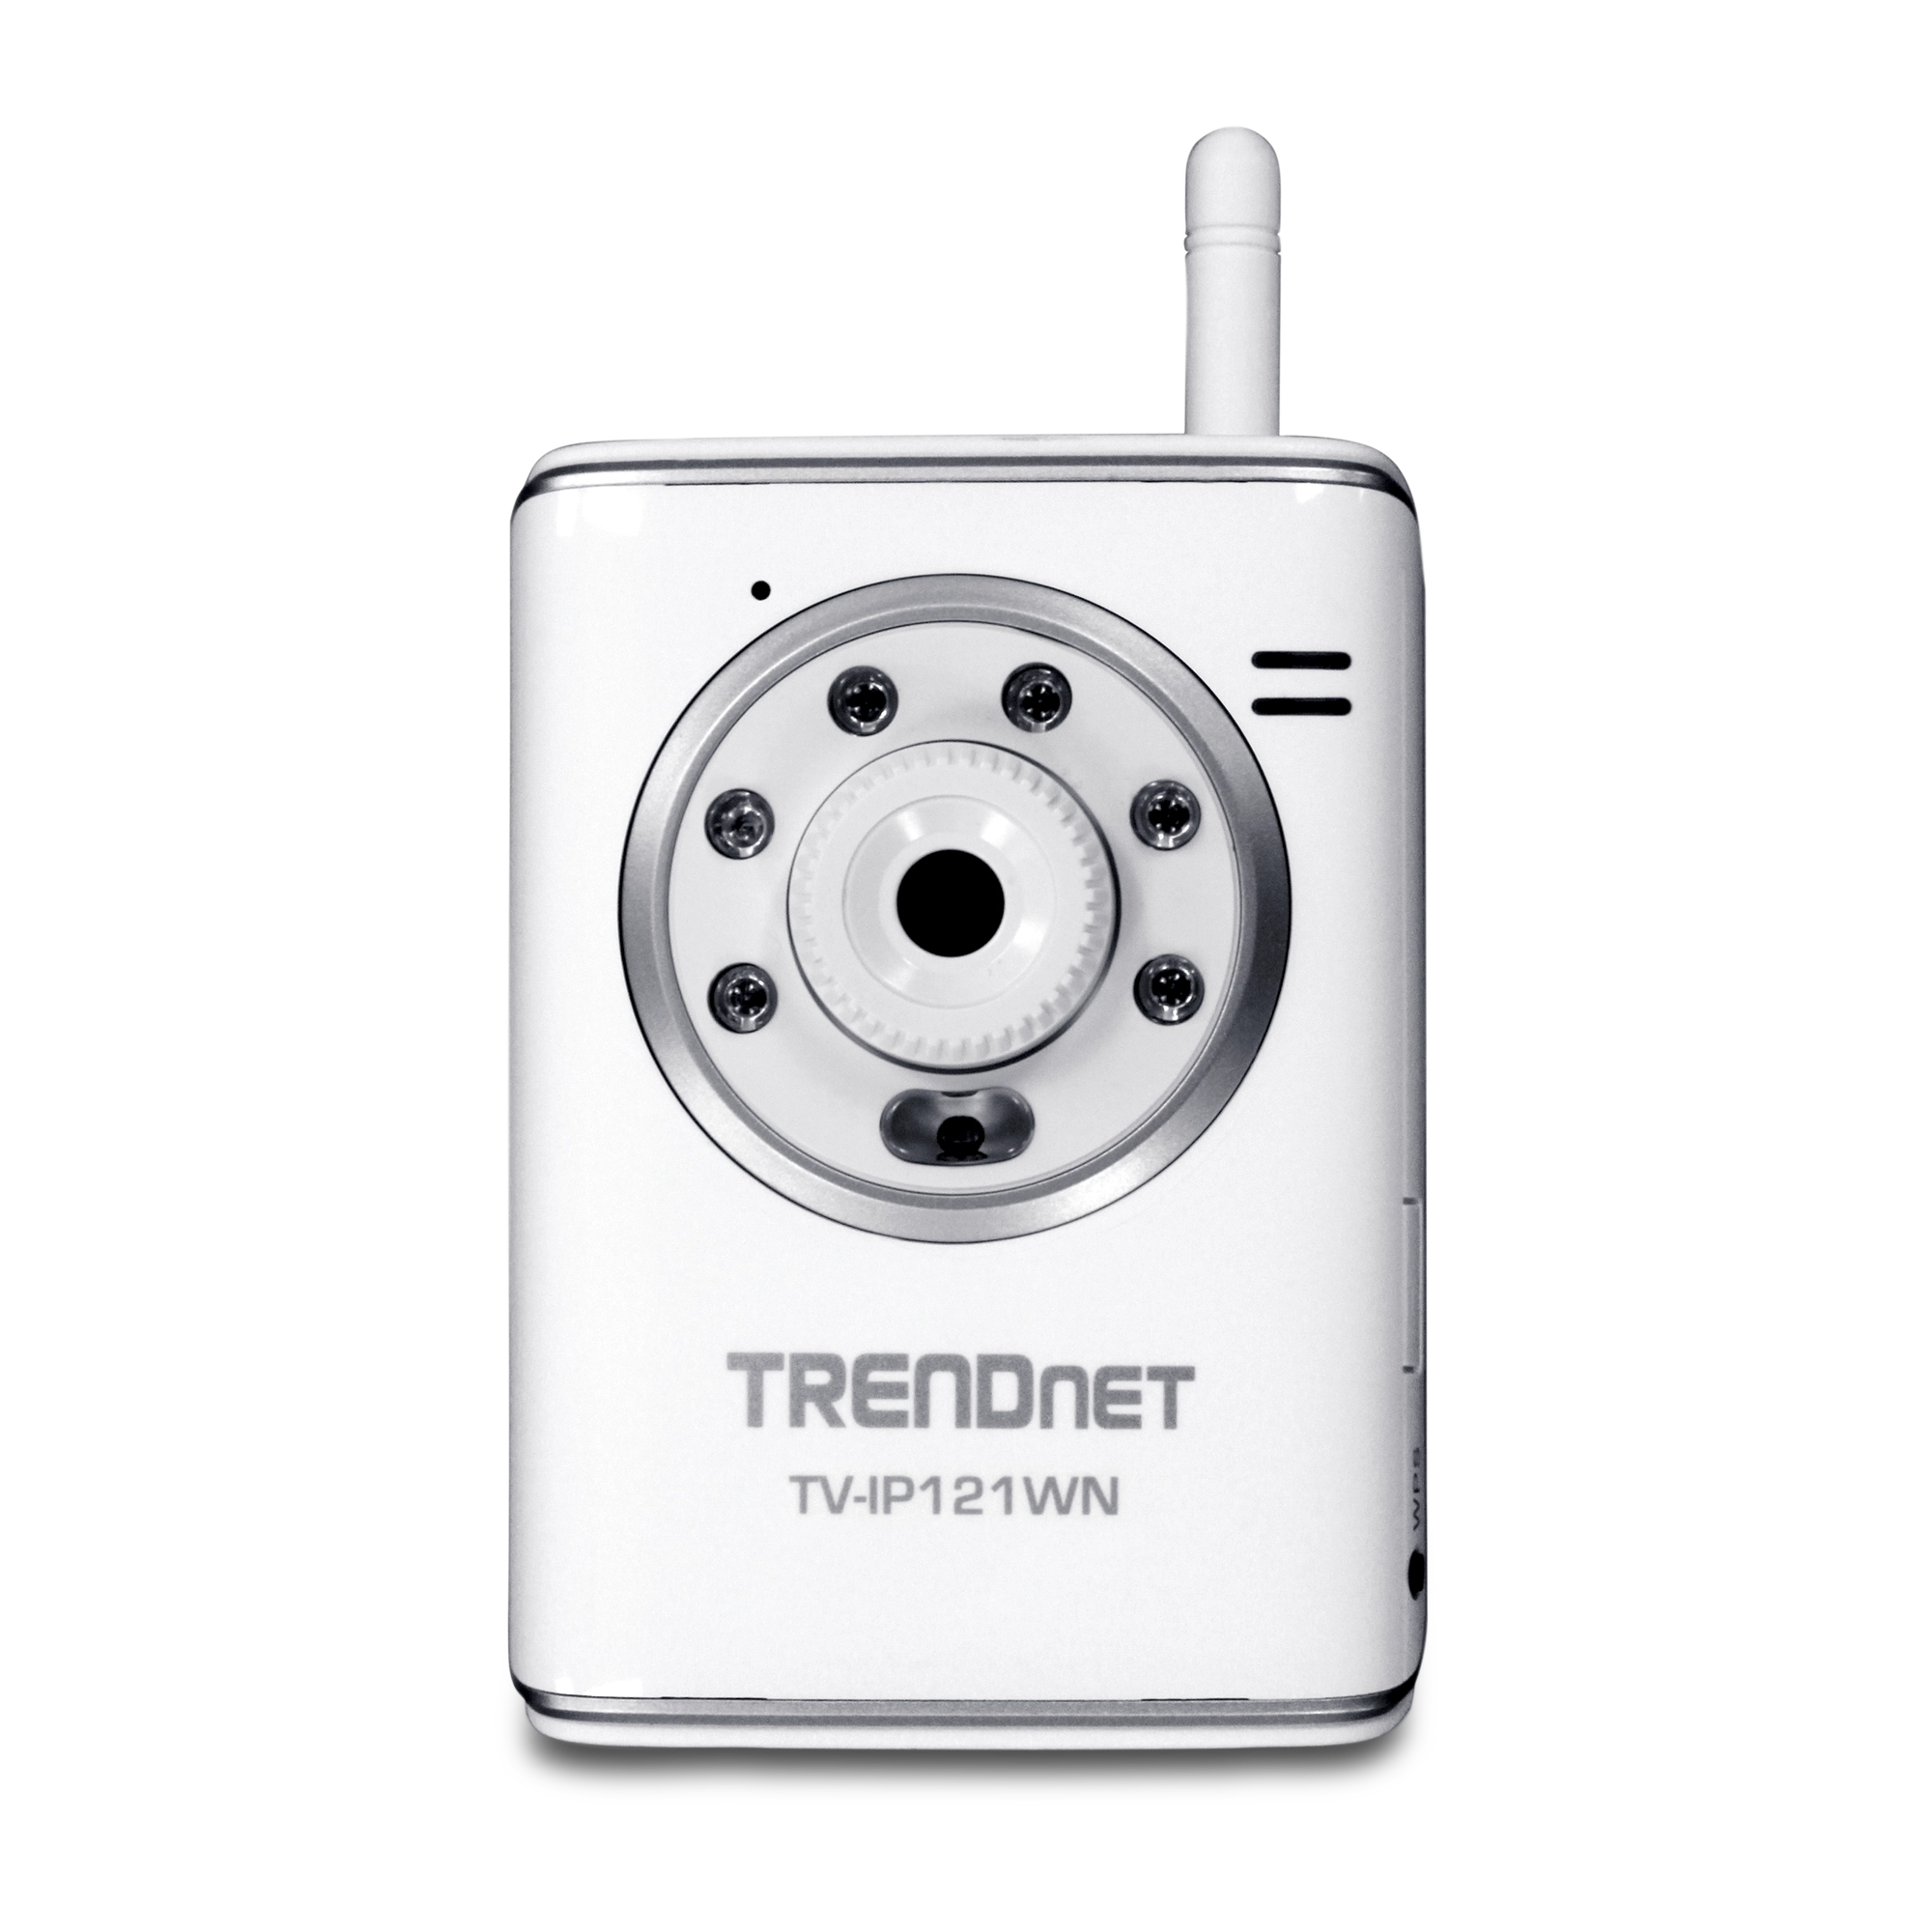
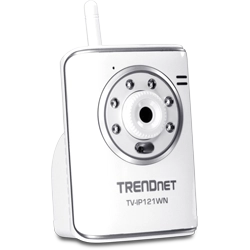
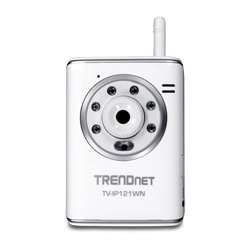
Caméra Internet Jour/nuit sans fil N SecurView
TV-IP121WN (Version v1.0R)
- Couverture jusque 4x supérieure par rapport aux caméras IP sans fil g
- Vision de nuit jusque 5 mètres et son monodirectionnel
- Programmez l'enregistrement de la détection de mouvements, les alertes par e-mail, etcavec le logiciel gratuit
- Connexion sans fil WPS activée à l'aide d'une seule touche
DISCONTINUED PRODUCT
The TV-IP121WN (Version v1.0R) has been discontinued. It has been replaced by the TV-IP324PI (Version v1.0R). For a list of discontinued products, click here.Utilitaires
Nom de fichier: Utility_IPSetup(v1.0.0.9).zip
SHA-1 Checksum: DF2576962235590F425CAB35246A68886DD0C6C9
Date: 7/25/2017
Taille du fichier: 700.14 KB
Nom de fichier: SecurViewPro(v2.0.0.0)_08292011.zip
SHA-1 Checksum: 73065E14971D00A27ACF41BFA88C643EA081CFBE
Date: 7/25/2017
Taille du fichier: 76.79 MB
Firmware
NE PAS faire de mise à niveau d’un firmware sur quelque produit TRENDnet que ce soit à l’aide d’une connexion sans fil. Les mises à niveau de firmware via une connexion sans fil peuvent endommager le produit. Veuillez faire les mises à niveau de firmware uniquement avec un réseau filaire |
Firmware Version: V1.1.1 built 20
Release Date: 4/2013
Notes:
- Upload.asp removed.
- Updated save configuration file encryption type.
Notes:
Nom de fichier: FW_TV-IP121WN_V1(1.1.1.20).zip
SHA-1 Checksum: 4CE3A87EA5135143F8163EAB8B1DA97442C17A23
Date: 7/25/2017
Taille du fichier: 3.41 MB
Logiciels
Version: 2.1.1.294
Release Date: 6/2012
Notes:
- Enhanced Functionality
Download TRENDnetView Pro Guide de l'utilisateur
Nom de fichier: SecurViewPro(2.1.1.294).zip
SHA-1 Checksum: 37413E7BE0E60F3F91AC8EF11F282FCCF621C2B0
Date: 7/25/2017
Taille du fichier: 27.81 MB
Feuilles de données
Nom de fichier: EN_spec_TV-IP121WN(v1.0R).pdf
Date: 5/2/2011
Taille du fichier: 4.67 MB
Nom de fichier: FR_spec_TV-IP121WN(v1.0R).pdf
Date: 3/31/2011
Taille du fichier: 4.64 MB
Nom de fichier: GE_spec_TV-IP121WN(v1.0R).pdf
Date: 3/31/2011
Taille du fichier: 4.65 MB
Nom de fichier: SP_spec_TV-IP121WN(v1.0R).pdf
Date: 3/31/2011
Taille du fichier: 4.47 MB
Nom de fichier: RU_spec_TV-IP121WN(v1.0R).pdf
Date: 3/31/2011
Taille du fichier: 4.43 MB
Nom de fichier: IT_spec_TV-IP121WN(v1.0R).pdf
Date: 3/31/2011
Taille du fichier: 4.46 MB
Guide d'installation rapide
Nom de fichier: EN_Web_TV-IP121WN(1.01).pdf
Date: 3/3/2011
Taille du fichier: 2.38 MB
Nom de fichier: FR_Web_TV-IP121WN(1.01).pdf
Date: 3/3/2011
Taille du fichier: 2.61 MB
Nom de fichier: GE_Web_TV-IP121WN(1.01).pdf
Date: 3/3/2011
Taille du fichier: 2.02 MB
Nom de fichier: PO_Web_TV-IP121WN(1.01).pdf
Date: 3/3/2011
Taille du fichier: 1.97 MB
Nom de fichier: SP_Web_TV-IP121WN(1.01).pdf
Date: 3/3/2011
Taille du fichier: 2.01 MB
Nom de fichier: RU_Web_TV-IP121WN(1.01).pdf
Date: 3/3/2011
Taille du fichier: 2.92 MB
Nom de fichier: EST_Web_TV-IP121WN(1.01).pdf
Date: 3/3/2011
Taille du fichier: 1.75 MB
Guide de l'utilisateur
Nom de fichier: UG_SecurViewPro.pdf
Date: 6/5/2012
Taille du fichier: 4.66 MB
Nom de fichier: UG_TV-IP121WN(v1.02).pdf
Date: 5/9/2011
Taille du fichier: 5.79 MB
Images produit

OverviewPlease ensure you have followed the quick installation guide and have the camera setup and accessible on your home/office network. The following instructions are going to outline how to make a SecurView camera accessible over the Internet. We will start by assigning a unique static IP addres...
The files cannot be accessed through the camera. Dismount the USB memory stick from the camera and connect it to your computer....
The USB page does not automatically update, refresh the page
The USB stick may not be formatted in FAT, to check connect USB stick to your computer. Go to My Computer right click on the USB stick go to Properties look for File System....
Yes, they can be disabled. Log in to the camera by entering the camera's IP address into your browser. The default IP address is https://192.168.10.30. The default username and password are both "admin".
Click on Setup and then go to the Basic>System page. The IR LED control can be set to "off" he...
The camera must be configured properly to have Internet access. This includes making sure you have entered a valid default gateway address for the camera and valid DNS server entries to ensure it can resolve names.
Unfortunately the camera does not support SSL. If the email provider requires SSL ...
Unfortunately the cameras from different families do not share a common, free, application and cannot be used together. SecurView cameras will not function in IPView Pro and vice versa....
By default the camera uses TCP port 80. Forward this port in your router or firewall to the camera.
Unfortunately SecurView is not compatible with Macintosh operating systems.
The camera can be configured from a Macintosh through its web-based configuration page. The camera's web configuration page can be reached by entering its IP address into a web browser. For example, if the IP address is 192.168.10.30 you would access it by opening your web browser and entering https...
The camera's web configuration page can be reached by entering its IP address into a web browser. For example, if the IP address is 192.168.10.30 you would access it by opening Internet Explorer and entering https://192.168.10.30 into the address line....
What is the default IP address of my TV-IP121W and TV-IP121WN?
...
Log in to the camera and click on Setup. Click on Motion Detect on the left hand side. On this page you can setup two motion detection windows. Under "Window" you can select either 1 or 2. Place a check in "Enable" to turn on motion detection. You can adjust the threshold for each window individuall...
Warning:
Firmware upgrade failure may permanently damage the unit and cause it to malfunction. Do not interrupt the firmware upgrade process by disconnecting it from the network or unplugging its power from the power outlet once the firmware upgrade process has begun. Never perform a firmware upgr...
Log in to the camera and click on Setup then click on Event Server>Email on the left hand side. Enter your email server and user information here.
After applying the email server information click on Event Config on the left hand side. You have three options, Motion Detection, Scheduled uplo...
Log in to the camera and click on Setup then click on Event Server>FTP on the left hand side. Enter your FTP server information here.
After applying the FTP server information click on Event Config on the left hand side. You have three options, Motion Detection, Scheduled uploading and GPIO trig...
After you have the camera configured on your network start SecurView. Click on the "Settings" button then click on the "Add Camera" button. It will search your network for any supported cameras and display a list of them. Highlight the camera you want to view in SecurView then click "Add Camera".
...
The supported browsers are Internet Explorer 6.0 or above.
Windows 7 (32/64-bit), Vista (32/64-bit), XP (32/64-bit)
Press and hold in the reset button on the back of the camera for approximately 10 seconds while the power is on to restore the factory default settings. ...
The top LED is a power light. It should be a steady orange light when power is applied to the camera. The bottom LED is a link light. It should be green and blinking when sending and receiving data. ...
Log in to the camera by entering the camera's IP address into your browser. The default IP address is https://192.168.10.30. The default username and password are both "admin".
After you have logged into the camera do the following.
-Click Setup
-Click Basic>User
You can define the Adm...
Log in to the camera by entering the camera's IP address into your browser. The default IP address is https://192.168.10.30. The default username and password are both "admin".
After you have logged into the camera do the following.
-Click Setup.
-Click Network>Wireless.
-Click the Site Su...
Yes, the camera does support DDNS (Dynamic DNS). Dynamic DNS services will allow you to maintain a single hostname for the camera, even if your ISP changes your WAN IP address. The camera will update the DDNS record to reflect the new IP address. This ensures that each time you go to the hostname yo...
You will need to forward the port that the camera is using in the router to the camera. By default this is TCP port 80. From a remote location you would enter in the public or WAN IP address of your router into your browser or add it to SecurView using the public IP address.
Refer to your router'...
| Caméra: | |
| Général | Capteur:capteur d'image couleur CMOS de 1/4" Résolution: 640 x 480 pixels Lentille Board Distance focale:4.6mm F/No.:F2.6 Eclairage minimum: 0 lux Angle de vue diagonale : 60° |
| Audio | Micro omnidirectionnel intégrée interne: -48dB + 3dB() Fréquence:50~16000Hz Codec: ARM/PCM |
| Matériel | |
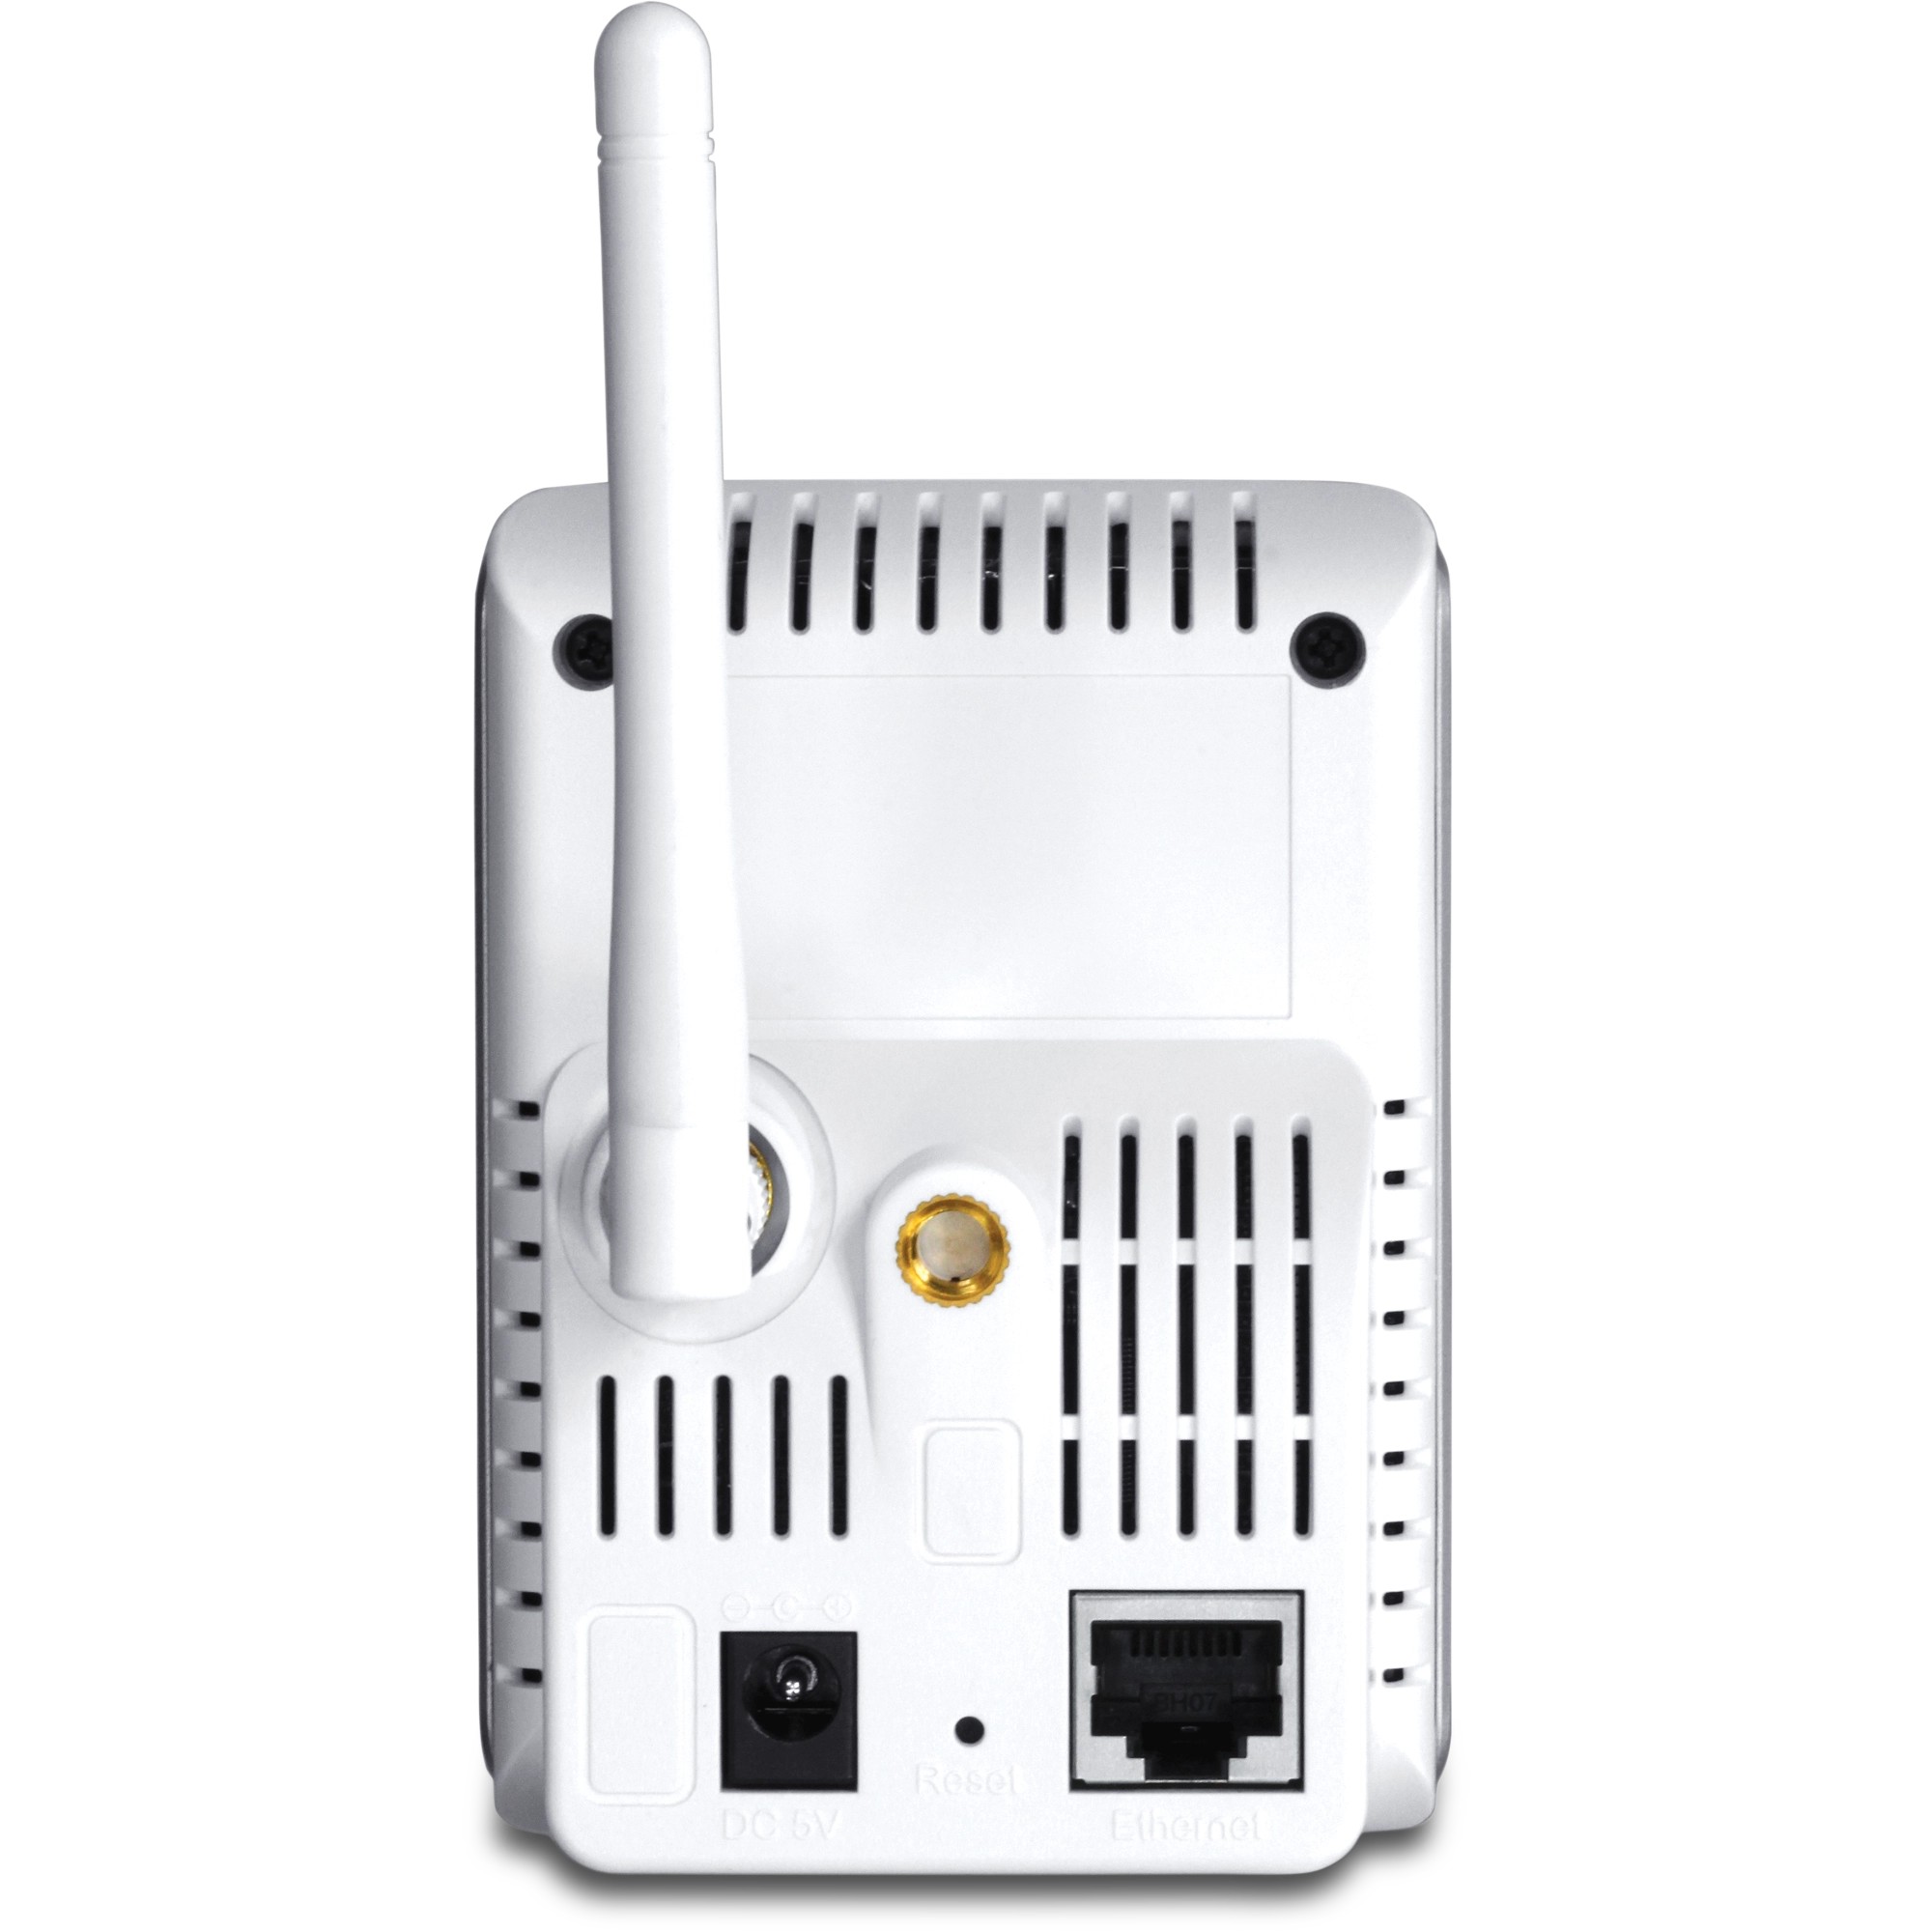
| Réseau: | IEEE 802.3u 10/100Mbps Fast Ethernet Auto-MDIX |
| Voyants lumineux | Alimentation , Link/Activité |
| Bouton de réinitialisation | Restauration des paramètres par défaut |
| Consommation | 6 watts (max) |
| Alimentation | Adaptateur secteur externe 5V , 2.5A |
| Dimensions | 70 x 100 x 57mm (2.7 x 3.9 x 3.0 in.) |
| Gewicht |
|
| Température |
|
| Humidité | Max85% (pas de condensation) |
| Certifications | CE, FCC |
| Configuration nécessaire | |
| Pour visualiser la caméra | Internet Explorer 6.0 ou supérieur |
| Pour exécuter le logiciel | Windows 7(32/64-bit), Vista(32/64-bit), XP(32/64-bit) |
| SecurView | Canal: prise en charge de jusqu'à 32 caméras Enregistrement/Lecture/Détection de mouvement/Audio |
| Protocoles réseau supportés | TCP/IP, UDP, ICMP, DHCP, NTP, DNS, DDNS, SMTP, FTP,HTTP, PPPoE UPnP |
| Sans fil | |
| Standards | Basé sur la technologie IEEE 802.11n compatible avec les normes IEEE 802.11b / g |
| Fréquence | 2.4 ~ 2.4835GHz |
| Antenne | 2 Antenne dipôle 2dBi amovible avec connecteur SMA inversé |
| Débit des données |
|
| Sécurité | 64/128-bit WEP, WPA/WPA2-PSK |
| Puissance de sortie |
|
| Sensibilité du récepteur |
|
| Canaux | 1~11 (FCC), 1~13 (ETSI) |
| Gestion | |
| Identification à distance | Gestion à distance appuyé |
| Sauvegarde/Restauration | Sauvegarde/récupère les fichiers de configuration |
| Paramétrages | |
| Image | Luminosité, contraste, saturation, miroir (horizontal/vertical), |
| vidéo |
|
| Enregistrement | Type d'enregistrement: En continu, sur détection de mouvement ou par détection programmée avec le logiciel |
| Paramètrages des ports | Port HTTP:80 (par défaut) |
| Zoom numérique | 3x |
| DNS dynamique | Oui |
| Heure | Synchronisez avec le serveur NTP ou réglez manuellement l'heure/la date |
| SMTP | Support messagerie SMTP pour 2 comptes |
| Journal système | 100 entrées |
CONTENU DE L'EMBALLAGE |
|
Toutes les références au débit ne sont données qu’à titre de comparaison. Les spécifications, la taille et la forme du produit sont sujettes à modification sans avis préalable, et l’apparence réelle du produit peut différer de celle illustrée ici.