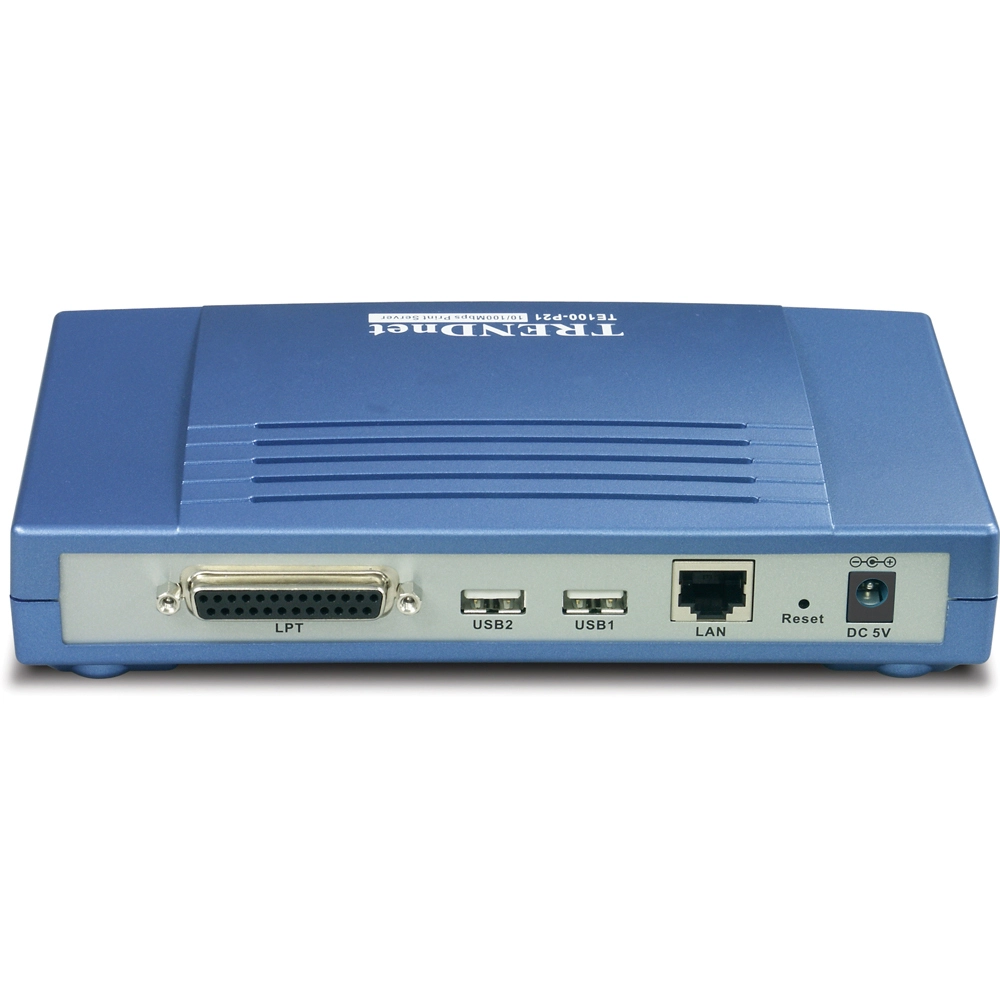
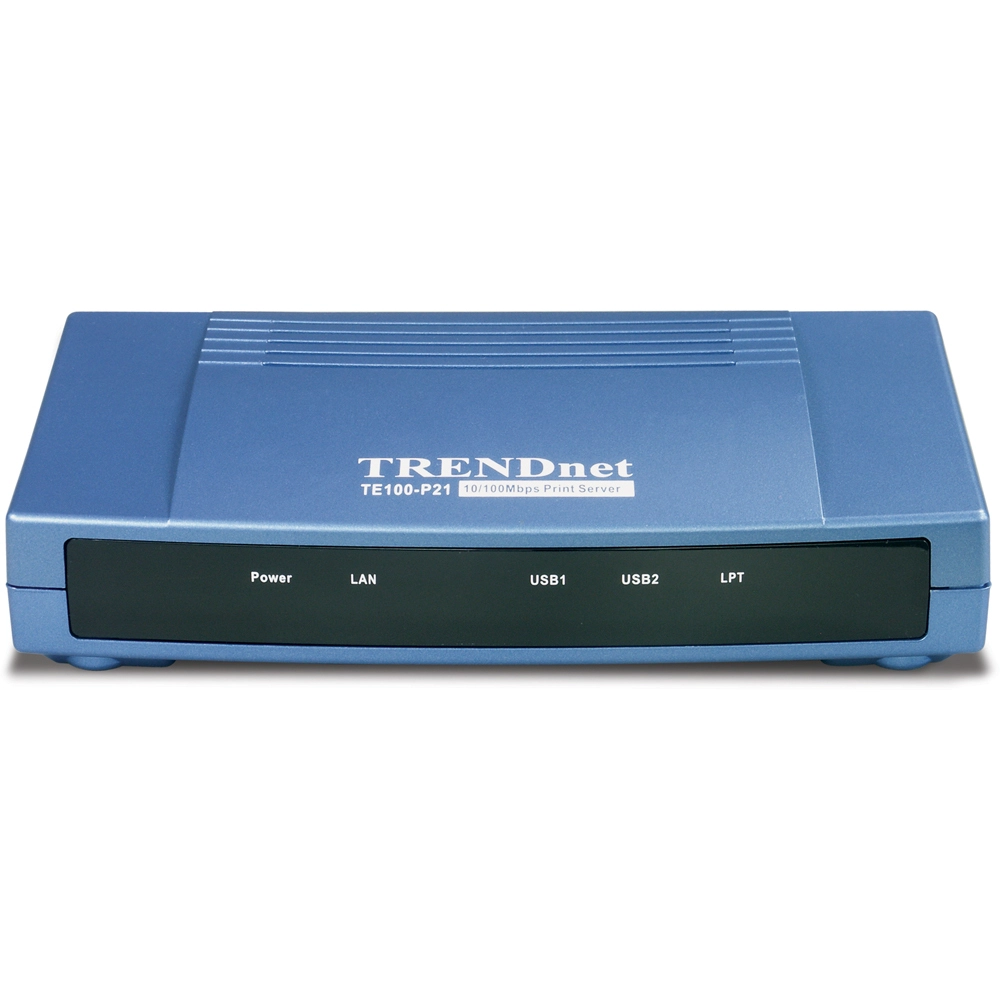
10/100Mbps Multi-Port Print Server 2 USB 2.0 & 1 Parallel Printer Port
TE100-P21 (Version 1.0)
DISCONTINUED PRODUCT
The TE100-P21 (Version 1.0) has been discontinued. For a list of discontinued products, click here.Utilità
Scheda tecnica
Nome del file: Spec_TE100-P21(English).pdf
Data: 1/27/2005
Dimensioni del file: 222.50 KB
Nome del file: Spec_TE100-P21(French).pdf
Data: 1/27/2005
Dimensioni del file: 207.98 KB
Nome del file: Spec_TE100-P21(German).pdf
Data: 3/28/2005
Dimensioni del file: 207.45 KB
Guida rapida per l'installazione
Nome del file: QIG_TE100-P21(English).pdf
Data: 1/3/2005
Dimensioni del file: 2.41 MB
Nome del file: QIG_TE100-P21(French).pdf
Data: 1/3/2005
Dimensioni del file: 2.20 MB
Nome del file: QIG_TE100-P21(German).pdf
Data: 1/3/2005
Dimensioni del file: 2.27 MB
Nome del file: QIG_TE100-P21(Spanish).pdf
Data: 1/3/2005
Dimensioni del file: 2.32 MB
Nome del file: QIG_TE100-P21(Italian).pdf
Data: 4/28/2006
Dimensioni del file: 795.78 KB
Immagine/i del prodotto
Make sure that you have the latest print drivers for you printer.
Launch your web browser (such as the Internet Explorer 6.0 used in this manual).
Then, type https://192.168.0.1 (the default IP address)
in the Address bar and press [Enter] to enter the Management screen of the
Configuratio...
Print servers are IEEE1284 bi-directional compatible. This means that data
can be sent and received in both directions between the printer and the print
server.
Toner status, paper level, etc., will not be communicated back to the PC. In
order to get printer status information, the prop...
The queue name will be PS-xxxxxx-U1, U2 or P3 depending on the port that you have the printer plugged into. X being the actual number listed in the Port Name box. It is case sensitive....
Yes, but you must assign the print server an IP address from a Windows based operating system first. Once that is done you can use LPR or LPD printing for the Macs and you can manage the print server by entering its IP address into a web browser. Also the printer must be a postscript printer....
Step 1 Go to Start>Settings>Printers>Add
New Printer (WinXP - Start>Printers and Faxes>Add
a Printer).
Step
2 Select Local Printer. Make sure to uncheck Automatically
detect and install my plug and play printer. Click Next.
Step 3 Select Create a New Port and select Standard
TCP/IP po...
In Windows 98/Me you will need to install the LPR client.
For Windows 98/ME you will also need to know the port name that you are printing
to (The Port Name is the PS-xxxxxx-P1. X being the actual number listed in the
Port Name box).
Installing LPR:
Step 1 Once the file
is downloaded ...
First, launch your web browser (such as the Internet Explorer 6.0 used in
this manual). Then, type https://192.168.0.1 (the
default IP address) in the Address bar and press [Enter] to enter the Management
screen of the Configuration Utility. Or use the IP address that you manually
assigned...
Step 1 Open up the PS-Utility and click on Change IP Address.
Step 2Change IP Address:
Click this button to bring up the following dialog box, allowing you to change
the IP Address. In this dialog box, you can select either Manually
Assign or DHCP Assign Automatically.
When completed, cl...
If you are using Windows XP you will have to disable the built in firewall. But for all operating systems you have to disable any other form of firewall software such as Norton Internet Security, Black Ice, and ZoneAlarm....
Make sure to change your IP Address to 192.168.0.xxx where xxx is an available number between 2 to 253....
Open PS-Utility v2.00 (See 4. Configure the Print Server) to locate your Print Server's IP address. For MAC users, press the Reset button at the back of the TE100-P21, hold the button for 15 seconds, release the button, and enter https://192.168.0.1 in a web browser to access the web utility feature...
Make sure to set the newly installed network printer to your default printer.
Make sure that the printer is online by turning the printer on. Make sure the power adapter of your printer is properly connected to a power outlet. ...
Make sure that the server name and printer name is entered correctly. There should be no spaces, and the back slashes that separate the server name and printer name should be this, \\, instead of this, //. (See 5. Add Network Printer). ...
Make sure that you are typing the correct printer name. If your USB printer is connected to the USB2 slot, then use the Printer Name that is by the USB2 heading in the web configuration utility. (See 4. Configure the Print Server) ...
Please double check your hardware connections. Make sure that your printer is connected properly to the print server and your power adapter is connected properly to a power outlet. (See 3. Hardware Installation)...
| Hardware | |
| LAN Standards: |
|
|---|---|
| Printer Interface: |
|
| LAN Port: |
|
| CPU: |
|
| SDRAM: |
|
| Flash ROM: |
|
| LED: |
|
| Transport Protocol: |
|
| TCP/IP Protocol Supported: |
|
| OS Support: |
|
| Management: |
|
| Power: |
|
| Dimensions (LxWxH): |
|
| Weight: |
|
| Temperature: |
|
| Humidity: |
|
| Certifications: |
|
CONTENUTO DELLA CONFEZIONE |
|
Tutti i riferimenti relativi alla velocità sono solo a scopo comparativo. Le specifiche, le dimensioni e la forma del prodotto sono soggette a modifiche senza preavviso e l'aspetto effettivo può differire da quello raffigurato nel presente documento.


