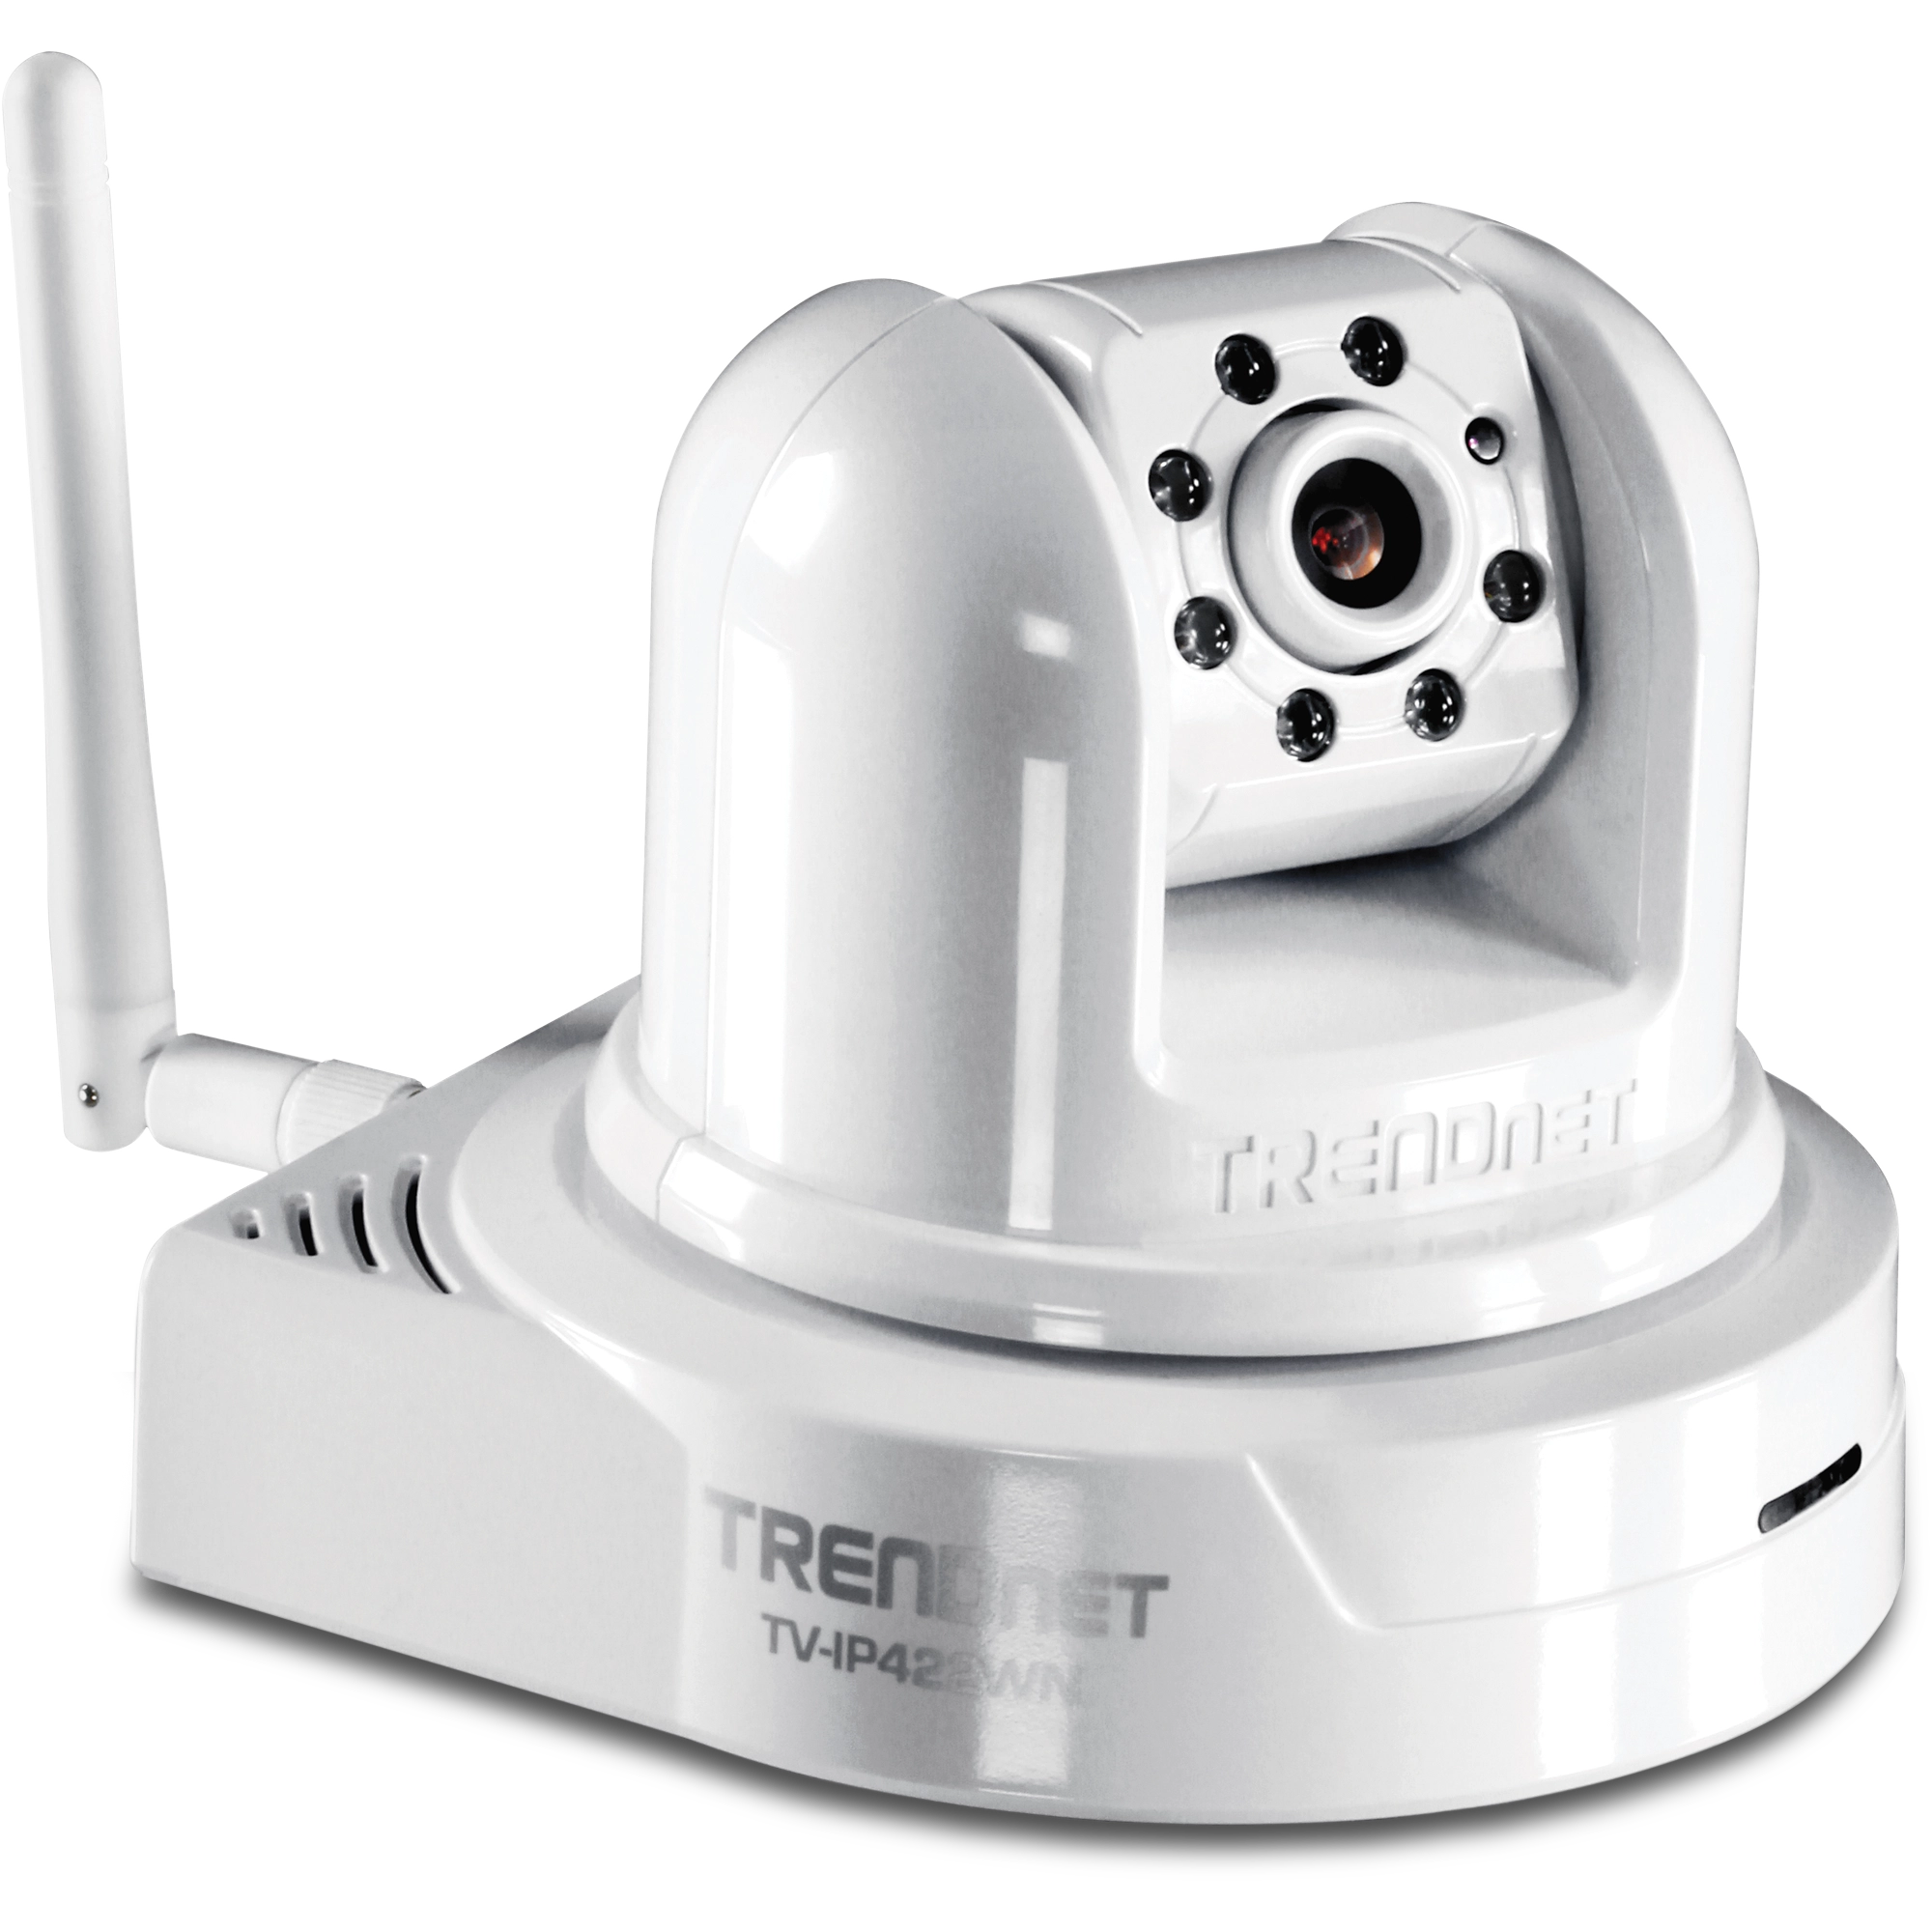
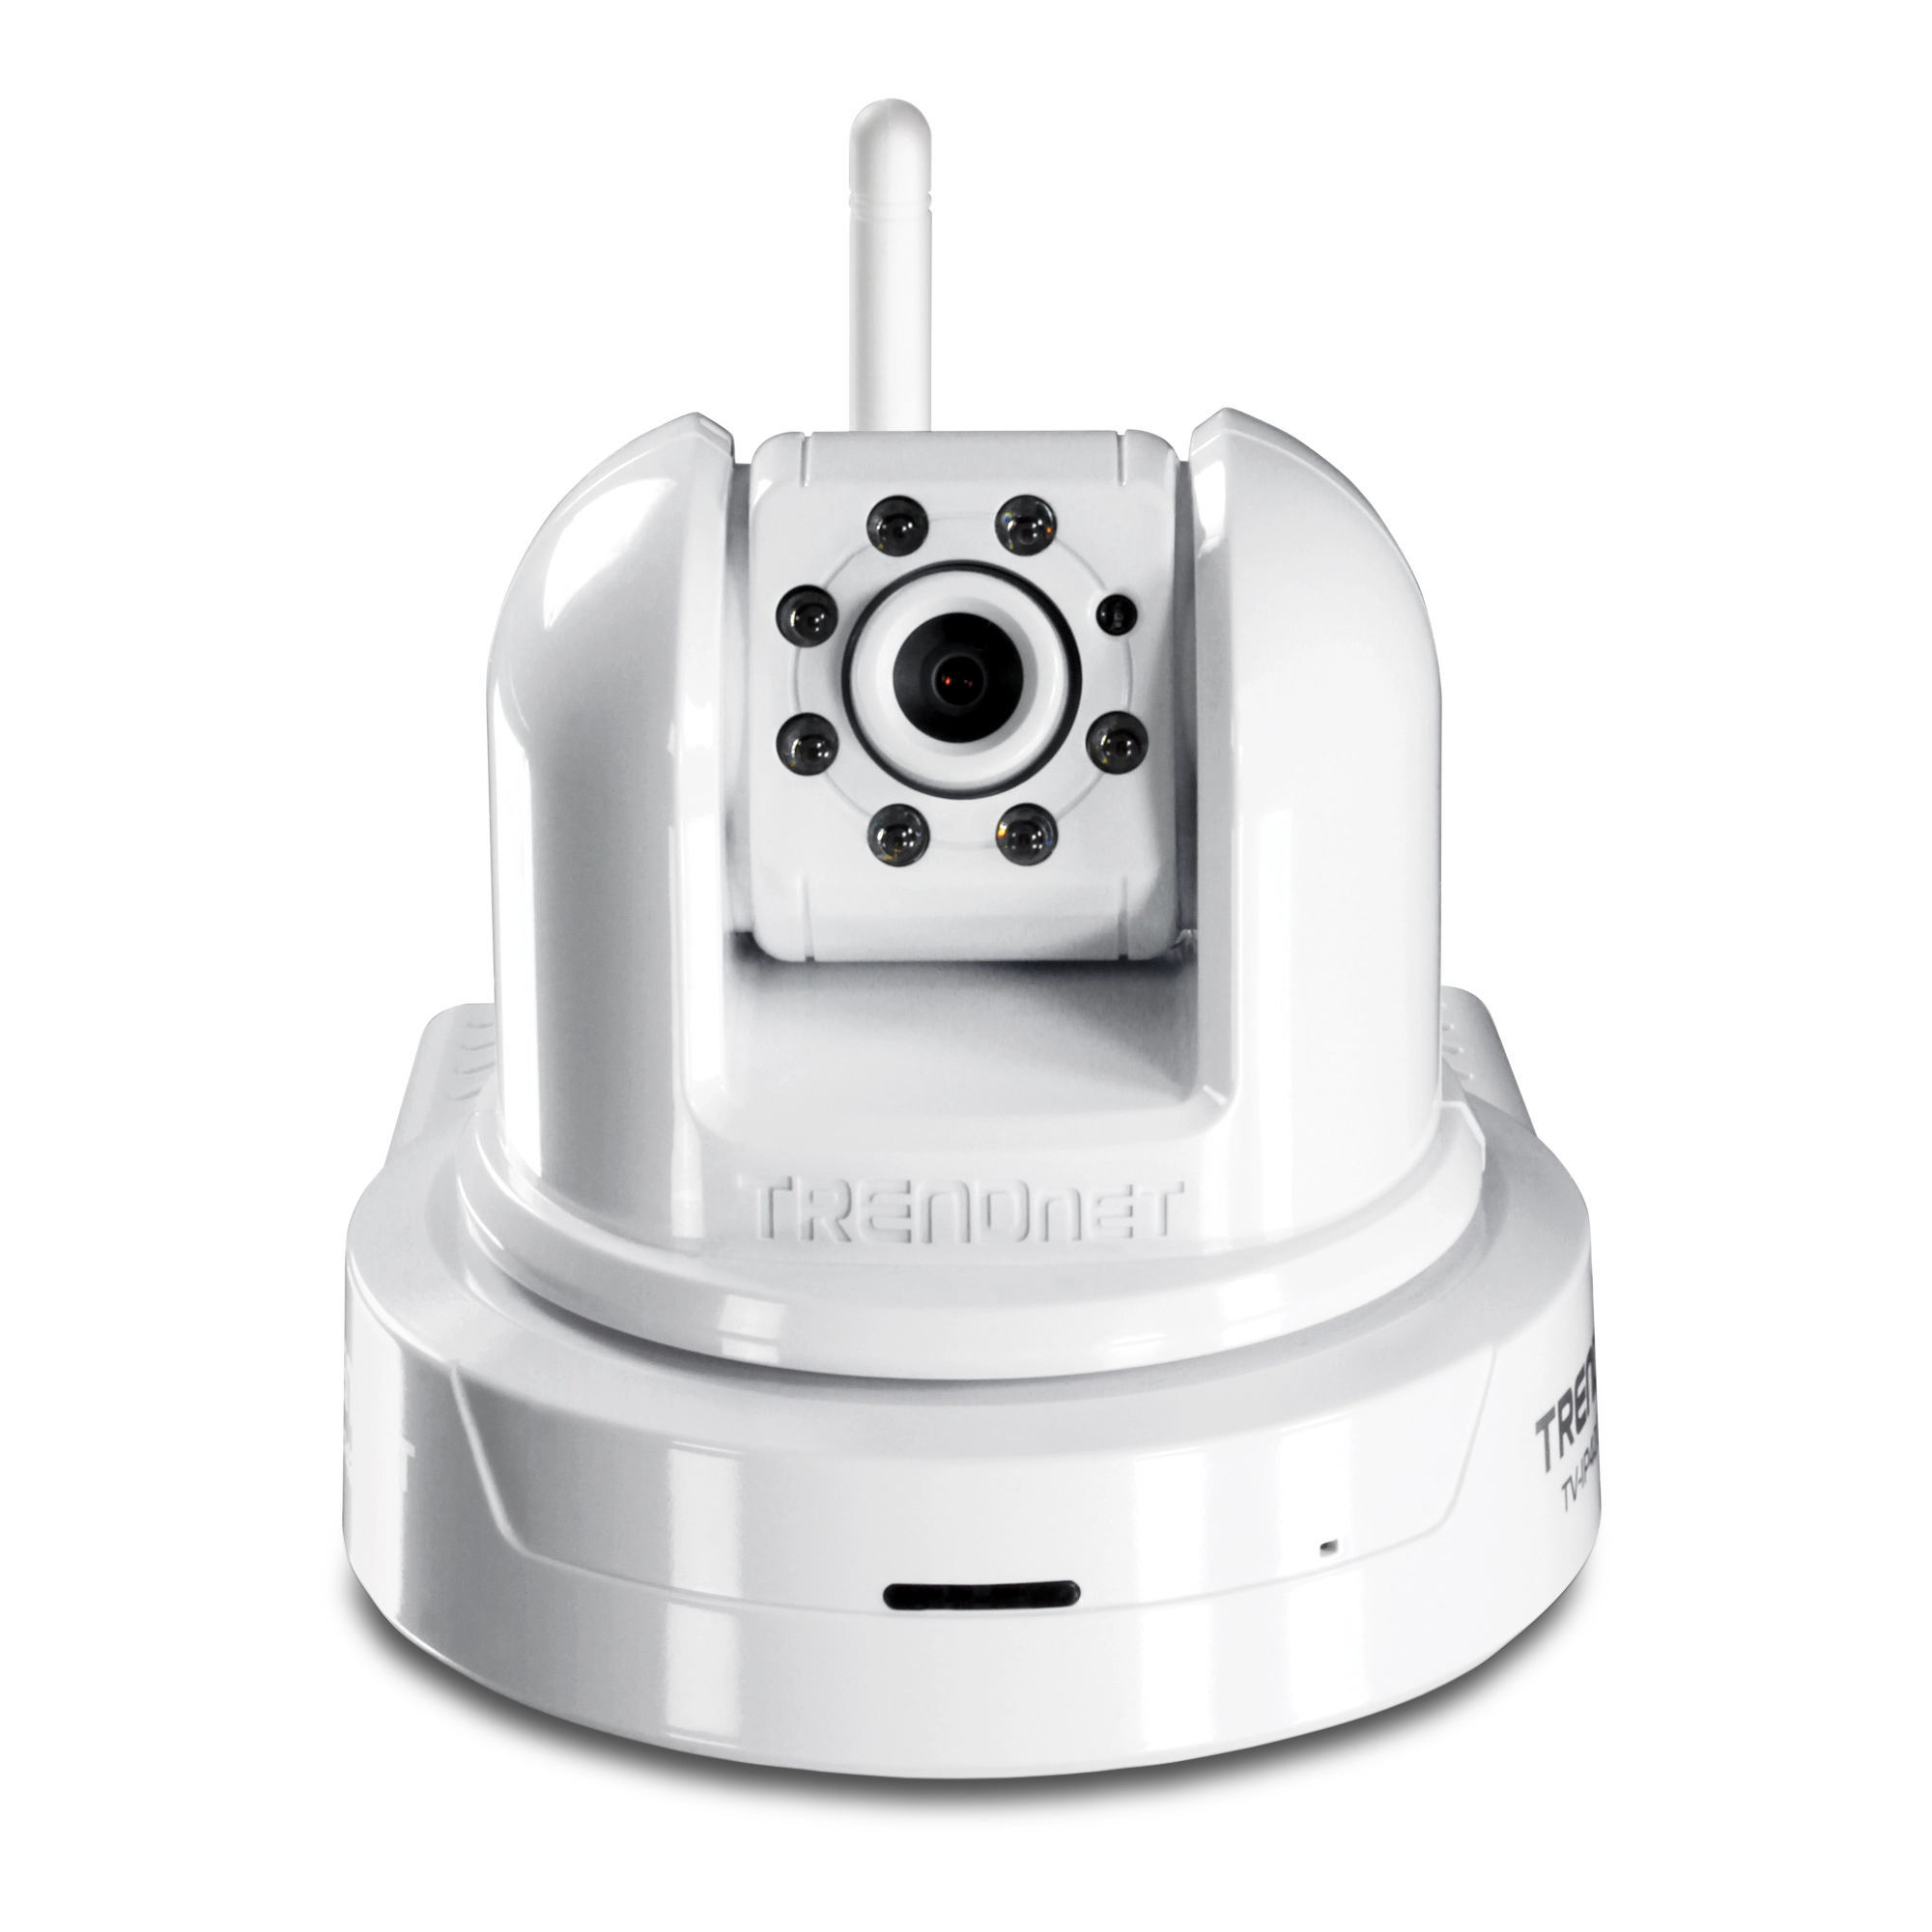
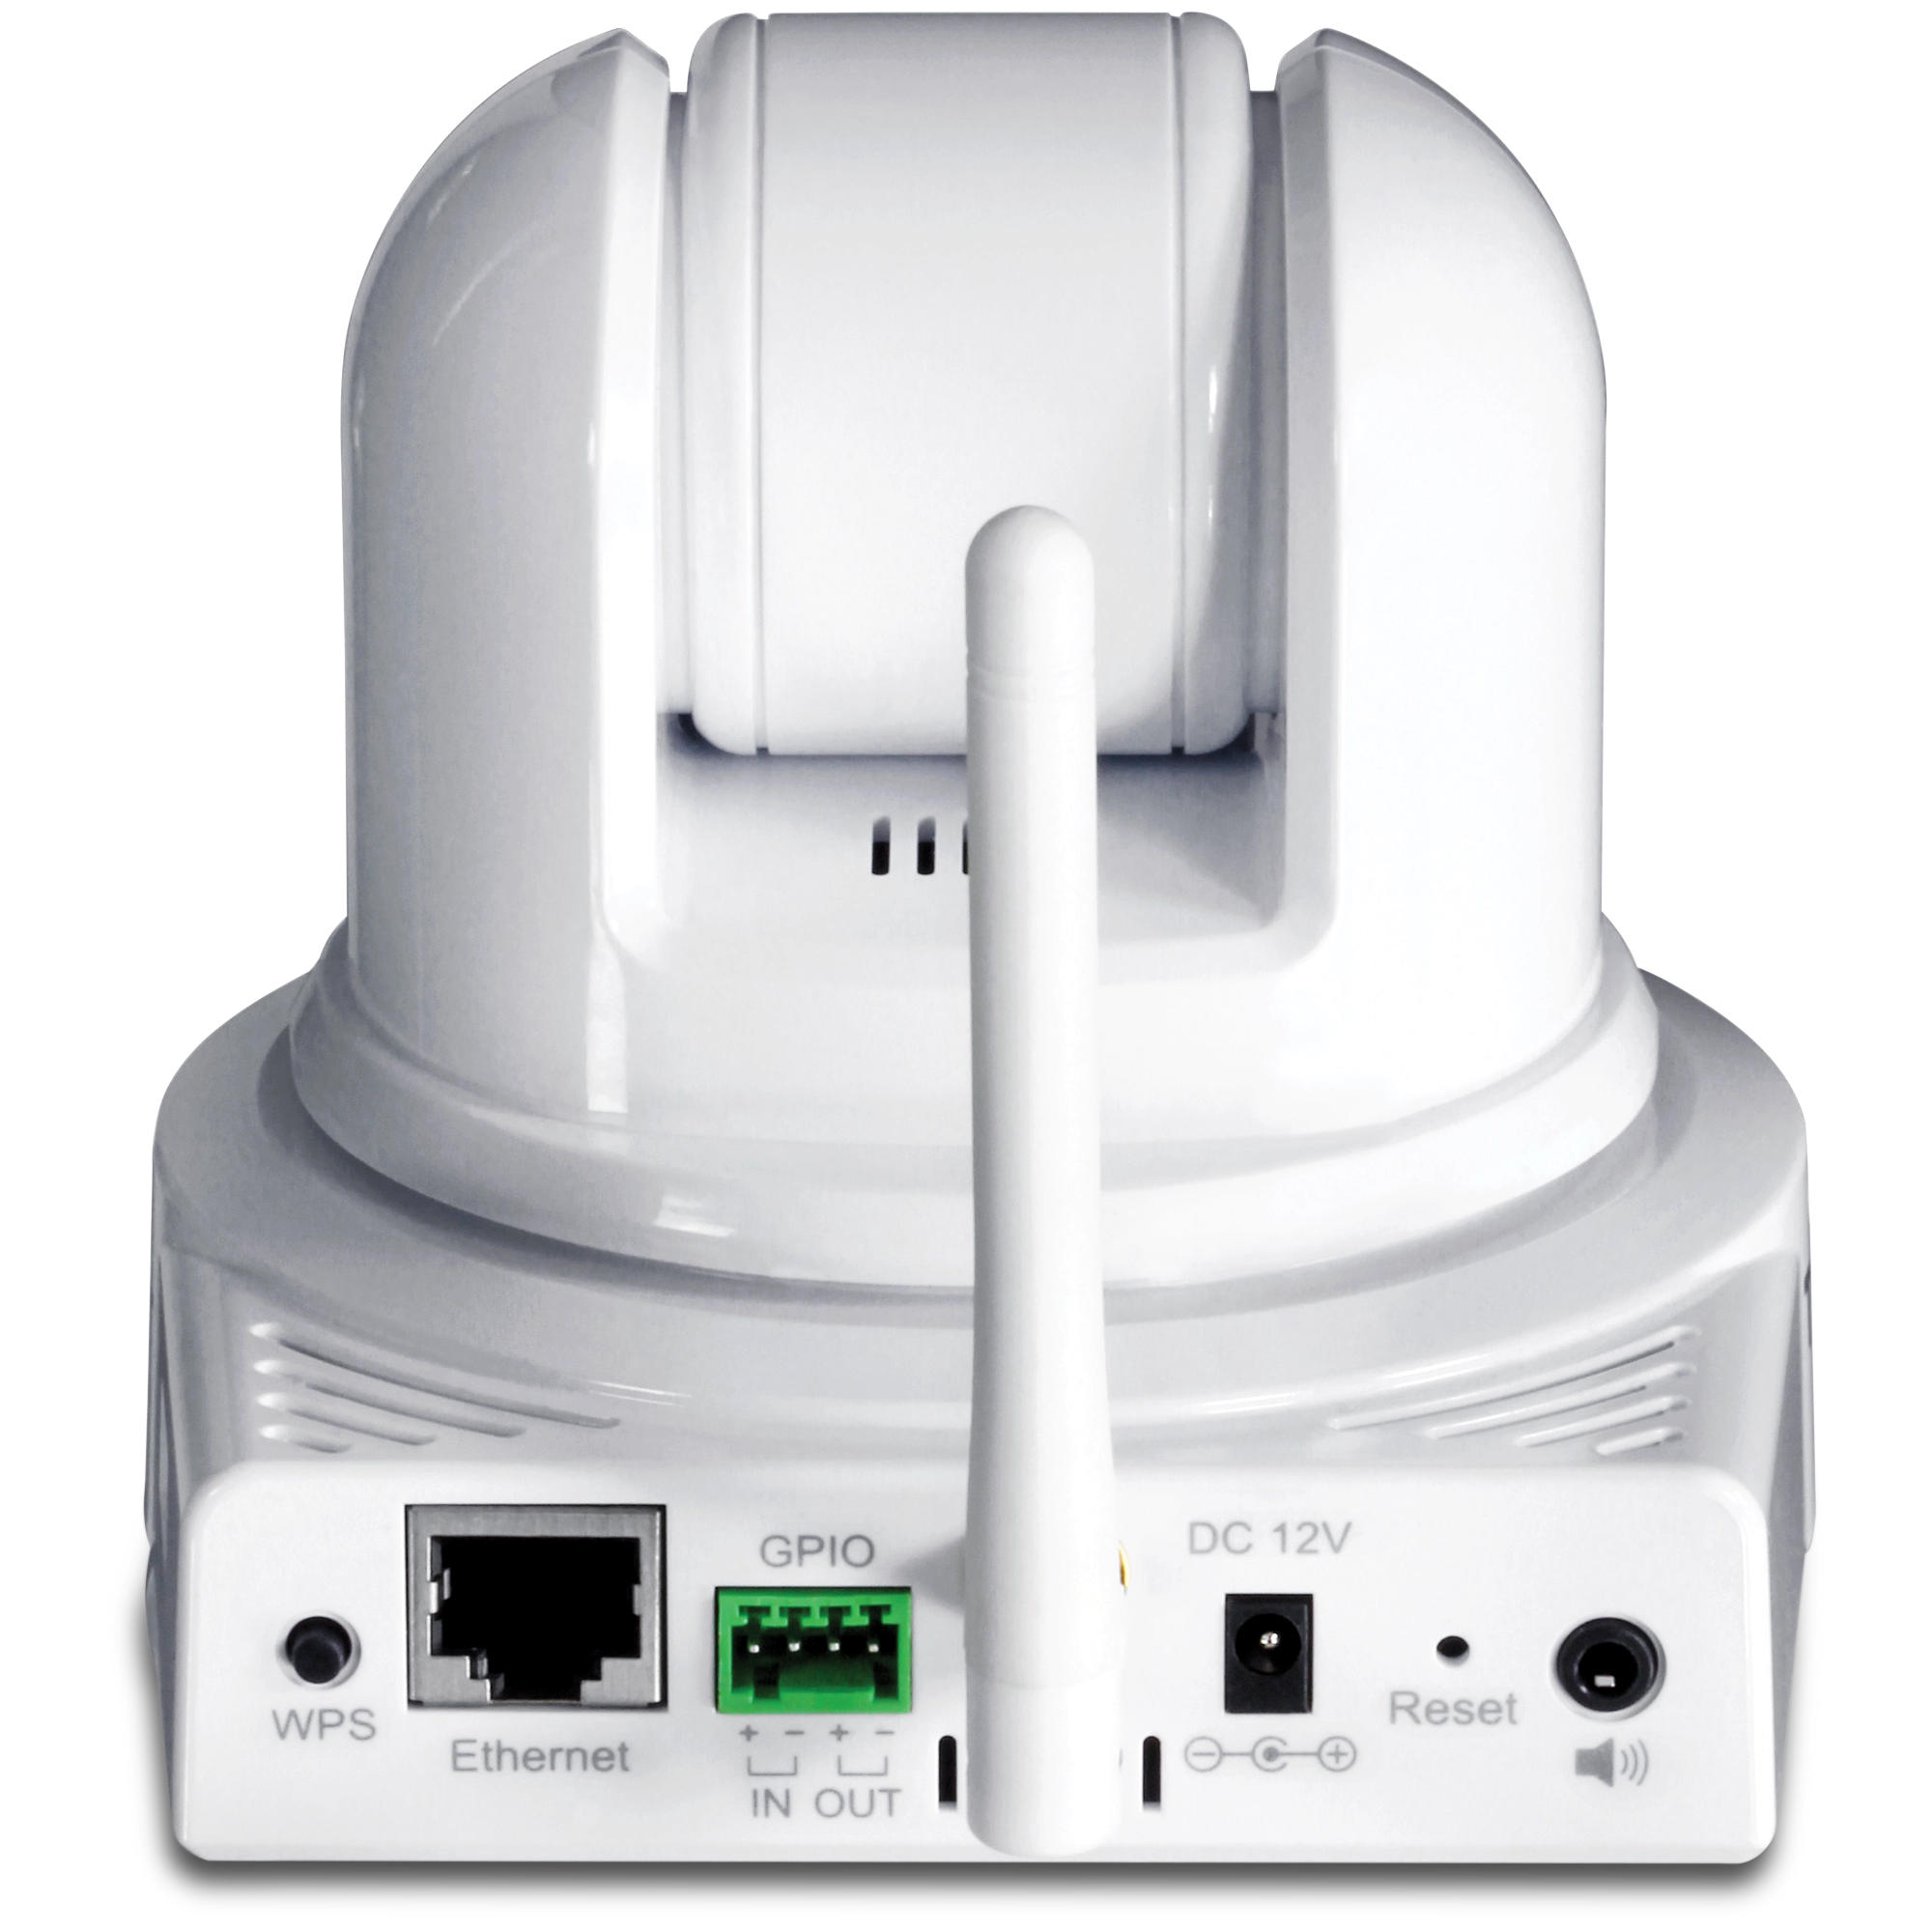
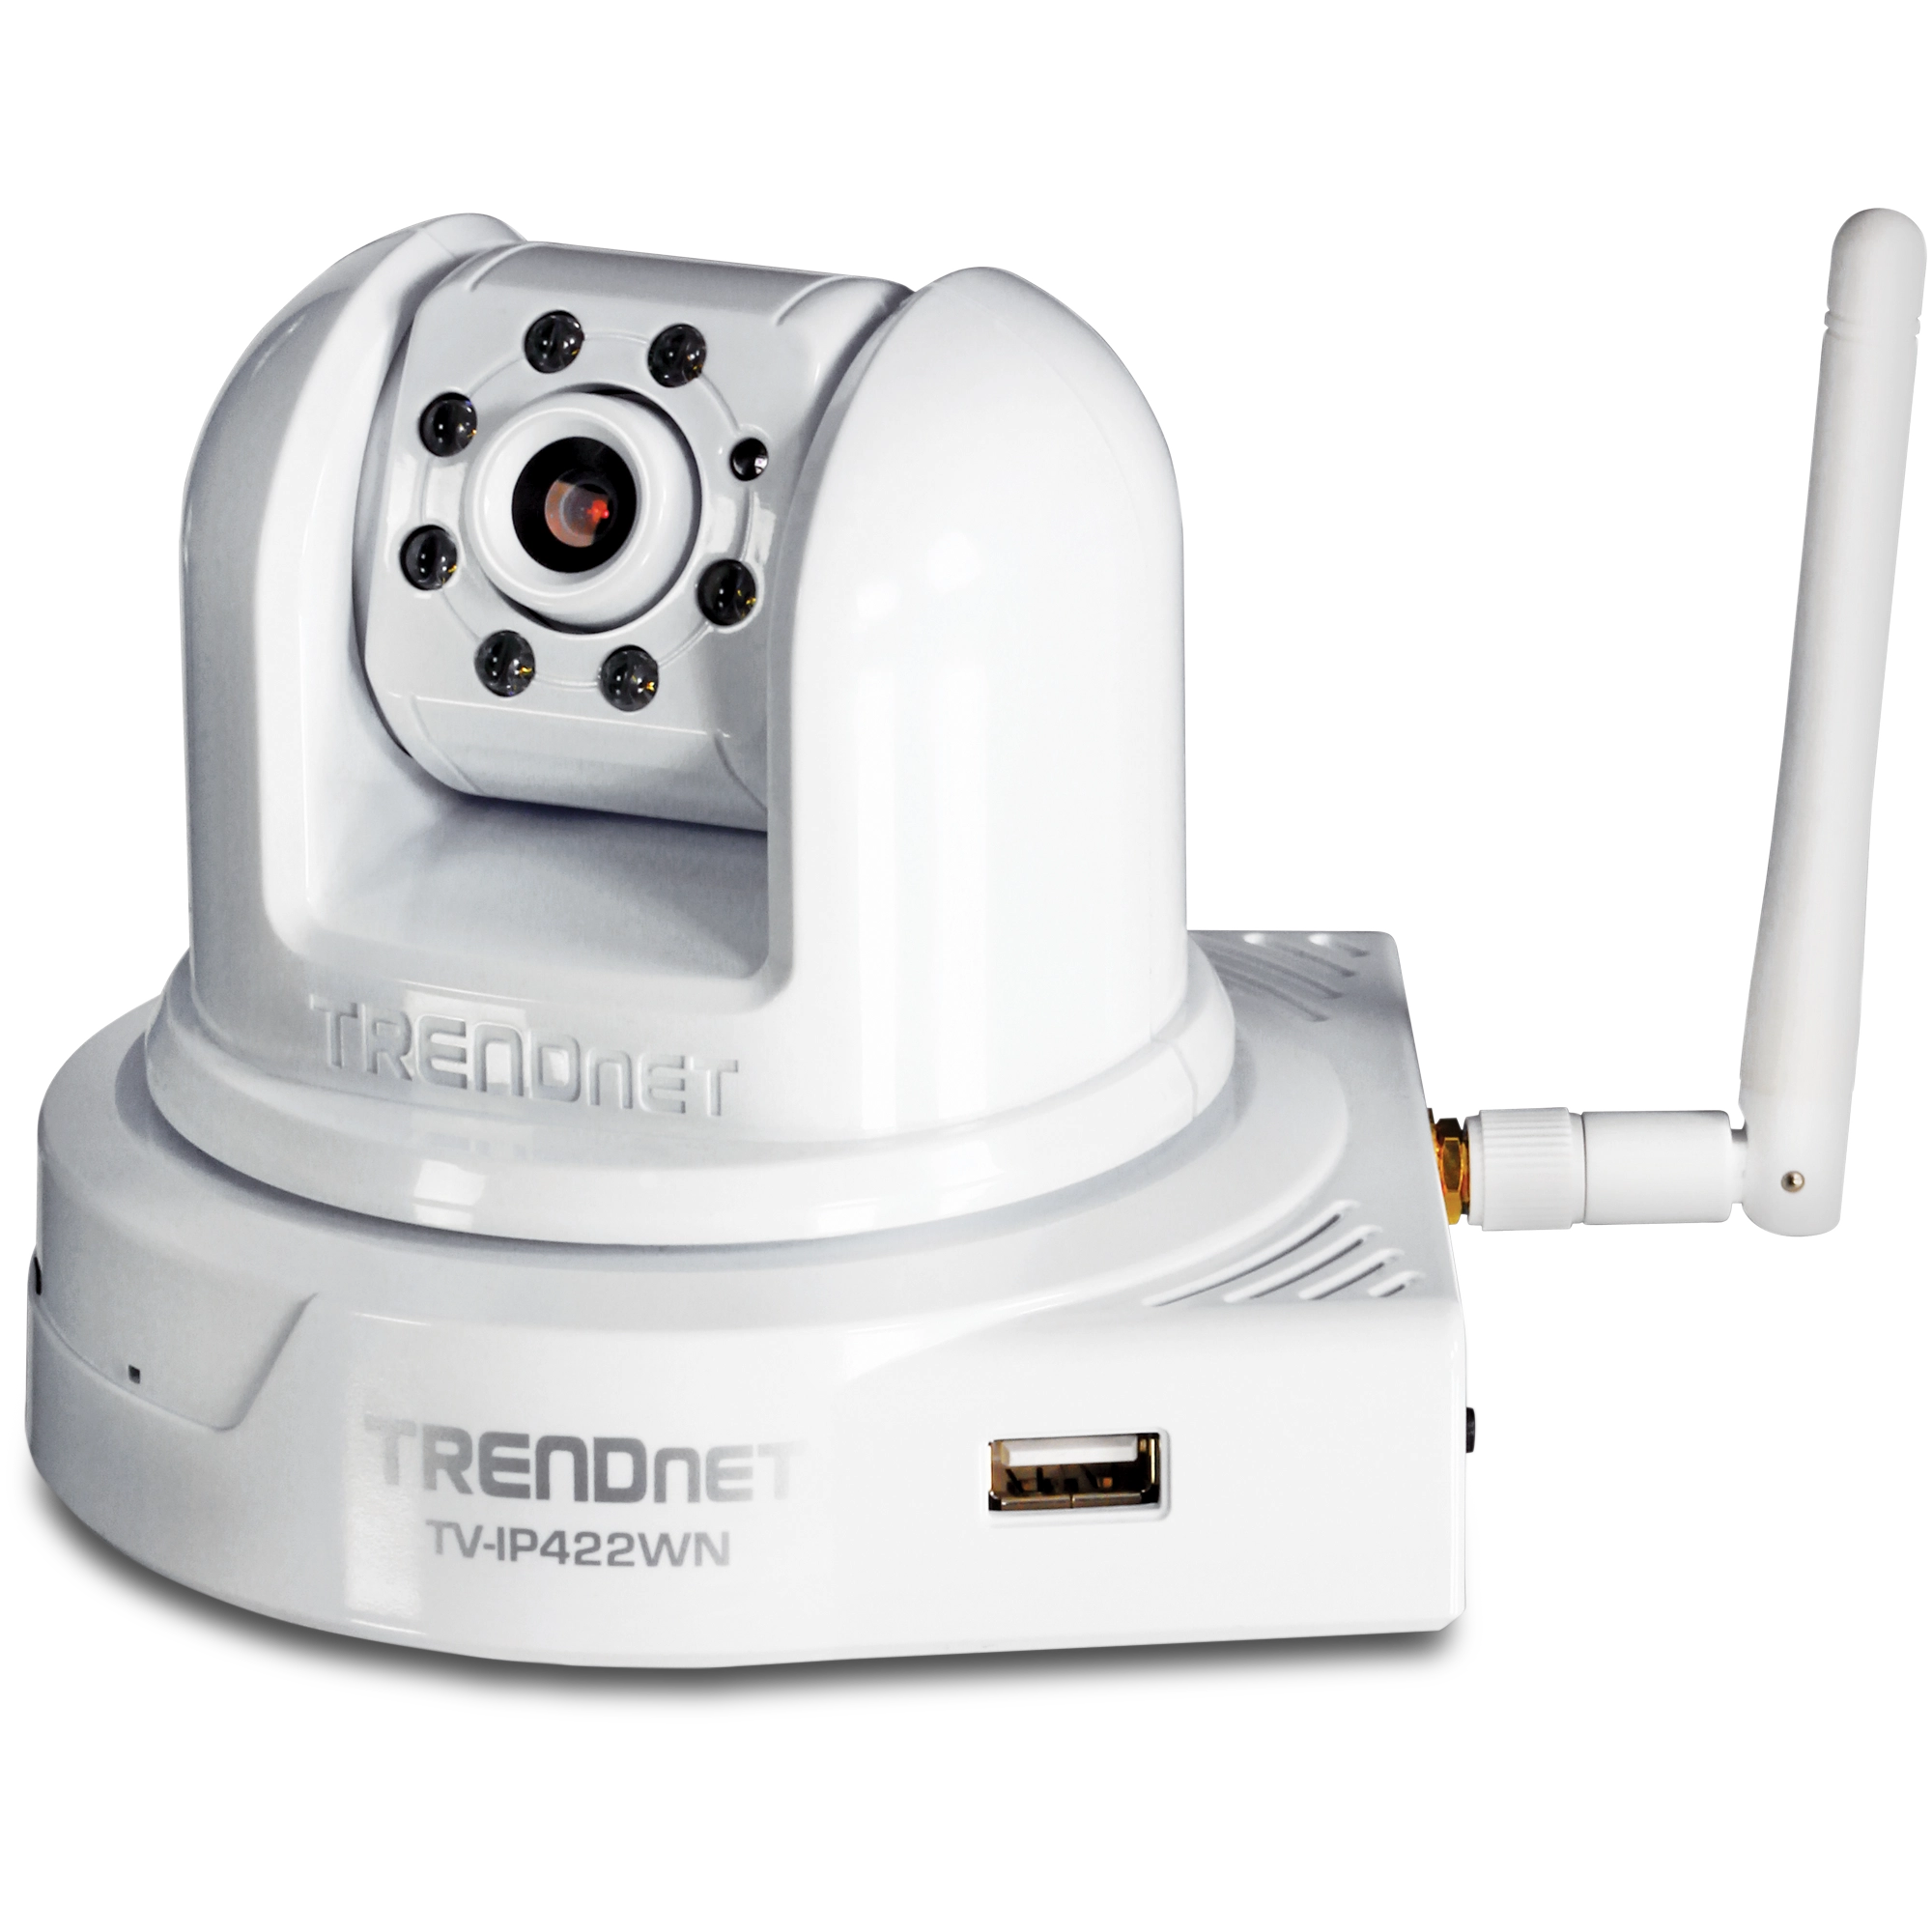
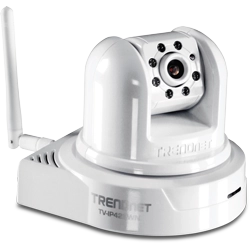
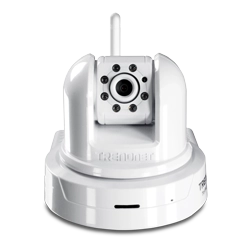
SecurView Wireless N Day/Night Pan/Tilt/Zoom Internet Camera
TV-IP422WN (Version V1.0R)
- Visione a infrarossi in notturna fino a 5 metri (16 piedi)
- Connessione wireless n ad alta velocità
- Da lato a lato 330°, dal basso verso l'alto 105°, da qualsiasi postazione internet
- Registrazione in base al rilevamento di movimento, allarmi e-mail e tante altre funzioni con il software supplementare
DISCONTINUED PRODUCT
The TV-IP422WN (Version V1.0R) has been discontinued. It has been replaced by the TV-IP460PI (Version v1.0R). For a list of discontinued products, click here.Utilità
Nome del file: Utility_IPSetup(v1.0.0.9).zip
SHA-1 Checksum: DF2576962235590F425CAB35246A68886DD0C6C9
Data: 7/27/2017
Dimensioni del file: 700.14 KB
Nome del file: SecurViewPro(v2.0.0.0)_08292011.zip
SHA-1 Checksum: 73065E14971D00A27ACF41BFA88C643EA081CFBE
Data: 7/27/2017
Dimensioni del file: 76.79 MB
Firmware
NON aggiornare il firmware di un prodotto TRENDnet mediante connessione wireless. L'aggiornamento del firmare mediante connessione wireless può danneggiare il prodotto. Eseguire l'aggiornamento del firmware solo con connessione di rete cablata. |
Firmware Version: V1.1.1 build 29
Release Date: 1/2015
Note:
- Fix ActiveX buffer overflow issue
- Apply new security key to ActiveX/java applet
Note:
- The new firmware natively works with Internet Explorer 10. If you have Internet Explorer 11 or higher version. Please add the camera on the compatibility setting list.
- Please change the Java setting with Java Control app to turn off blocking self-signing apps.
- More details included in the firmware upgrade instruction file.
Nome del file: FW_TV-IP422WN_V1(1.1.1.29).zip
SHA-1 Checksum: 9C36A61B4541D9A7E9879475D46F2C0983FB7376
Data: 7/27/2017
Dimensioni del file: 4.72 MB
Software
Software Version: 2.5.9
Release Date: 4/2017
Notes:
- Fixed TV-IP420P P/T issue
Nome del file: TRENDnetViewPro(2.5.9).zip
SHA-1 Checksum: 7CD1D9AE621816395E9FE9644B651F3696388215
Data: 7/27/2017
Dimensioni del file: 41.15 MB
Scheda tecnica
Nome del file: EN_spec_TV_IP422WN(v1.0R).pdf
Data: 9/6/2013
Dimensioni del file: 516.32 KB
Nome del file: FR_spec_TV_IP422WN(v1.0R).pdf
Data: 9/6/2013
Dimensioni del file: 522.40 KB
Nome del file: GE_spec_TV_IP422WN(v1.0R).pdf
Data: 9/6/2013
Dimensioni del file: 504.94 KB
Nome del file: SP_spec_TV_IP422WN(v1.0R).pdf
Data: 9/6/2013
Dimensioni del file: 519.48 KB
Nome del file: RU_spec_TV_IP422WN(v1.0R).pdf
Data: 9/6/2013
Dimensioni del file: 484.58 KB
Nome del file: IT_spec_TV_IP422WN(v1.0R).pdf
Data: 9/6/2013
Dimensioni del file: 514.54 KB
Guida rapida per l'installazione
Nome del file: EN_Web_TV-IP422WN(1.01).pdf
Data: 3/30/2011
Dimensioni del file: 2.50 MB
Nome del file: FR_Web_TV-IP422WN(1.01).pdf
Data: 3/30/2011
Dimensioni del file: 2.54 MB
Nome del file: GE_Web_TV-IP422WN(1.01).pdf
Data: 3/30/2011
Dimensioni del file: 1.89 MB
Nome del file: PO_Web_TV-IP422WN(1.01).pdf
Data: 3/30/2011
Dimensioni del file: 1.85 MB
Nome del file: SP_Web_TV-IP422WN(1.01).pdf
Data: 3/30/2011
Dimensioni del file: 1.89 MB
Nome del file: RU_Web_TV-IP422WN(1.01).pdf
Data: 3/30/2011
Dimensioni del file: 2.90 MB
Nome del file: EST_Web_TV-IP422WN(1.01).pdf
Data: 3/30/2011
Dimensioni del file: 1.63 MB
Guida per l'utente
Nome del file: UG_SecurViewPro.pdf
Data: 6/5/2012
Dimensioni del file: 4.66 MB
Nome del file: UG_TV-IP422WN(1.01).pdf
Data: 3/30/2011
Dimensioni del file: 6.22 MB
Immagine/i del prodotto
OverviewPlease ensure you have followed the quick installation guide and have the camera setup and accessible on your home/office network. The following instructions are going to outline how to make a SecurView camera accessible over the Internet. We will start by assigning a unique static IP addres...
The files cannot be accessed through the camera. Dismount the USB memory stick from the camera and connect it to your computer....
The USB page does not automatically update, press Control + F5 simultaneously to refresh the page.
The USB stick may not be formatted in FAT, to check connect USB stick to your computer. Go to My Computer right click on the USB stick go to Properties look for File System....
Unfortunately due to the IR lights causing a reflection from an ensclosures dome when there is not enough light we do not recommend using the TV-IP422WN in an enclosure....
No, unfortunately the IR lights do not have a manual switch. They will activate automatically when there is not enough light....
Log into the camera and click on Setup then click on Event Server>Network Storage on the left hand side. Enter your Samba server information here.
After applying the Samba server information click on Event Config on the left hand side. You have three options, Motion Detection, Scheduled uplo...
The camera must be configured properly to have Internet access. This includes making sure you have entered a valid default gateway address for the camera and valid DNS server entries to ensure it can resolve names. ...
TRENDnet offers TREDnet VortexIP, an advanced Server-based IP camera management software solution designed for small, medium and large enterprise applications and packed full of advanced security features. You can find more information regarding TRENDnet VortexIP here.
https://www.TRENDnet.com/...
By default the camera uses TCP port 80. Forward this port in your router or firewall to the camera.
Unfortunately SecurView is not compatible with Macintosh operating systems.
The camera can be configured from a Macintosh through its web-based configuration page. The camera's web configuration page can be reached by entering its IP address into a web browser. For example, if the IP address is 192.168.10.30 you would access it by opening your web browser and entering htt...
The camera's web configuration page can be reached by entering its IP address into a web browser. For example, if the IP address is 192.168.10.30 you would access it by opening Internet Explorer and entering https://192.168.10.30 into the address line....
The camera by default is configured to receive an IP address via DHCP. If it is unable to receive an IP address via DHCP it will default to 192.168.10.30. You can use the IP Setup Utility to find and change the IP address of the camera as well.
...
Log into the camera and click on Setup. Click on Motion Detect on the left hand side. On this page you can setup two motion detection windows. Under "Window" you can select either 1 or 2. Place a check in "Enable" to turn on motion detection. You can adjust the threshold for each window individually...
Warning:
Firmware upgrade failure may permanently damage the unit and cause it to malfunction. Do not interrupt the firmware upgrade process by disconnecting it from the network or unplugging its power from the power outlet once the firmware upgrade process has begun. Never perform a firmware upgr...
Log into the camera and click on Setup then click on Event Server>Email on the left hand side. Enter your email server and user information here.
After applying the email server information click on Event Config on the left hand side. You have three options, Motion Detection, Scheduled uploa...
Log into the camera and click on Setup then click on Event Server>FTP on the left hand side. Enter your FTP server information here.
After applying the FTP server information click on Event Config on the left hand side. You have three options, Motion Detection, Scheduled uploading and GPIO ...
Once you have the camera configured on your network start SecurView. Click on the "Settings" button then click on the "Add Camera" button. It will search your network for any supported cameras and display a list of them. Highlight the camera you want to view in SecurView then click "Add Camera".
...
The supported browsers are Internet Explorer 6.0 or above.
Press and hold in the reset button on the back of the camera for approximately 10 seconds while the power is on to restore the factory default settings. ...
The orange LED is a power light. It should be a steady orange light when power is applied to the camera. The green LED is a link light. It should be green and blinking when sending and receiving data. ...
Log into the camera by entering the camera's IP address into your browser. The default IP address is https://192.168.10.30. The default username and password are both "admin".
Once you have logged into the camera do the following.
-Click Setup
-Click Basic>User
You can define...
Log into the camera by entering the camera's IP address into your browser. The default IP address is https://192.168.10.30. The default username and password are both "admin".
Once you have logged into the camera do the following.
-Click Setup.
-Click Network>Wireless.
-Click the S...
Yes, the camera does support DDNS (Dynamic DNS). Dynamic DNS services will allow you to maintain a single hostname for the camera, even if your ISP changes your WAN IP address. The camera will update the DDNS record to reflect the new IP address. This ensures that each time you go to the hostn...
You will need to forward the port that the camera is using in the router to the camera. By default this is TCP port 80. From a remote location you would enter in the public or WAN IP address of your router into your browser or add it to SecurView using the public IP address.
Refer to your rou...
| Videocamera | |
| Informazioni generali | Sensore: Sensore a colori 1/4" CMOS Risoluzione: 640 x 480 pixel Lente ampia Lente focale: 4.0mm Apertura (F/No): F1.8 LED IR con controllo sensore luce Illuminazione minima: 0.5 Lux Angolo di visualizzazione diagonale: 64 ° |
| Pan & Tilt | Pan: +165~-165 ° Tilt: +90 ~ -15 ° Posizioni preimpostate: 8 posizioni |
| Imaggini & Video | Compressione: doppio streaming MPEG-4/MJPEG Controllo esposizione, bilanciamento dei bianchi, controllo di guadagno: automatico Risoluzione: fino a 30ps for VGA (640x480), 30fps for QVGA (320x240), 30fps for QQVGA (160x120) |
| Audio |
|
| Hardware | |
| Rete | IEEE 802.3u 10/100Mbps Fast Ethernet, Auto-MDIX |
| Esposizione di LED | Alimentazione, collegamento |
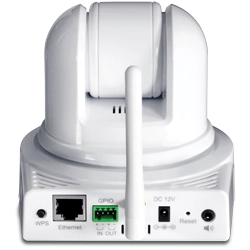
| Pulsante reset | Ripristina la configurazione di fabbrica |
| Pulsante WPS | Pulsante a pressione per la funzione WPS (Wi-Fi Protected Setup) |
| Consumo elettrico | 10 watts max. |
| Alimentazione | Adattatore d'alimentazione esterno 12V, 1.5A (presa 3,5 mm) |
| Dimensioni | 115 x 110 x 105 mm (4.53 x 4.33 x 4.13 in) |
| Peso | 360 g (12.6 oz) |
| Temperatura |
|
| Umidità | Max. 90% (senza condensa) |
| Certificazioni | CE, FCC |
| Requisiti | |
| Interfaccia di gestione | Internet Explorer 6.0 o successive |
| Per eseguire SecurView Pro | Windows 7 (32/64 bit), Vista (32/64 bit), XP (32/64 bit) |
| Software SecurView Pro | Canali: supporta fino a 32 telecamere Memorizza/Playback/Rivela Moto |
| Protocolli di rete | TCP/IP, UDP, ICMP, DHCP, NTP, DNS, DDNS, SMTP, FTP, HTTP, Samba, PPPoE, UPnP, Bonjour, RTP, RTSP, RTCP |
| Senza Fili | |
| Standard | Basato su tecnologia IEEE 802.11n compatibile con reti IEEE 802.11b/g |
| Frequenza | 2.4 ~ 2.4835GHz |
| Antenna | 1 Antenna dipolo staccabile 2dBi con Connettore SMA Reverse |
| Velocità dati (auto fallback) |
|
| Cifratura | 64/128-bit WEP, WPA/WPA2-PSK |
| Potere dell'uscita |
|
| Sensibilità di ricezione |
|
| Canali | 1~11 (FCC), 1~13 (ETSI) |
| Gestione | |
| Login remoto | Gestione remota supportati |
| Backup / Restore | Salvare / recuperare i file di configurazione |
| impostazioni | |
| Immagine | Luminosità, contrasto, saturazione, flip, specchio (orizzontale/verticale) |
| Video | Tipo di codifica: Risoluzione: 640 x 480, 320 x 240, 160 x 120 Frame rate: 1~ 30 fps Compressione: 5 levels |
| Memorizzazione | Tipo di registrazione: continua, programmata o in base al rilevamento di movimento con software |
| Multi-Profilo | 3 profili contemporaneamente |
| Regolazione Porte | HTTP porta: 80 (default) |
| Zoom Digitale | 3x |
| DNS dinamico | Si |
| Tempo | Sincronizza con server NTP o seleziona tempo/data manualmente |
| SMTP | Funzione di posta SMTP con supporto per 2 account con software |
| Log sistema | 100 immissioni (max) |
CONTENUTO DELLA CONFEZIONE |
|
Tutti i riferimenti relativi alla velocità sono solo a scopo comparativo. Le specifiche, le dimensioni e la forma del prodotto sono soggette a modifiche senza preavviso e l'aspetto effettivo può differire da quello raffigurato nel presente documento.


