6 Common Outdoor Surveillance Camera Installation Mistakes
September 2018Outdoor PoE surveillance cameras generally have an IP rating to indicate the level of ingress protection from solids and liquids, or put more simply, protection from outdoor weather conditions. When you have finished configuring cameras and you’re ready to mount them, remember that cameras may include extra steps to make it truly outdoor ready. In many cases, you can just install the outdoor cameras as-is, but there are a few things to consider. Here are the six most common outdoor surveillance camera installation mistakes we hear about.
 |
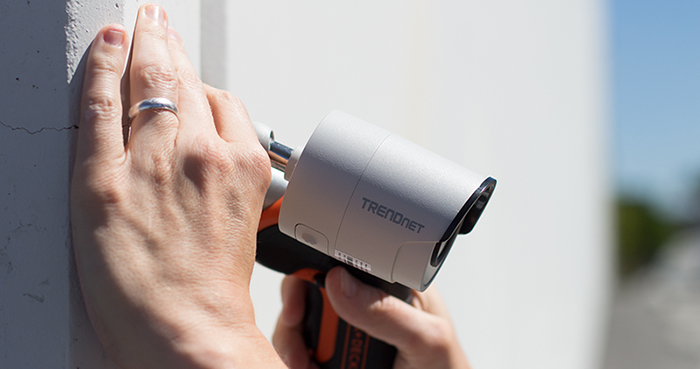
| Installation of outdoor surveillance camera |
1. Not Testing and Preconfiguring Cameras
Mounting your outdoor surveillance cameras should be one of the final steps of your installation process. When you get your equipment, test for functionality first. In the small chance you get a defective camera, you’ll find that a camera that has not yet been mounted is much easier to exchange or return than one that is mounted 25 feet in the air. After testing for functionality, preconfigure your cameras to connect to the network, and make sure that you can login to the camera. Preconfiguring your surveillance cameras helps to reduce the amount of time spent troubleshooting onsite. Troubleshooting is also much easier when cameras haven’t been mounted yet.
 |
| |
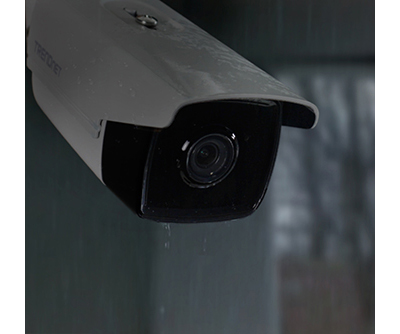
| Outdoor surveillance camera in rainy weather |
3. Poor Camera Placement
Poor camera placement is a major issue in surveillance system installations, especially when using IR cameras. Users should be mindful of IR lighting capabilities and its reflection off of nearby surfaces like walls and ceilings, which can affect overall IR coverage. The IR LEDs from one camera can also blind nearby surveillance cameras if aimed at one another improperly; to prevent this, make sure to adjust the camera lens so the IR LEDs aim down towards the area of interest. Some environments, like those that are foggy, are not ideal for cameras with IR lights or IR LEDs.
4. Not Replacing/Renewing Silica Gel PacketsThe silica gel packet(s) usually included with outdoor surveillance cameras will lose its effectiveness over time, but it will especially lose its effectiveness when a dry camera is opened in a humid environment. Silica packets are very effective at absorbing moisture, so it’s important to limit outdoor exposure by installing the silica packet within 2 minutes of exposure to air. When using a new replacement silica packet, leave it in the camera for at least 5 hours to let it absorb moisture before camera use. Note that you can also reuse silica packets, but be very careful when you do and be sure you know what you are doing. |
| |
| Silica gel packets inside an outdoor surveillance camera |
5. Neglecting General Maintenance
Clean dirty domes and spider webs from cameras to improve camera visibility. Weather and local conditions will define how often cameras need to be cleaned; cameras that get wet will require cleaning more frequently.
6. Forgetting Your Password
Forgetting your camera and/or NVR password is something our tech support team hears often. If you forget your password, you will need to contact your camera manufacturer for help to reset your hardware. Depending on the manufacturer, it could take 1-3 days to reset your hardware. Your camera and/or NVR will be reset to factory defaults, and you will need to reconfigure your surveillance equipment again. Our advice is to write your passwords down and store it in a secure location for safekeeping before installation.


