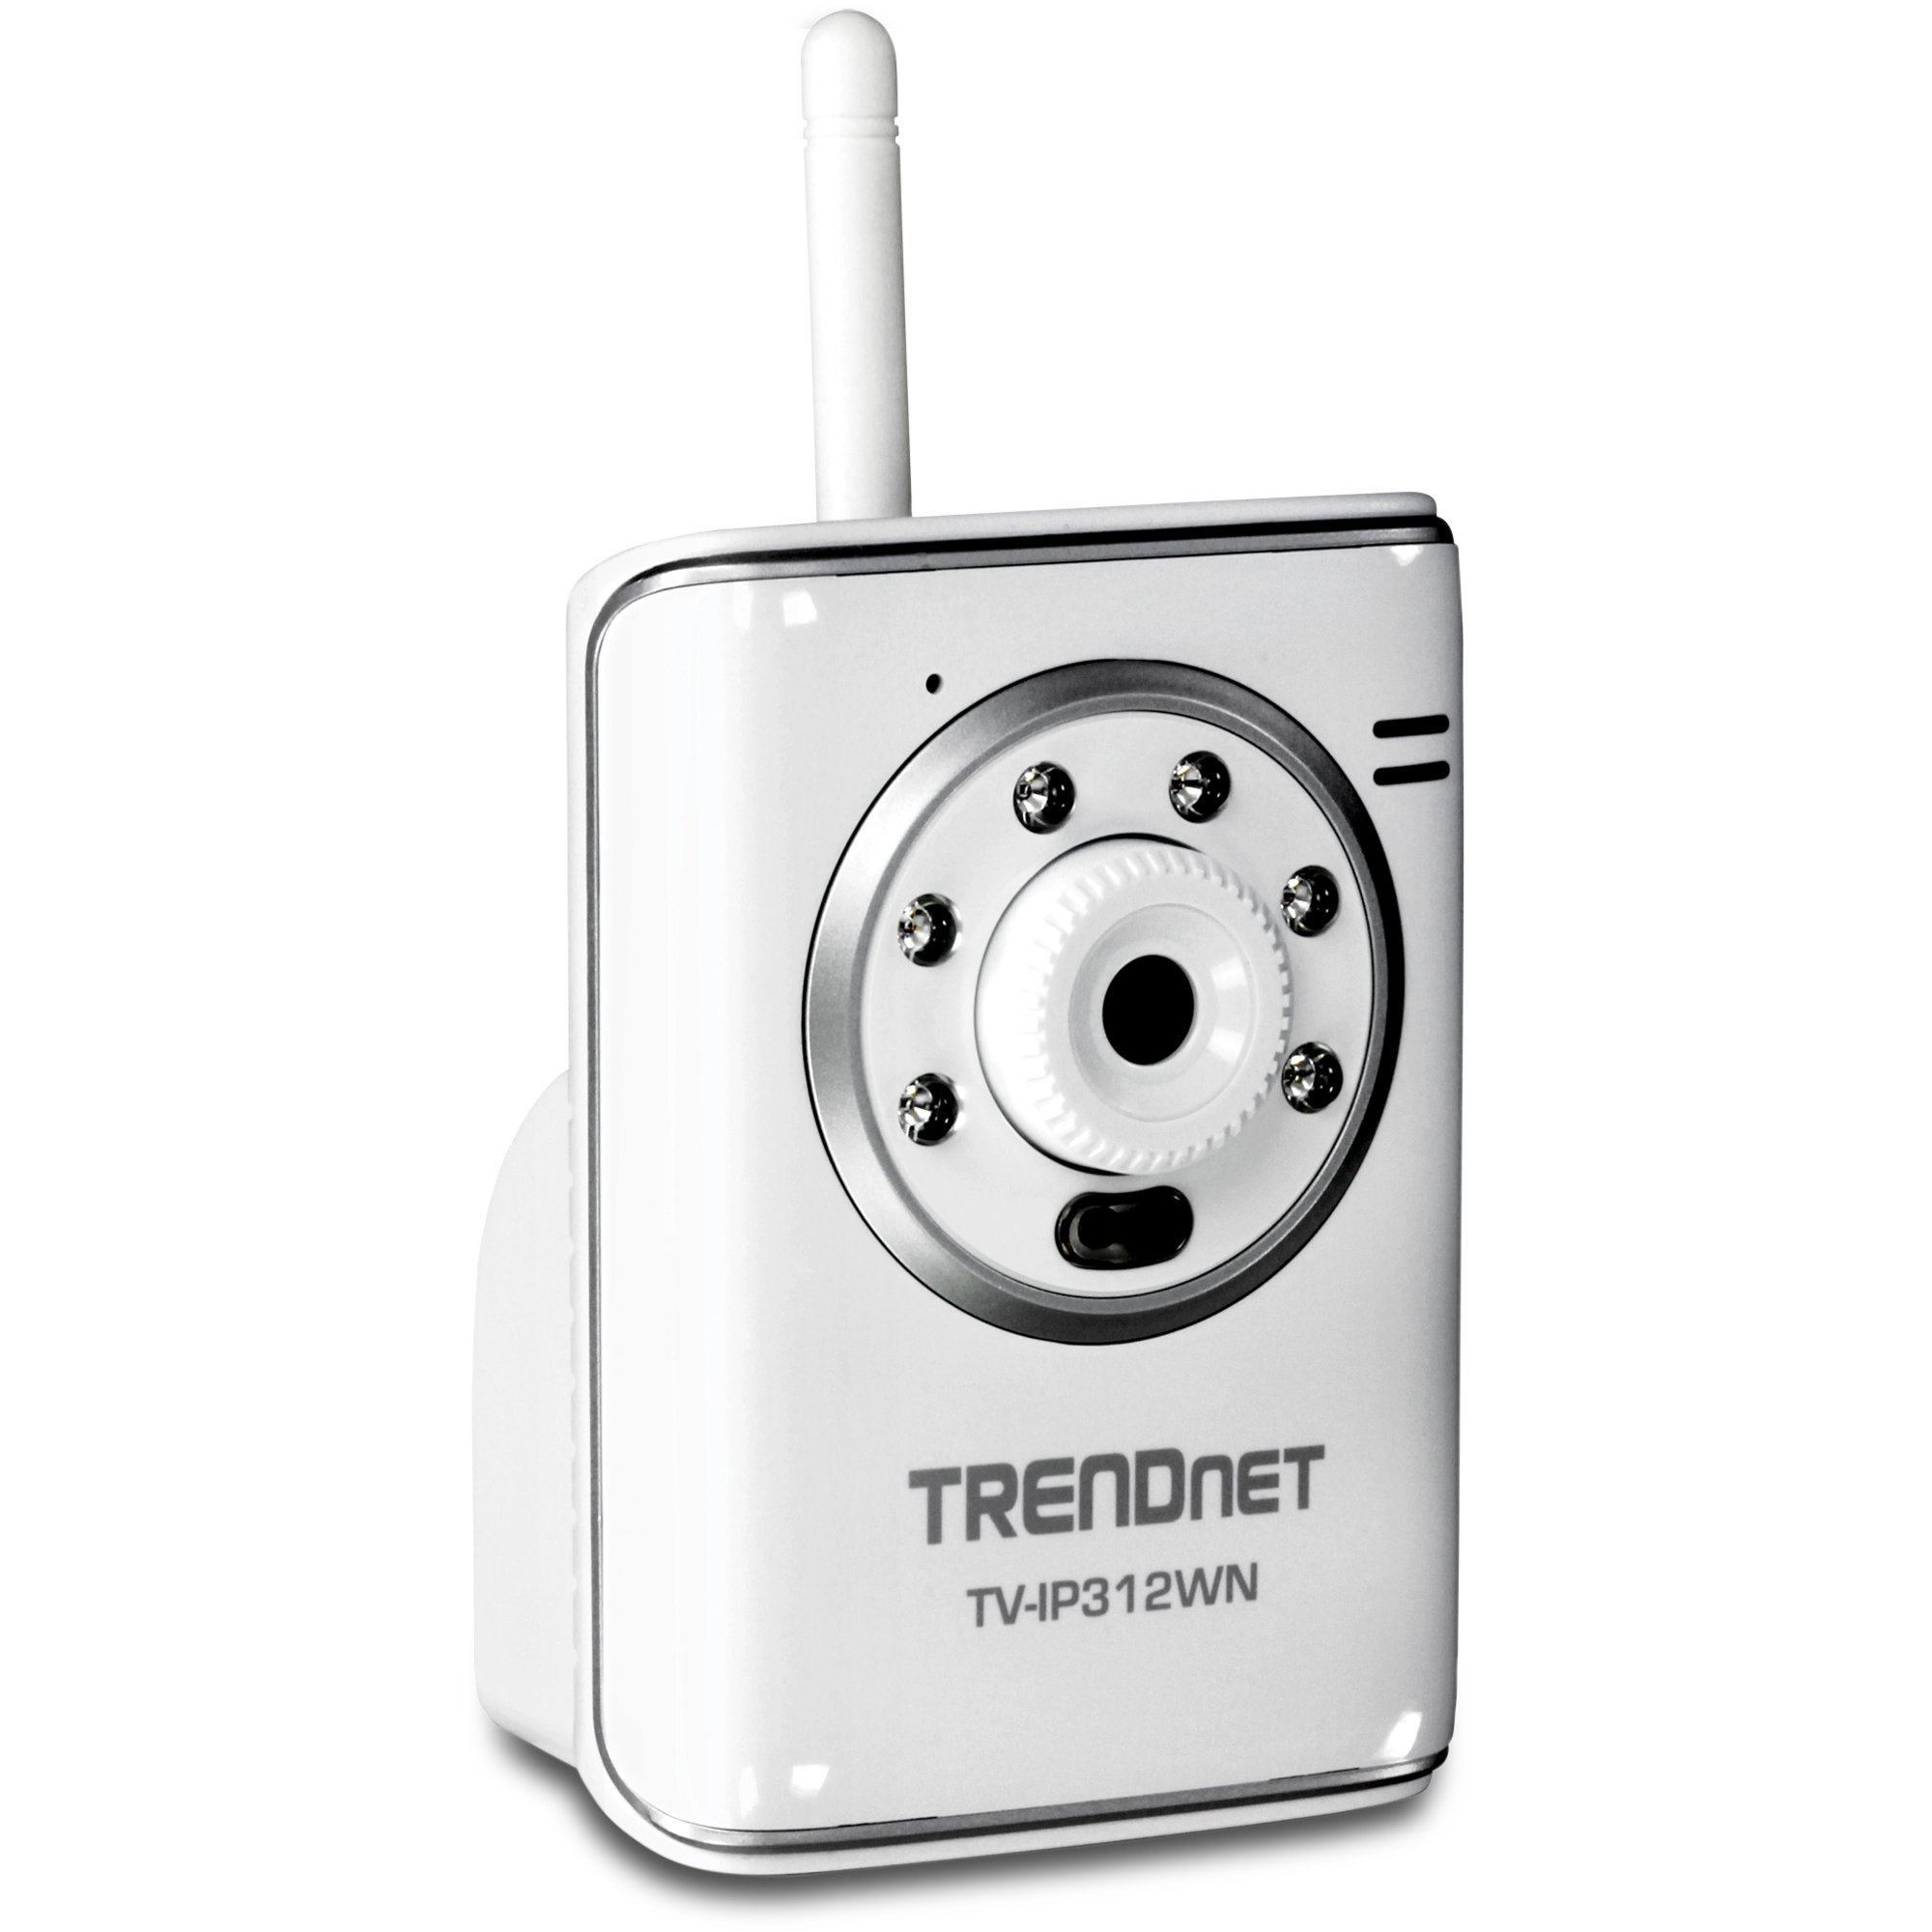
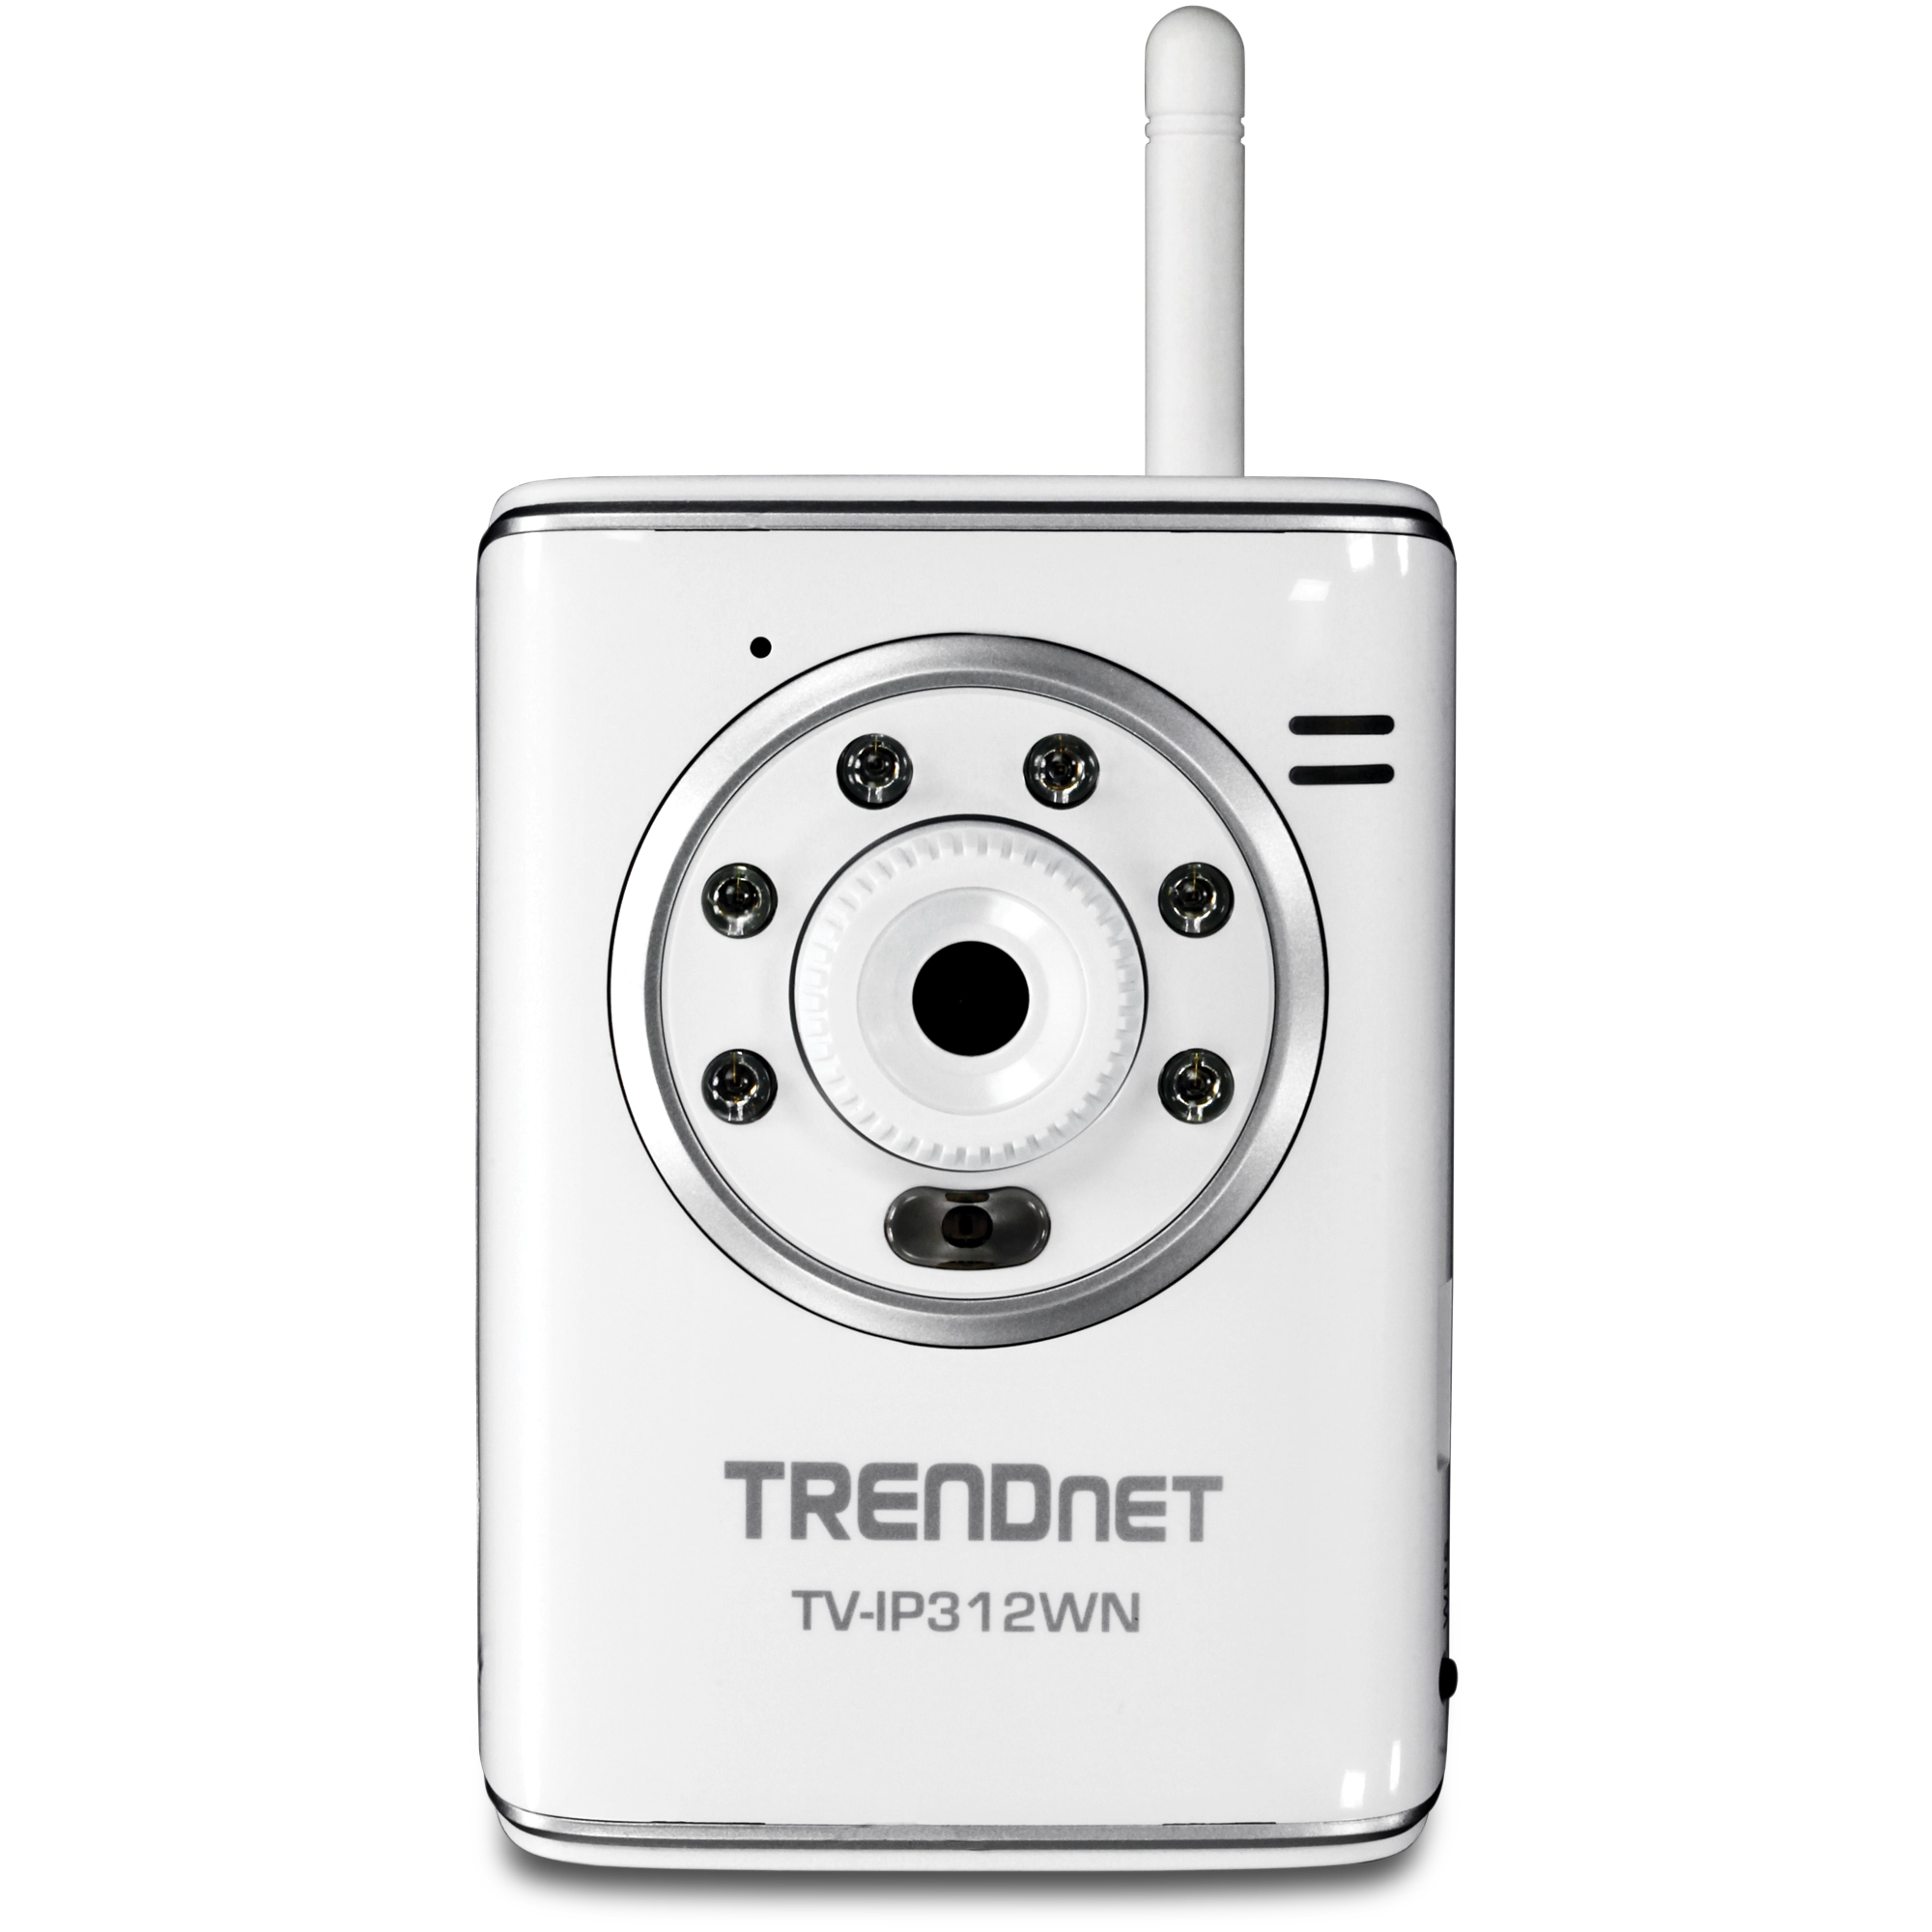
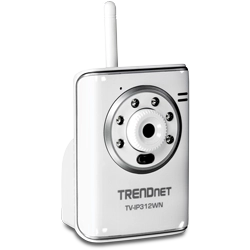
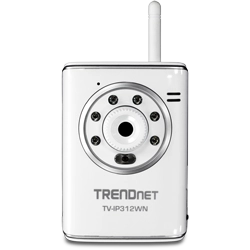
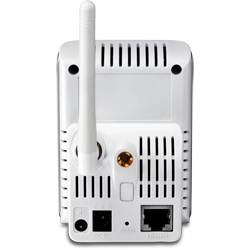
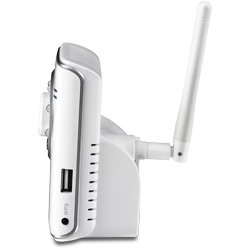
SecurView Wireless N Day/Night Network Camera
TV-IP312WN (Version v1.0R)
- Night vision of up to 5 m (16 ft.)
- High speed wireless n connection
- Program motion detection recording and email alerts
- 2-way audio
DISCONTINUED PRODUCT
The TV-IP312WN (Version v1.0R) has been discontinued. It has been replaced by the TV-IP1314PI (Version v1.0R). For a list of discontinued products, click here.Utility
Filename: Utility_IPSetup(v1.0.0.9).zip
Date: 3/30/2011
File Size: 700.14 KB
Filename: SecurViewPro(v2.0.0.0)_08292011.zip
Date: 6/5/2012
File Size: 76.79 MB
Filename: Camera_Utility.zip
SHA-1 Checksum: 679B96BB0EF1F0763DC23D01D670C8FC4E943004
Date: 10/27/2017
File Size: 20.98 MB
Firmware
DO NOT upgrade firmware on any TRENDnet product using wireless connection. Firmware upgrade over wireless connection may damage the product. Please perform firmware upgrade with "wired" network connection only |
Firmware Version: V1.1.1 build 34
Release Date: 4/2013
Note:
- Upload.asp removed.
- Updated save configuration file encryption type
- Set RTSP default authentication to "digest".
Note:
- Please do not save the camera's configuration file from the old firmware and restore it after the firmware upgrade.
- After a successful firmware upgrade, please reset the camera to factory default and reconfigure the camera. We strongly recommend that you change the camera's administrator's account password.
Filename: FW_TV-IP312WN_V1(1.1.1.34).zip
Date: 4/12/2013
File Size: 4.76 MB
Software
Version: 2.1.1.294
Release Date: 6/2012
Notes:
- Enhanced Functionality
Download TRENDnetView Pro User's Guide
Filename: SecurViewPro(2.1.1.294).zip
Date: 6/5/2012
File Size: 27.81 MB
Datasheet
Filename: EN_spec_TV-IP312WN(v1.0R).pdf
Date: 1/6/2012
File Size: 903.35 KB
Filename: FR_spec_TV-IP312WN(v1.0R).pdf
Date: 1/6/2012
File Size: 926.55 KB
Filename: GE_spec_TV-IP312WN(v1.0R).pdf
Date: 1/6/2012
File Size: 934.51 KB
Filename: SP_spec_TV-IP312WN(v1.0R).pdf
Date: 1/6/2012
File Size: 930.98 KB
Filename: RU_spec_TV-IP312WN(v1.0R).pdf
Date: 1/6/2012
File Size: 938.02 KB
Filename: IT_spec_TV-IP312WN(v1.0R).pdf
Date: 1/6/2012
File Size: 924.44 KB
Quick Installation Guide
Filename: EN_Web_TV-IP312WN(1.01).pdf
Date: 3/29/2011
File Size: 2.53 MB
Filename: FR_Web_TV-IP312WN(1.01).pdf
Date: 3/29/2011
File Size: 2.57 MB
Filename: GE_Web_TV-IP312WN(1.01).pdf
Date: 3/29/2011
File Size: 1.93 MB
Filename: PO_Web_TV-IP312WN(1.01).pdf
Date: 3/29/2011
File Size: 1.89 MB
Filename: SP_Web_TV-IP312WN(1.01).pdf
Date: 3/29/2011
File Size: 1.93 MB
Filename: RU_Web_TV-IP312WN(1.01).pdf
Date: 3/29/2011
File Size: 2.93 MB
Filename: EST_Web_TV-IP312WN(1.01).pdf
Date: 3/29/2011
File Size: 3.22 MB
User's Guide
Filename: UG_SecurViewPro.pdf
Date: 6/5/2012
File Size: 4.66 MB
Product Images
OverviewPlease ensure you have followed the quick installation guide and have the camera setup and accessible on your home/office network. The following instructions are going to outline how to make a SecurView camera accessible over the Internet. We will start by assigning a unique static IP addres...
The files cannot be accessed through the camera. Dismount the USB memory stick from the camera and connect it to your computer...
The USB page does not automatically update, press Control + F5 simultaneously to refresh the page
The USB stick may not be formatted in FAT, to check connect USB stick to your computer. Go to My Computer right click on the USB stick go to Properties look for File System...
Yes, they can be disabled. Log in to the camera by entering the camera’s IP address into your browser. The default IP address is https://192.168.10.30. The default username and password are both “admin”.
Click on Setup and then go to the Basic>System page. The IR LED co...
Log into the camera and click on Setup then click on Event Server>Network Storage on the left hand side. Enter your Samba server information here.
After applying the Samba server information click on Event Config on the left hand side. You have two options, Motion Detection and Scheduled upl...
The camera must be configured properly to have Internet access. This includes making sure you have entered a valid default gateway address for the camera and valid DNS server entries to ensure it can resolve names.
...
By default the camera uses TCP port 80. Forward this port in your router or firewall to the camera
Unfortunately SecurView is not compatible with Macintosh operating systems
The camera can be configured from a Macintosh through its web-based configuration page. The camera's web configuration page can be reached by entering its IP address into a web browser. For example, if the IP address is 192.168.10.30 you would access it by opening your web browser and entering htt...
The camera's web configuration page can be reached by entering its IP address into a web browser. For example, if the IP address is 192.168.10.30 you would access it by opening Internet Explorer and entering https://192.168.10.30 into the address line....
The camera by default is configured to receive an IP address via DHCP. If it is unable to receive an IP address via DHCP it will default to 192.168.10.30. You can use the IP Setup Utility to find and change the IP address of the camera as well.
...
Log into the camera and click on Setup. Click on Motion Detect on the left hand side. On this page you can setup two motion detection windows. Under “Window” you can select either 1 or 2. Place a check in “Enable” to turn on motion detection. You can adjust the thresh...
Warning:
Firmware upgrade failure may permanently damage the unit and cause it to malfunction. Do not interrupt the firmware upgrade process by disconnecting it from the network or unplugging its power from the power outlet once the firmware upgrade process has begun. Never perform a firmware upgr...
Log into the camera and click on Setup then click on Event Server>Email on the left hand side. Enter your email server and user information here.
After applying the email server information click on Event Config on the left hand side. You have two options, Motion Detection and Scheduled uplo...
Log into the camera and click on Setup then click on Event Server>FTP on the left hand side. Enter your FTP server information here.
After applying the FTP server information click on Event Config on the left hand side. You have two options, Motion Detection and Scheduled uploading. You...
Once you have the camera configured on your network start SecurView. Click on the “Settings” button then click on the “Add Camera” button. It will search your network for any supported cameras and display a list of them. Highlight the camera you want to view in SecurView t...
The supported browsers are Internet Explorer 6.0 or above
Press and hold in the reset button on the back of the camera for approximately 10 seconds while the power is on to restore the factory default settings. ...
The orange LED is a power light. It should be a steady orange light when power is applied to the camera. The green LED is a link light. It should be green and blinking when sending and receiving data. ...
Log into the camera by entering the camera’s IP address into your browser. The default IP address is https://192.168.10.30. The default username and password are both “admin”.
Once you have logged into the camera do the following.
-Click Setup
-Click Basic>User
...
Log into the camera by entering the camera’s IP address into your browser. The default IP address is https://192.168.10.30. The default username and password are both “admin”.
Once you have logged into the camera do the following.
-Click Setup.
-Click Network>Wirele...
Yes, the camera does support DDNS (Dynamic DNS). Dynamic DNS services will allow you to maintain a single hostname for the camera, even if your ISP changes your WAN IP address. The camera will update the DDNS record to reflect the new IP address. This ensures that each time you go to the hostn...
You will need to forward the port that the camera is using in the router to the camera. By default this is TCP port 80. From a remote location you would enter in the public or WAN IP address of your router into your browser or add it to SecurView using the public IP address.
Refer to your router's...
| Camera | |
| General | Sensor: 1/4" color CMOS sensor Resolution: 640 x 480 pixels Board Lens Focal Length: 4.5mm Aperture (F/No): F2.8 IR LED with light sensor control Minimum illumination: 0 Lux Diagonal viewing angle: 60 degree |
| Image & Video |
|
| Audio |
|
| Hardware | |
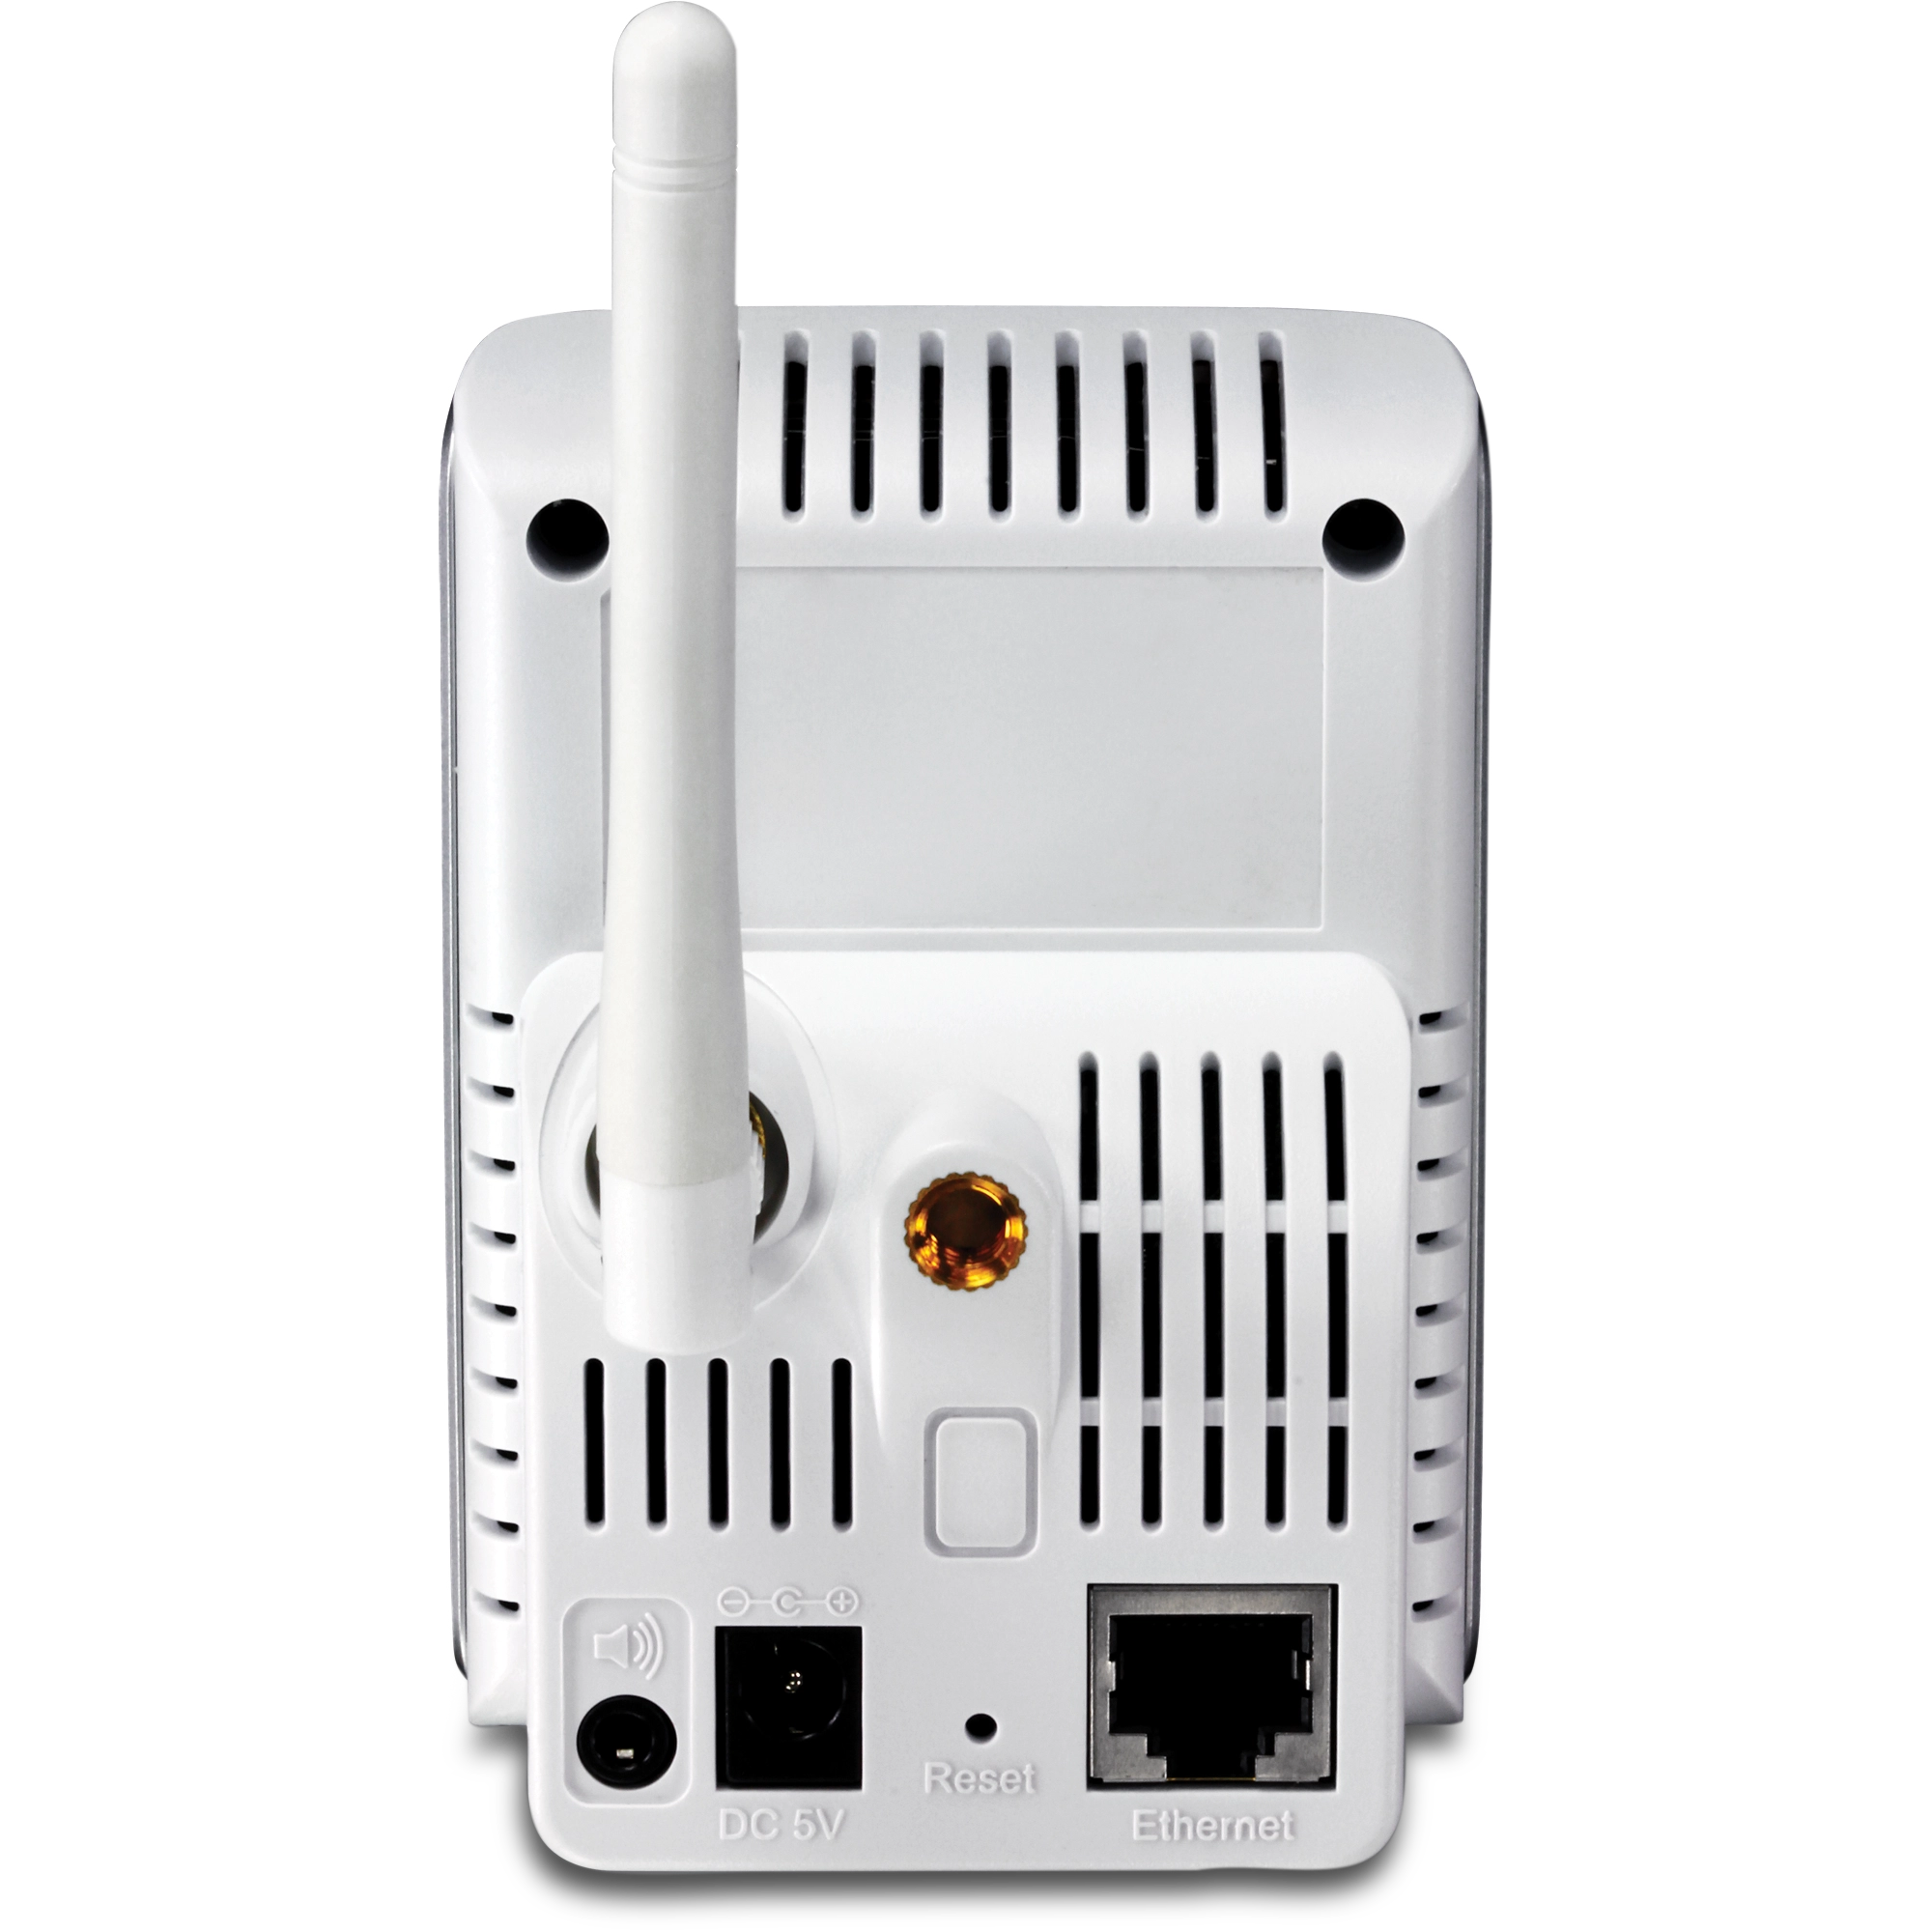
| Network | IEEE 802.3u 10/100Mbps Fast Ethernet, Auto-MDIX |
| LED | Power, Link |
| IR wavelength | 850nm |
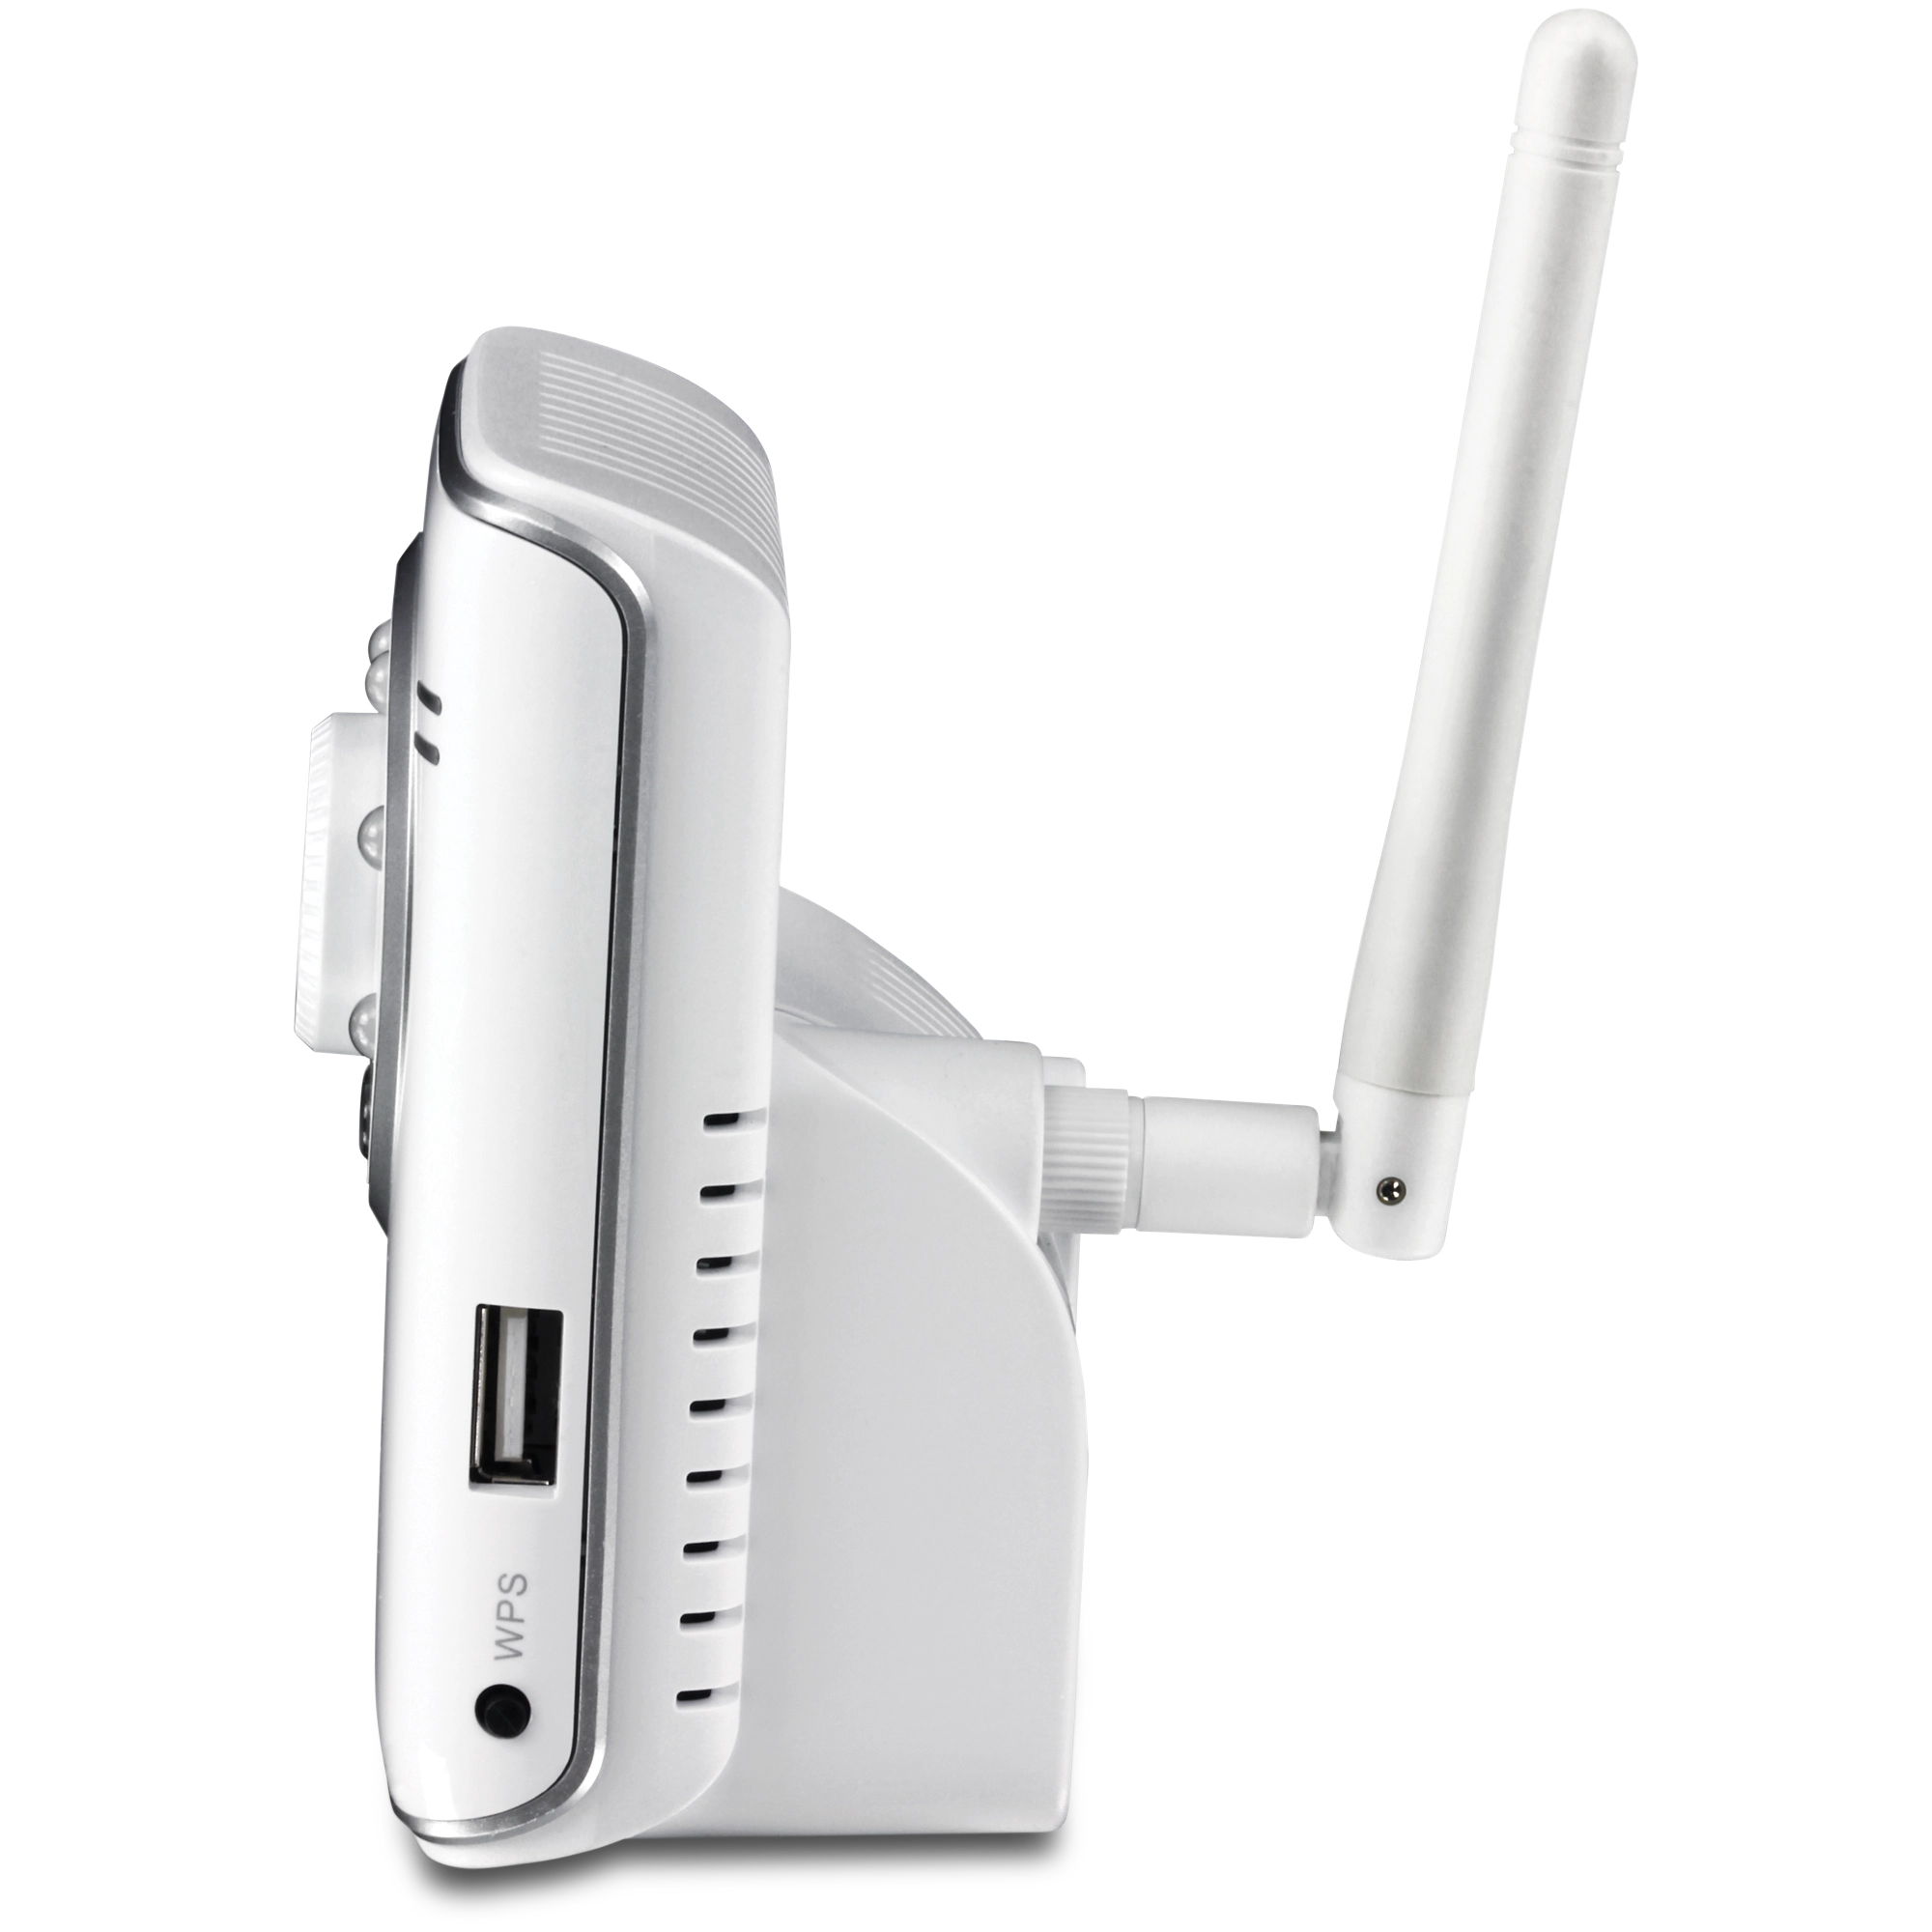
| USB Port | Type A USB 1.1 host port |
| Reset Button | Restore to factory default |
| WPS Button | Push button for Wi-Fi Protected Setup |
| Power Consumption | 8 watts max. |
| Power | 5 V, 2.5 A external power adapter |
| Dimension | 70 x 100 x 57 mm (2.67 x 3.94 x 2.95 in.) |
| Weight | 155 g (5.4 oz) |
| Temperature |
|
| Humidity | Max. 90% (non-condensing) |
| Certifications | CE, FCC |
| Requirement | |
| Management Interface | Internet Explorer 6.0 or above |
| To Run SecurView Pro | Windows 7 (32/64 bit), Vista (32/64 bit), XP (32/64 bit) |
| SecurView Pro |
|
| Network Protocols | TCP/IP, UDP, ICMP, DHCP, NTP, DNS, DDNS, SMTP, FTP, HTTP, Samba, PPPoE, UPnP, RTP, RTSP and RTCP |
| Wireless | |
| Standard | Based on IEEE 802.11n technology IEEE 802.11g/b compliant |
| Frequency | 2.4 ~ 2.4835GHz |
| Antenna | 1 x 2dBi dipole antenna (Reverse-SMA connector) |
| Data Rate (auto fallback) |
|
| Security | 64/128-bit WEP, WPA/WPA2-PSK |
| Output Power |
|
| Receiving Sensitivity |
|
| Channel | 1~11 (FCC), 1~13 (ETSI) |
| Management | |
| Remote | Remote management supported |
| Backup / Restore | Save/retrieve configuration files |
| Settings | |
| Recording | Recording type: continuous, schedule or motion detection with software |
| Multi-Profile | 3 profiles simultaneously |
| Port Settings | HTTP port: 80 (default) |
| Digital Zoom | 3x |
| Dynamic DNS | Yes |
| Time | Synchronize with NTP server or set time/date manually |
| SMTP | SMTP mail supported up to 2 accounts with software |
| System Log | 100 entries (max.) |
PACKAGE CONTENTS |
|
All references to speed are for comparison purposes only. Product specifications, size, and shape are subject to change without notice, and actual product appearance may differ from that depicted herein.


